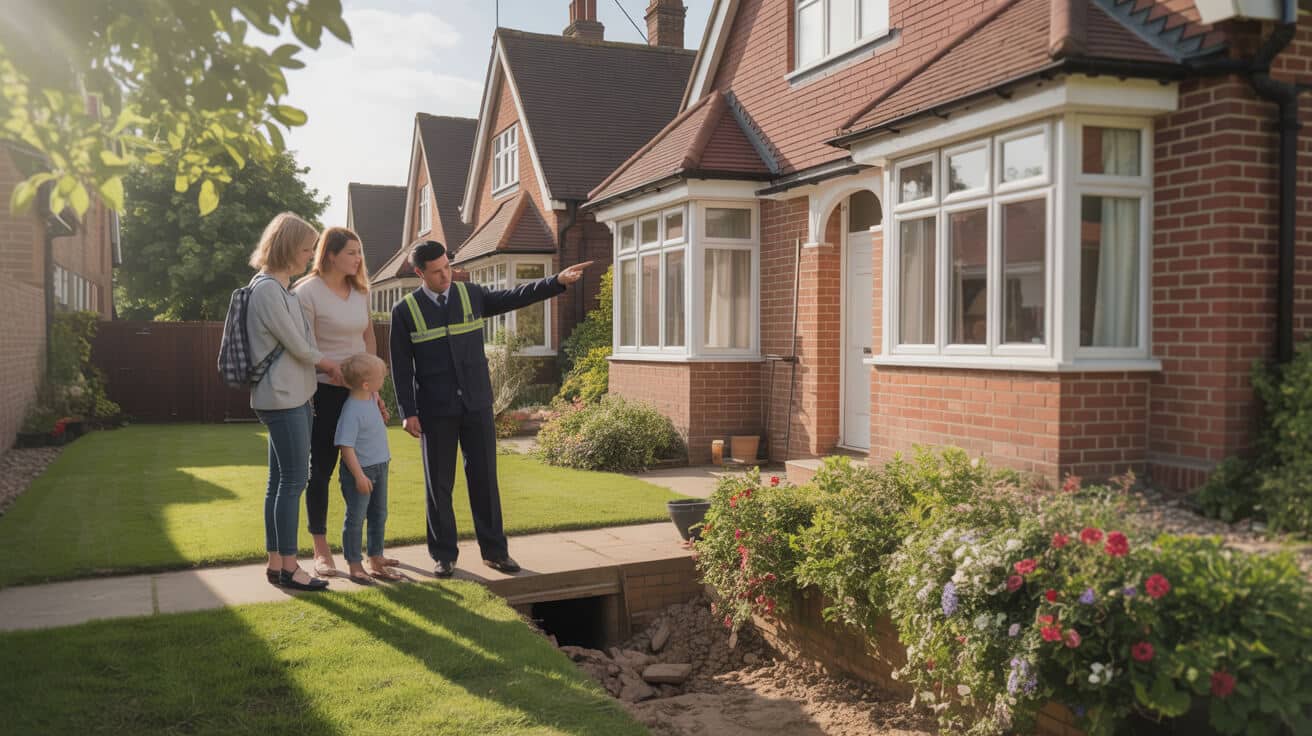
 New Build Plumbing Snags What to Check Before Moving in
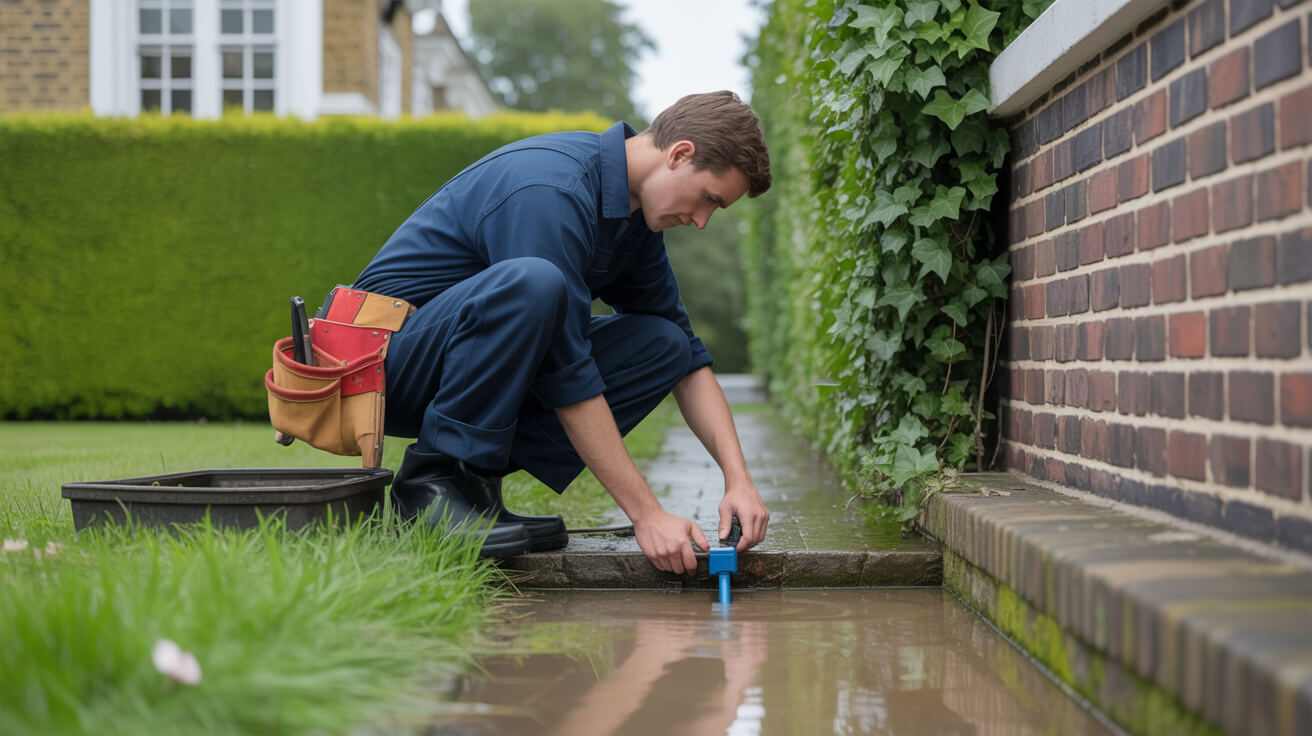
Is Your New Build Really Leak-Free? Hidden Plumbing Problems and What to Check Before Moving In
A new build promises relief from the headaches of repairs and patchwork fixes—but the reality is more complex. Beneath the pristine finishes and the scent of fresh paint, undetected plumbing snags can silently damage property value, cause unexpected disruption, and leave you bearing costs that rightfully belong to the developer. Homeowners, landlords, agents, and commercial owners across the UK regularly face issues that only surface after the keys are handed over—ushering in frustration and eroding the satisfaction of your investment. At Plumbers 4U, we’ve seen what a missed inspection means: avoidable leaks behind boxing, incomplete certification, inaccessible valves, and disputes with builders when evidence is lacking.
Even the most up-to-date homes can surprise you—miss a check, and the problems become yours, not the builder’s.
The leverage is simple: problems caught before financial completion are the builder’s duty, not your burden. Whether you’re moving your family in, preparing a property for tenants, or overseeing a portfolio, a thorough, step-by-step plumbing inspection and a paper trail are essential. Skip a single step and you risk inheriting both hidden water damage and legal headaches. This isn’t about distrust—it’s about control, protecting your asset, and ensuring every promise is honoured. Plumbers 4U arms you with the know-how, checklists, and documentation the best operators use to keep clients protected from day one.
How Can You Detect Leaks and Damp That Most New Build Checks Miss?

The numbers don’t lie: around 1 in 5 new UK homes report a plumbing snag within the first month (NHBC 2022). Most buyers or landlords spot dripping taps or loose shower heads. It’s the concealed leaks—slow seepage behind boxing, minor sealant flaws, moisture in voids—that do the worst damage in silence, surfacing only after you’ve signed off.
Stepwise Leak and Damp Inspection—Catch More Than Meets the Eye
Homeowners and managing agents can stop costly aftercare and protect their legal position by following these straightforward steps:
- Isolate and Read the Water Metre: After shutting off all fixtures and not using the system for at least an hour, return to the water metre. Any movement in the reading indicates a potential hidden leak—often in boxed-in pipework or under floors.
- Inspect Under and Inside Every Fixture: Remove bath panels, check beneath kitchen units, and get your head behind toilet cisterns. Stains, slight damp, or warping—even on fresh boards—are early flags.
- The Silent House Test: On a quiet inspection, stand and listen near boxed pipes or utility stacks. Any trickle or hiss that isn’t explained by an appliance should be flagged and recorded in your snag list.
- Odour and Moisture Survey: Pause at each service entry and around boxing to catch any musty, stagnant smell. Damp has a way of revealing itself here before visual stains emerge.
- Request Hard Evidence: Demand pressure test results and moisture readings as part of your completion pack. Don’t accept “visual check” or “should be fine” as enough.
- Escalate All Anomalies: The pre-handover snagging period is leverage time. Make sure all findings—however minor—are itemised and fixed by the builder before any money moves.
Once you accept the handover, hidden leaks and damp patches become your expensive problem. Scrutinise now to avoid regret later.
A visual inspection rarely tells the whole storey. The aim is to surface any problem while legal and financial incentives are still on your side.
Which Certifications and Documents Actually Protect You From Future Liability?
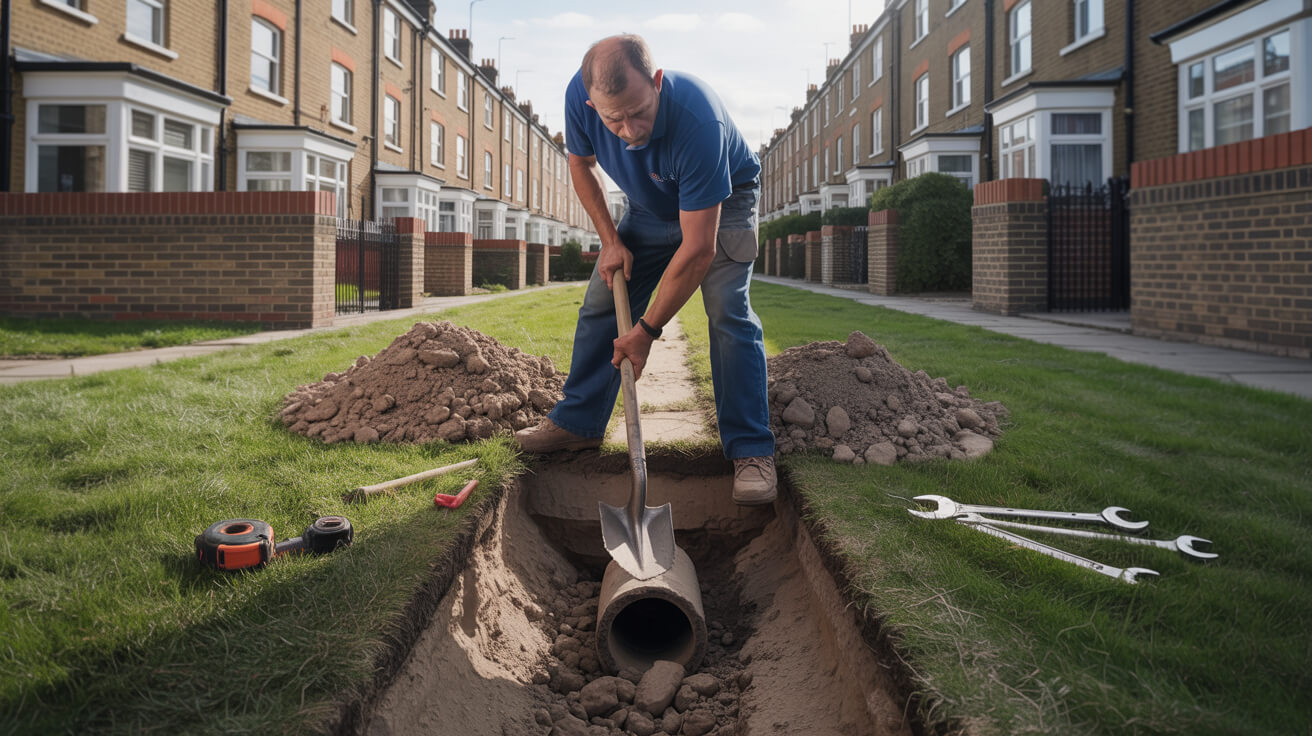
Don’t be fooled by reassuring words or fresh finishes—documents close the legal loop, not the builder’s handshake. Without ironclad paperwork, you risk losing insurance claims, warranty support, and sometimes even mortgage approval down the road.
The Essentials: Paperwork You Must Secure Before Payment or Handover
Every homeowner, landlord, and property manager needs these items in hand before accepting any new build:
- Building Regulations Completion Certificate: This is non-negotiable. Only a signed-off, qualified inspection covers you for legal and insurance compliance.
- WRAS/WaterSafe Proof: All fittings—every tap, flush, flexible connection—must be WRAS approved and installed by a WaterSafe-registered professional. Failure can invalidate insurance and lead to legal action *(Water Regs Advisory Scheme)*.
- Gas Safety Record (CP12): For properties with gas, a current CP12 is mandatory for legal letting and safe occupancy—a must-have for landlords and agents.
- G3 Unvented Cylinder Documents: If your water system is pressurised/unvented, you’ll need the installer’s G3 certificate, the benchmark logbook, and TPRV test evidence. Demand these outright; don’t accept “coming soon”.
- Aftercare and Emergency Information: Collect user guides, warranty forms, shut-off locations, key contacts, and instal photographs—provided as standard by Plumbers 4U. These speed up future fixes and sharpen your legal position.
- Photographic Evidence: Require digital and printed photos of all concealed works and remedial actions.
If you’re missing any item, delay completion and escalate—documentation is your single strongest shield in all disputes.
The majority of aftercare claims fail due to missing documentation, not poor workmanship. Protect yourself—insist on paper, not promises.
This isn’t about being combative—it’s about ensuring that future headaches never start. The full burden of proof should stay with the contractor.
What Physical Plumbing Checks Should You Make—Not Just What Looks Good on the Surface?
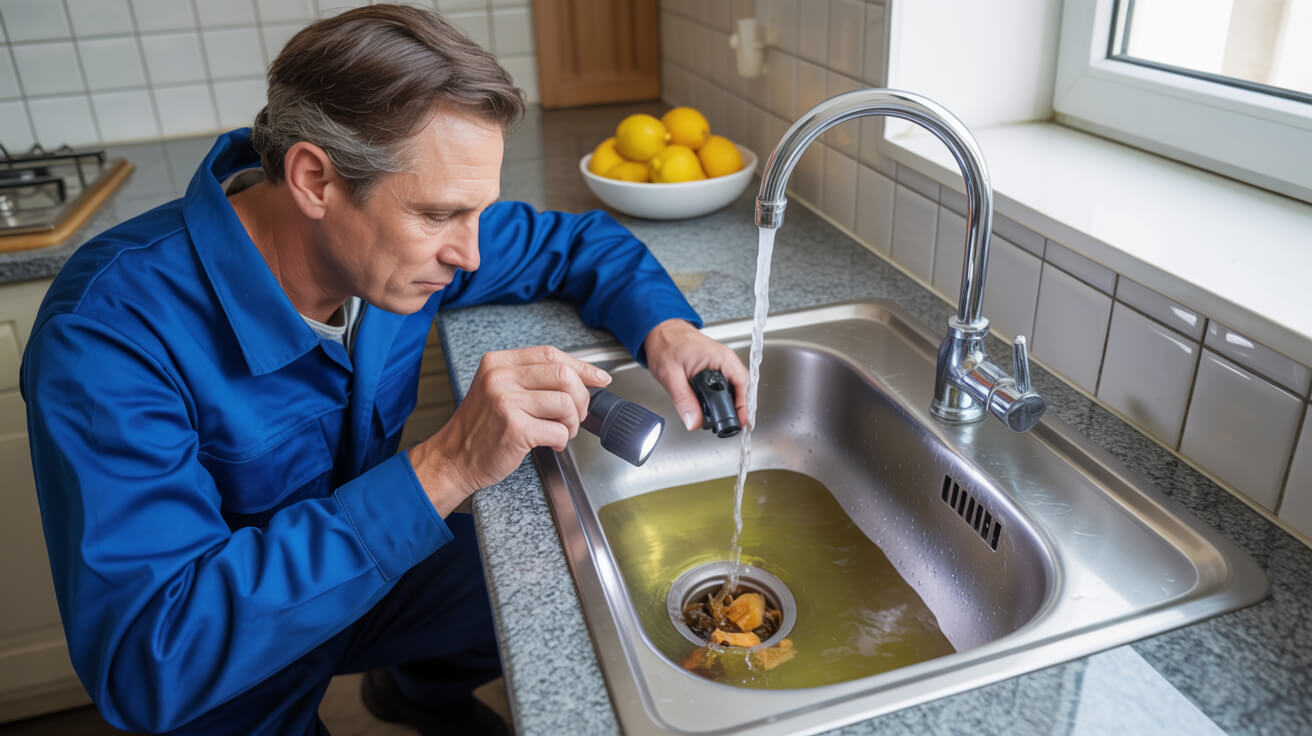
Eye-level shine doesn’t guarantee system reliability. Even among luxury homes, Plumbers 4U routinely finds evidence of corner-cutting: unsound sealing, missing insulation, or unsupported pipework left “tidied up” behind boxed panels.
The Real-World, Hands-On Checks No New Build Buyer Can Afford to Skip
Across kitchens, bathrooms, and utility rooms, inspect methodically—don’t rely on visual cues alone:
- Check for Moisture, Stains, and Residue: Carefully remove all available boxing, look under basins, and run your hand along the underside of any pipework. Any sign of wetness, stickiness, or warping needs to be flagged.
- Test Fitting Strength: Tug gently on every tap, valve, and towel rail. Anything that moves under light force is likely missing anchorage or at risk of leaking later.
- Assess Sealant and Grout: Slide a fingertip along every joint, noting gaps, thin coverage, or missed patches. Incomplete siliconing lets water escape and breeds future damp.
- Tile and Panel Soundness: A tap of the knuckle can reveal hollow spots, suggesting poor adhesion or voids likely to allow water behind the surface.
- Get Before-and-After Photo Proof: For every fix or claim, ensure you receive dated images. Without visible records, the system is set up for argument and push-back.
- List and Escalate Immediately: All findings need written entry in your snag record, with a builder’s schedule and named contact attached for follow-up.
Surface checks keep up appearances; stepwise, hands-on checking prevents repeat visits from plumbers and the misery of slow-forming water damage.
A visual check alone rarely tells the whole storey. The right inspection can stop the next call-out before it happens.
Is the Plumbing in Your New Home Actually Up to Performance Standard?

Once the boxes are moved in and the taps run for real, disappointment is common—low pressure, cold radiators, sluggish drains, and “normal” noises that aren’t normal at all. Developers often dismiss these as quirks, but property owners and landlords understand that inconvenience today often means expenses tomorrow.
Flush Out Problems Before They’re Yours—Performance Tests for Confidence
Here’s how to test whether your new build plumbing can keep up with modern life:
- Whole House Pressure Test: Simultaneously run all showers and major taps—including those upstairs. Every fixture should deliver steady, balanced flow. Sputtering or pressure drops? Mark it, record it, and demand remedial work.
- Measure Hot Water Output: Fill a jug from the upstairs tap and time the flow. Less than 8 litres in a minute is a sign of installation error, pipe kinks, or wrongly specified hardware.
- Flush and Fill Every WC: Look for leaks at bases, slow refill speeds, or persistent running—any of which can reveal internal faults or poor supply design.
- Drain Flow Audit: Fill every bath and sink, and release the plug. Water should flow away rapidly and quietly; if you hear glugging, slowness, or bubbling, you’re likely facing vent pipe issues or restrictive bends.
- Check for Odours and Soil Vent Compliance: Confirm correct vent pipe terminations—exposed only where permitted by regulation and never inside voids where unpleasant smells can build up.
- Demand Builder Intervention—With Evidence: Any subpar findings require prompt entry into the snag list, a schedule for fix, and proof of completion—matched to your expectations, not excuses.
Silent problems become noisy and costly fast. Get hands-on and force performance issues onto the builder’s list, not yours.
Don’t accept “it’s standard” explanations for plumbing that falls short of expectations—those standards exist for a reason.
Where Are the Shut-Off Valves (And Will They Work When You Actually Need Them)?
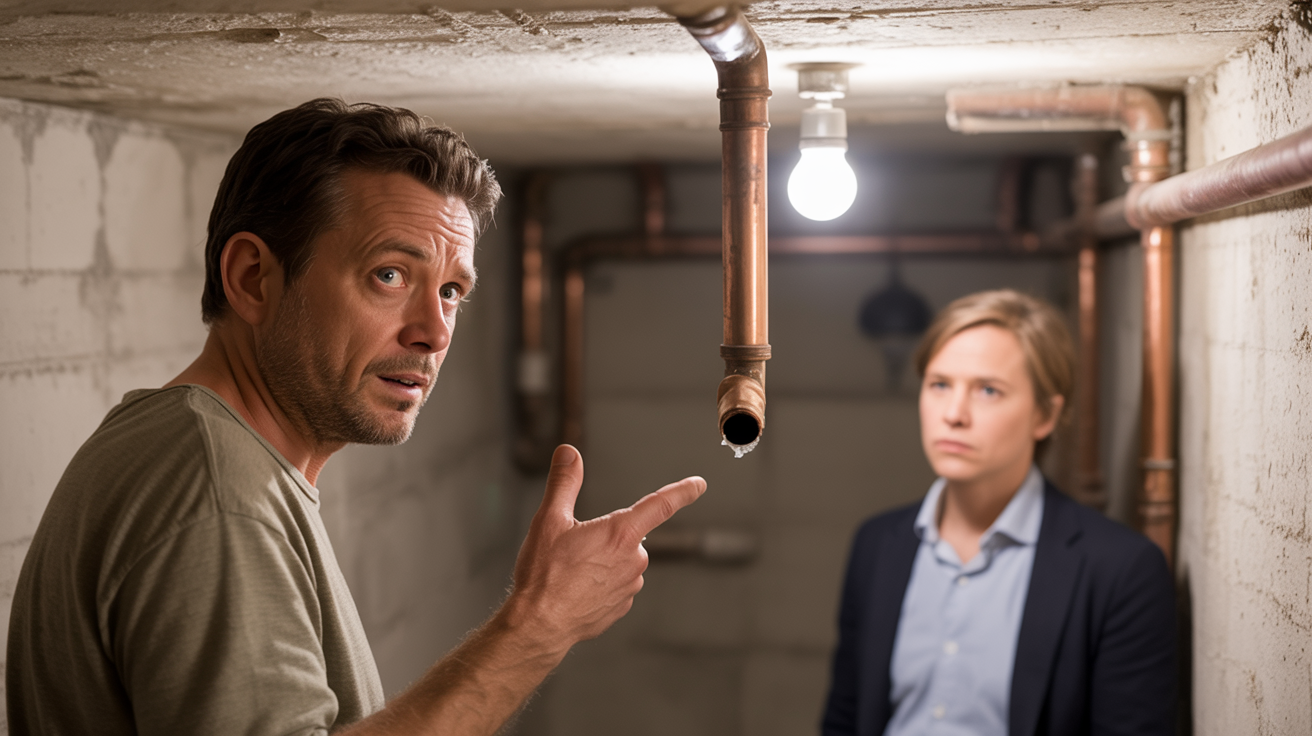
Valves are your insurance against disaster—but only if you know where they are, can reach them at speed, and trust they’ll move without struggle. All too often, new builds hide these behind fixed cabinetry or deep inside service voids.
Make Your Shut-Offs Foolproof—And Documentation-First
- Label and Map Every Valve: Track down every stopcock, zone valve, and basin/toilet isolation tap. Attach labels and keep a location map—ideally as an annotated photo or plan.
- Physically Operate Each Valve: Turn every valve through its full range—main stopcocks, zone valves, isolation taps. They should operate smoothly. Any stiffness, leakage, or unclear status is unacceptable—flag it for builder action.
- Insist on Lever Ball Valves: Best practice is lever ball valves at key isolation points. If yours are round-wheel types, request a swap (where possible) for reliability and emergency speed.
- Installer Demonstrates Functionality: Ensure the installer physically demonstrates operation on completion day, records the process, and leaves a summary in your aftercare pack. Plumbers 4U does this as standard on all handovers.
- Raise Any Issues Without Delay: Valves should be easily reached in an emergency. If you find a blocked route or hidden valve, demand a builder fix before sign-off and reference WRAS and Water Regulations 1999 where needed.
A house is only as safe as its fastest shut-off. Make closing every valve part of your standard walk-through—before discovery comes at three in the morning with water on the floor.
Is Your Hot Water System Prepared for Real-World Use and Full UK Compliance?
Hot water systems—especially unvented cylinders—come under regular review by insurers and surveyors, and with good reason. Burn risk, Legionella, and performance drop-offs all start with installation and are compounded by missing paperwork.
Run These Definitive Hot Water Safety and Efficiency Checks
- Temperature Testing: Check every hot water outlet close to the tap. Ideal is a measured 42–48°C, especially anywhere young children or the elderly will use the water. Confirm thermostatic mixing valves (TMVs) are present as required.
- Paperwork—No Shortcuts: Your unvented cylinder must be installed and signed off by a G3-certified professional. Confirm signage, Benchmark book, and G3 certificate are included in your pack.
- Relief Device and Discharge Route: TPRVs on unvented cylinders must be visually accessible, pointed to safe discharge, and tested (on paper and in person) as part of handover. If you can’t see or test it, demand a demonstration before acceptance.
- Aftercare and User Instructions: Detailed user guides and contact numbers for emergency and service support should be standard. If not, insist they are compiled and provided (a Plumbers 4U must-have).
- Multiple Hot Tap Test: Run all hot taps and showers at once. Water should remain hot and flow strong—any faltering indicates design or commissioning glitches.
- Third-Party Safety Check: If uncertain, book a G3 and WRAS-approved check by a trusted engineer who will supply a written system review—giving you documented leverage going forward.
A hot water system without proper paperwork or testing both voids warranty and introduces avoidable risk.
Don’t let safety or paperwork become an afterthought—get everything checked, logged, and explained up front.
Why Are Photo Evidence and a Meticulous Snag Log Your Most Reliable Asset?

A snag list is more than a chore—it’s insurance turned tangible. A detailed, photo-driven log, lined up before final sign-off, offers the single best protection against disputes or future claims—whether your property is a family home, a let, or a sizable portfolio asset.
Build Your Bullet-Proof Plumbing Evidence Trail
- Before and After Dossier: Every repair, every hidden adjustment, every fix—documented by supplier photos, not just promises. These become key in any future dispute or insurance claim.
- Hidden Works Shown: Anything that’s been fixed behind bath panels, boxed-in, or under floors must be photographed for your records. Plumbers 4U issues full visual stories by default on all complex jobs.
- Tie Payment to Proof: Hold back payment until you have a complete snag report—not just for what you spot, but for every point remedied by the builder and every non-visible area (back of boxing, cavity fix, etc.).
- Get Third-Party Oversight When Needed: When in doubt, arrange an independent snag audit for an additional layer of leverage. Surveyors and specialist plumbers will detail missed issues and keep developer teams honest.
- Store and Duplicate All Records: Paper documents get lost; create digital backups and keep cloud copies of all key evidence.
A thorough snag record can mean the difference between instant repairs and months of delay and expense.
If your builder sidesteps photo evidence, treat it as a warning sign—not a minor inconvenience.
Can a Builder’s Checklist Really Protect You, or Is External Validation the Smart Play?
The developer’s end-of-build sign-off typically follows their preferred process—not yours. It is rarely adversarial, and often skips critical elements in pursuit of a schedule. For true peace of mind, commissioning your own professional audit is the move of a modern owner or agent serious about asset protection.
The Case for Independent, Qualified Validation
- Totally Independent Checks: Engage a WRAS and G3-qualified inspector to walk the systems and fixtures, unbiased by the builder’s timeline or cost pressures.
- Comprehensive Report Pack: Secure a written, timestamped dossier: certificates, valve maps, photo logs, and a point-by-point system handover. Print and digital—easy to share with future buyers or insurers.
- Owner/Manager Demonstration: Use this opportunity to get hands-on: trace every shut-off, ask questions, and demand live testing of “mission critical” elements (like stopcocks and Boiler controls).
- Forward-Facing Advice: Qualified inspectors don’t just sign off; they offer guidance for weather-proofing, routine servicing, and upgrades—fortune favours the prepared.
- Your Own Checklist: Complete your own tick-list as the process unfolds, and make contractors sign at each step. Plumbers 4U provides action-ready, user-friendly checklists optimised for both homeowners and professionals.
- Defend Your Position: An external audit becomes invaluable when disputes arise or if warranties are challenged months (or years) later.
A proper validation before you move in saves a year of headaches and empowers you far more than any site manager’s signature.
Depend on official records and proof, not on assurances. Ownership is responsibility—and the right paperwork and process put you in control.
Move In With Confidence—Book Your Watertight Start With Plumbers 4U
New builds deserve more than surface pride—they deserve functional, document-proven peace of mind. Plumbers 4U’s national team turns the “final inspection” into a strategic advantage for owners, landlords, agents, and portfolio managers. Learn from our field-tested protocols: leverage comes from evidence, protection comes from paperwork, and peace of mind starts with specialists who are not afraid to challenge the fine print.
Completion is not a finish line. Your future comfort and confidence start with a thorough check and the right expert on your side.
Before you allow anyone to move in—partner with a team who will treat your property like it’s their own. Book a pre-move plumbing inspection with Plumbers 4U and start your next chapter with clarity, real safety, and proof in your files. Move forward with certainty—Plumbers 4U has you covered.
Frequently Asked Questions
What subtle plumbing flaws in new UK builds go undetected, and why can they undermine your investment later?
The most damaging plumbing flaws in new developments aren’t the dramatic leaks; it’s the ones quietly at work from day one—hidden by fresh paint, sealed boxing, or layers of silicon. In today’s rushed build schedules, essentials like WRAS isolation valves, push-fit connectors, and even lagging are sometimes left out or hastily installed. Over months, that means invisible slow leaks, pipes rubbing in the void, or isolation points you can’t reach until it’s an emergency. For many property owners, these minor mysteries only surface as unexplained high bills, creaking as pipes expand at night, or small patches of dampness that slowly escalate.
True comfort comes not from what you see on moving day, but what doesn’t go wrong six months later.
Which silent faults most often get missed in new homes?
- Boxed‑in slow leaks: Joints behind toilets, baths, or boxed kitchen pipes can drip for months before there’s a stain.
- Non-compliant isolation valves: Sometimes left hidden behind units—or even plumbed so they isolate the wrong circuit, making emergency work impossible for future contractors or homeowners.
- Skip-lagged, exposed pipework: Unlagged runs in garages, risers, or underfloor spaces make pipes vulnerable to freezing or sweating, reducing their lifespan and risking insurance claims being declined.
- Partial sealing at baths and showers: Incomplete silicon lines, poorly grouted corners, and flexing under trays are prime conditions for long-term water ingress and latent timber rot.
- Clipped pipework missed or too widely spaced: You may hear gentle knocking; over years, that’s friction slowly cutting through pipework and risking pinhole leaks that appear after your builder’s warranty expires.
Recent industry reports—like those from NHBC and WaterSafe—show that upwards of 70% of snag-related water claims in the UK stem from these invisible but preventable errors. Lived reality? Homeowners often only discover them long after completion, when full repair cost, inconvenience, and loss of leverage land squarely on their shoulders.
If you want to avoid long-term regrets, insist on open‑access checks, pressure tests under real conditions, and photographic proof of every critical system before you sign. Plumbers 4U engineers are WRAS and WaterSafe approved—trained to spot not only what’s missing but where tomorrow’s headache will most likely emerge.
How do professional-grade plumbing inspections expose shortcuts or non-compliance in new builds?
A true plumbing inspection isn’t a quick glance around—it’s a structured, evidence-first operation. With build timelines ever tighter and site teams under pressure, shortcuts are more likely. Proper inspections find what a marginal builder or out-of-contract installer would prefer you didn’t see: systems logic that fails under stress, junction boxes you can’t reach, or evidence missing from the paperwork.
An inspection isn’t just to tick boxes—it’s your only real chance to spot faults before they become your future cost.
What’s involved in a rigorous step-by-step inspection?
- Isolate and dry-test every fixture: Taps, showers, WCs—run them all at once, with tissue or moisture sensors ready to detect the tiniest seep.
- Stress the system: Open every outlet across hot and cold circuits, checking for imbalance or sudden drops in pressure. If the pressure dips suddenly, it’s often a sign of missed pipe sizing, incomplete flow balancing, or hidden obstructions.
- Thermal, acoustic, and moisture probes: Even entry-level metres reveal behind-the-wall leaks or missed insulation. Listening for water hammer or odd ticking at night? That’s a clue that tomorrow’s leak is forming now.
- Sealant integrity and tray movement: Push and flex around baths, trays, and basins. Any sign of movement, flex, or incomplete grout is an open door for slow water ingress.
- Valve access and compliance: Every isolation point needs to be accessible and WRAS-compliant—not boxed in, not backward, not missing. Label and test them, as these are your lifelines in any future emergency.
How do third-party experts like Plumbers 4U change the dynamic?
With engineers working to WRAS and WaterSafe standards, you’re never “hoping for the best.” Our teams bring digital inspection logs, photo evidence, and system-accredited pressure and flow readings. The result: snags reveal themselves before they’re your problem—or your negotiation point is lost.
Documentation from every step, combined with detailed fix logs and photographic evidence, ensures any shortcut or unfinished item is resolved before YOU become responsible.
Why does completion-stage documentation and certification carry so much power for plumbing in new builds?
You may never “see” a plumbing document once the walls are up, but one missing piece of paperwork can wreck your rights months or years later. Certificates, installation logs, and WRAS or G3 approvals do more than appease lawyers—they make the difference when insurance, warranty, or future buyers start asking hard questions. Without them, you own the risk, not the developer or landlord.
A completed certificate pack isn’t just peace of mind—it’s the one thing that guarantees your leverage if the system ever fails.
Which documents are true non-negotiables?
| Required Document / Certificate | Provided By | Protects Against |
|---|---|---|
| WRAS/WaterSafe Fitting Approval | Installer | Fines, compliance disputes, refits |
| G3 Certificate (Unvented/HW Cylinders) | G3-Certified Engineer | Voided warranties, unsafe instal claims |
| Building Regulations Completion Cert | Builder/Local Auth. | Sale refusal, mortgage blocks |
| Gas Safety Certificate (CP12, if gas) | Gas Engineer | Legal risk, voided landlord insurance |
| Appliance Warranties/Instruct Packs | Fitter | Lost repair/replacement rights |
| Commissioning Logs, Pressure Test Proof | Installer/Builder | Later disputes, “invisible” snags |
| Emergency Access/Valve Guides | Installer | Crisis delays, costly damage |
If a builder or letting agent tells you to “trust them for now,” push back. A missing certificate can halt a sale, prevent a claim, or leave you with no recourse for repairs. Digitising your records—scan everything—is fast becoming standard for buyers, letting agents, and asset managers. Digital logs let you retrieve proof instantly, defend against finger-pointing, and handle insurance or service negotiations from a position of strength.
With Plumbers 4U’s WRAS- and G3-certified engineers, every completed job comes with full documentation—protecting you from short‑term headaches and long-term liability.
Where do the most persistent leaks and misinstallation faults hide in contemporary UK homes, and which checks reliably uncover them?
The reality is that most leaks and misinstalled joints aren’t out in the open—they burrow in boxed-in pipework, under high-gloss panels, or packed tightly behind WCs, baths, and kitchen cabinets. Even experienced site managers know: most post-handover complaints begin in these hidden zones, not from what’s easily seen on day one. That’s why a surface-level “walkthrough” is never enough.
Buy peace of mind by hunting for what you don’t see—your future self will thank you every time there’s a storm.
Target stealth leak zones and modern detection methods
- Boxed-in rising mains and push-fit connectors: A half-turned connector or awkwardly routed pipe will take months to surface—showing up as bubbling paint, swollen skirting, or a metre that won’t rest.
- Hidden valves and unlagged runs: Especially common in utility rooms, risers, or under-stair sockets where pipes disappear from view. Freezing, sweating, or build-up of scale can start long before you notice.
- Loose supply to kitchen or bathroom fixtures: Pop off the plinths and check beneath for staining, visible rust on clips, or tightness of hoses. Movement there equals tomorrow’s insurance phone call.
- Overflow pipes and external drainage alignment: An incorrectly fitted or crushed overflow will mean water exiting the wrong place, slow drain away, or waterspouts during heavy rain.
- Penetrations and flex zones: Missed or shoddy silicon sealing around pipes or at wall/floor junctions is a surefire path for gradual damp.
A structured routine—metre shut-off and observation; flex-test every box panel; run every outlet and feel for temperature or pressure drop—brings these invisible snags into the open.
Modern tools, from affordable moisture probes to basic thermal cameras, can uncover what your eye misses. A systematic check, paired with demand for behind-the-scenes instal photos, pressure test logs, and clear emergency action plans, supplies true leverage—not blind faith.
What is the most foolproof checklist for plumbing snagging before you take possession of a new build?
Relying solely on the builder’s word means inheriting risk. A robust, checklist-driven snagging process is how professional agents and homeowners intercept future costs, safeguard property value, and gain negotiating power—all before a single drop of water escapes or the builder’s warranty runs dry.
Here’s the checklist top industry experts recommend—one that goes far beyond visual gloss:
Pre-completion plumbing checklist for maximum leverage
- Verify and photograph all metres; run a static pressure test—watch for movement with every outlet closed.
- Operate and inspect every tap, shower, bath, and radiator. Look and feel for leaks, slow fills, or unresponsive controls. Check connections for dryness and integrity.
- Flush each WC; inspect the pan, base, and cistern. Watch for weeping at joints or incomplete fill cycles.
- Confirm the integrity of all sealants and grouts—press and flex along joints, especially where tile meets tray or bath. Movement means future leaks.
- Run central heating; inspect every radiator and pipe joint during heat-up. Listen for rattling, uneven flow, or lukewarm convector sections.
- Locate all isolation and emergency shut-off valves. Confirm physical access (no boxing-in), smooth operation, and clear labelling.
- Gather all required certifications (WRAS, G3, CP12 if applicable, commissioning logs) and manuals. Photograph every serial number.
- Ensure before-and-after repair photos are provided for any detected snag or late-stage work.
- Demand a signed agreement from the builder or agent, setting clear closure dates for all unresolved snags.
- Store digital and paper records, including contract notes, photos, certificates, and communications, ready for any future query or claim.
What you document now shields you from decades of disputes. The only regret is pressure to rush—it’s never from missing a day’s worth of checks.
Plumbers 4U supplies full handover checklists, digital evidence packs, and signed closure logs on request—delivering provable confidence at the single moment of maximum leverage.
How do you ensure plumbing snags get fixed—and that your rights stay protected—before you complete a new property purchase?
Securing repair of all plumbing snags isn’t about trust; it’s a matter of process. The single greatest weapon buyers, agents, and property managers wield is a trackable, evidence-rich log for every repair—before ever accepting keys or signing completion.
He who holds the photo log and written sign-off calls the shots—not the one making casual promises at handover.
Final steps for bulletproof closure and future leverage
- Insist on dated, before-and-after photos for every fix. Refuse to accept work behind boxing or in voids without visual confirmation.
- Secure a written closure log for every snag, co-signed by builder and owner/agent, mapped to individual repair notes. Keep it in both digital and paper forms.
- Where significant or complex works are involved, call in accredited third-party inspectors (WRAS, WaterSafe, or RICS). These reports carry heavy weight with developers and insurers alike.
- Demand clear timelines and escalation steps for unresolved issues—don’t sign off without a concrete plan and recourse for anything open.
- Maintain every communication, record, photo, and certificate. Back it up in a cloud, email archive, and hard copy. You avoid disputes not by being agreeable, but by keeping the receipts.
Partnering with Plumbers 4U for your completion and handover means certified, WRAS-compliant surveys, dedicated repair documentation, and aftercare that secures your investment beyond the builder’s watch. This isn’t paranoia—it’s professional due diligence. In the long run, it’s the only way to ensure your property serves you, not the other way around.
For a fully certified, evidence-driven plumbing handover, contact Plumbers 4U. Our engineers deliver more than repairs—they secure your property rights long after the builder moves on.


