 How to Turn Off Your Water Supply in an Emergency

How Do You Turn Off Your Water Supply in an Emergency—And Why Acting Fast Changes Everything?
Most property owners have learned one truth the hard way: water waits for no one. When a pipe bursts, a valve fails, or a hidden leak goes wild, every passing minute can quietly multiply the fallout—not just in property damage, but in missed claims, ruined business, and stress that ripples through your life and everyone involved. Your action window is brutally short. To stay in control, you need more than “the basics”—you need a system that gives you confidence, not confusion, under pressure.
The difference between a minor repair and a five-figure disaster is sometimes just sixty seconds of hesitation.
Water leaks aren’t picky. They can hit homeowners, landlords, letting agents, facilities managers, and business owners. No matter your title, your reputation and assets are on the line. This guide delivers straight-talking, actionable steps for turning off your water supply—without panic or guesswork—and shows how a well-executed shutdown isn’t just damage control, but a risk-proofing and compliance boost you can bank on.
How Can a Simple Leak Escalate Out of Control—and What’s the True Cost of Waiting?
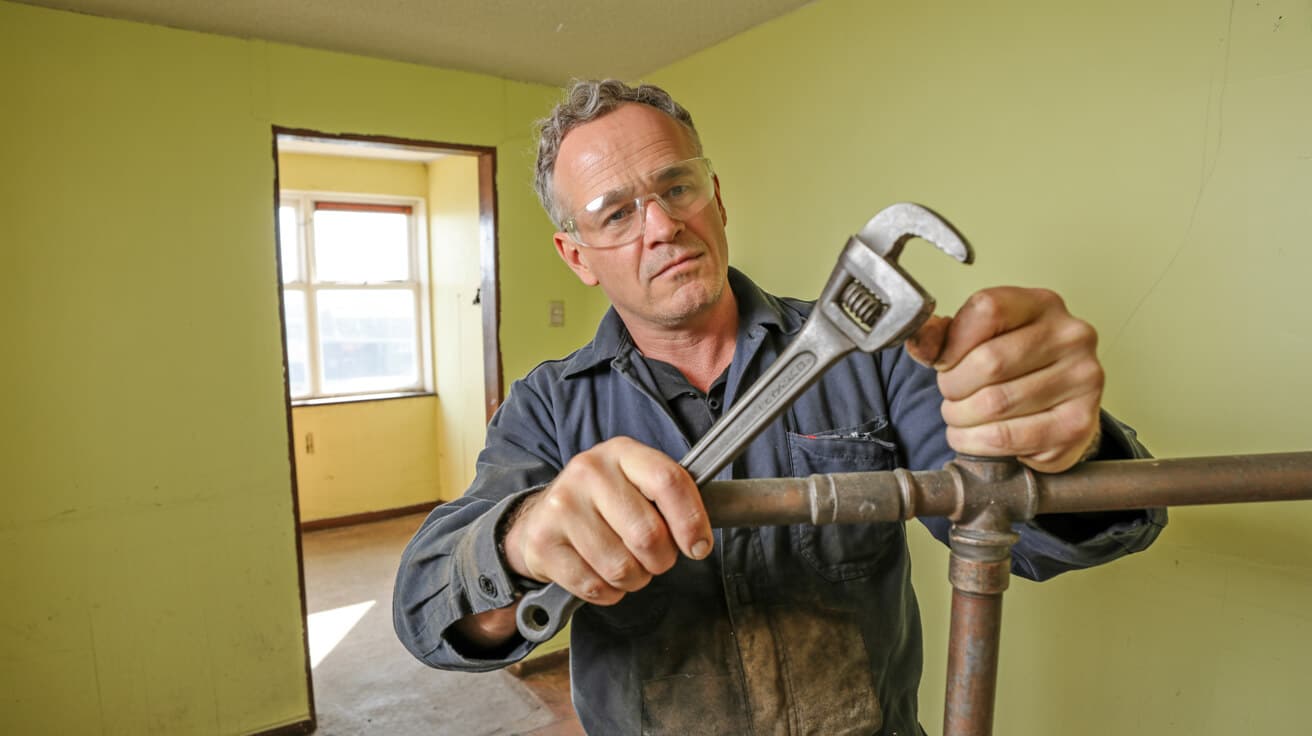
A leak never announces itself with sirens. It starts as an odd damp patch beneath the sink, a hiss behind a cupboard, or a drip you ignore late at night. That minor nuisance, left alone, is the launching pad for panic—and expensive phone calls—when you least expect it. Just ask the insurance industry: more than £1.8 billion a year is paid out for “escape of water” claims, and most are due to slow response or failing to isolate the flow quickly (Association of British Insurers, 2024).
Why Speed Is Non-Negotiable When Water Strikes
- Damage snowballs behind walls: What you see is just the start. Water seeps through floorboards, softens plaster, saturates insulation, and puts electrical circuits at risk. Dry rot, warped floors, and mould set in shockingly fast in the UK’s damp climate.
- Insurance demands “timely action”: Every major UK insurer requires you to limit losses proactively. If you can’t show you acted—by shutting off the flow and starting mitigation—the risk shifts from them to you *(ABI, 2024)*.
- Business, tenants, and health at stake: For landlords, letting agents, and commercial property managers, a slow response can close businesses, endanger tenants, and become a nightmare for loss recovery. Damp and mould mean claims, reputation damage, and sometimes legal exposure.
The clock is always ticking. A rapid, evidence-based isolation is the difference between a simple claim and a spiralling crisis.
You don’t control when a leak arrives, but you decide how far it spreads.
Where Is Your Stopcock—And Why Is “Almost Knowing” a Recipe for Catastrophe?

If you’ve ever stood ankle-deep on a kitchen floor trying to remember if the stopcock is under the sink, or behind a panel put in by the last contractor, you know what real panic feels like. The sobering truth: in most claim disputes or failed repairs, the delay was never about “what to do”—it was “nobody could find or move the right shutoff in time”.
Where Stopcocks Hide Across UK Properties
- *Under kitchen sinks*: Classic, but sometimes boxed in or buried behind bins.
- *Airing cupboards or utility rooms*: Common in larger or older homes.
- *Entry halls and cellars*: Especially in converted or pre-war properties.
- *Communal risers in flats or commercial corridors*: Multiple users? Multiple points.
- *Odd spots*: Behind removable panels, above ceilings, or outdoor “verges” for residential and mixed-use blocks.
Four-Step Routine That Prevents Last-Minute Regret
- Trace the main: Follow the thickest incoming pipe from your property’s boundary or from the kitchen sink. Look for lever or wheel-style valves.
- Clear and label access: Move obstacles, attach a clearly written tag (“MAIN WATER OFF”), and take a quick photo for your digital records or building files.
- Test operation, don’t guess: Gently open and close the valve twice a year—catching stiffness or corrosion when it’s safe, not during chaos.
- Identify multiple points: For flats, HMOs, and larger blocks, log every valve you find (local isolators and street/main). List which controls what and circulate this list to tenants, staff, or contractors.
If you’re stuck, or a label is missing, don’t wait for trouble. Document the gap and get it corrected professionally—this is a compliance task, not a “nice to have.”
Lost minutes chasing an unmarked valve turn minor leaks into major losses every time.
Is Shutting Off the Water as Simple as Turning the Handle—Or Can a Quick Fix Backfire Hard?

Everyone’s heard “turn the valve right to close,” but reality is messier. Stuck or corroded valves, brittle pipework, and old compression joints can make your “quick fix” a potent risk for immediate escalation: snapped connections, split pipes, and, ultimately, flooding at full blast.
The Stepwise Safe Valve Shutoff That Minimises Collateral Damage
- Gentle action wins: Always use your hand, not a wrench. If resistance is high, back off and nudge left-right—avoid brute force.
- Clockwise to close: Trace the pipe direction. Standard UK valves close “right for tight” (clockwise).
- Open the lowest tap: Drain down pressure, ensuring the water genuinely stops and isn’t just reduced.
- Check for full isolation: Water should cease at all cold taps in under a minute. Some properties have split mains—test several points.
- If still running: Double-check for a secondary valve (sometimes near appliances). If no luck, escalate to the outside street valve.
Errors That Turn a Routine Job Into a Disaster
- Using tools on seized valves: Wrenches or pliers often crack handles or sheer valve stems, compounding the leak.
- Panic twisting: Forcing the action, especially on ancient or incorrectly installed Syphon valves, can break the fitting and render the whole supply inoperable.
If the valve’s stubborn or you’re not sure—call a professional fast or proceed to the external curb stop. Never escalate with force.
Most costly leaks are due to panic or heroic over-twisting—precision, not power, shuts water off safely.
What’s Your Backup Plan If the Internal Valve Won’t Work—Or You Can’t Find It?

A good plan survives contact. older properties, poorly documented blocks, and commercial units often hide a nasty surprise: the main valve might be stuck, snapped, or lurking somewhere no one has checked in years. In such cases, the external “street” or mains stop tap is your final safeguard.
How to Locate and Use the External Stop Tap Without Compromising Property or Neighbours
- Find the cover: Usually a round, square, or rectangular cover marked “WATER,” “SV,” or unmarked in pavement/verges.
- Lift carefully: Use a standard screwdriver or a stopcock key.
- The right tool counts: A stopcock key, available from DIY stores, ensures controlled turning without trauma to the valve.
- Quarter-turn only: Never force. If the tap doesn’t move, do not escalate—call your local water supplier, who must help within regulated timelines *(see Thames Water, 2024)*.
- Notify stakeholders: In a shared system, warn others—external controls can affect other flats or commercial suites. Involve a building manager or neighbours when possible.
If the valve is seized, flooded, or missing: Log this with property management and arrange for urgent remediations—this is a legal safety requirement for landlords and commercial tenants. Your insurer is unlikely to cover losses if proving “no access” delayed remedial action.
The street tap is nobody’s favourite, but knowing where it is—and how to use it—saves entire buildings when interior plans fail.
Does Cutting Water Risk Your Central Heating or Hot Water—And Will You Invalidate a Warranty?

This is the question property owners worry most about: shut-offs unintendedly breaking heating, voiding warranties, or triggering faults that cost more than the leak. The truth? UK systems are designed with isolation and safety in mind, but it pays to know how yours works.
Impact by System Type—And Simple Steps to Stay Safe
- Combi boilers (sealed circuits): Central heating itself stays online—water pressure is retained. Hot taps turn cold, but the heating won’t be harmed unless the pressure drops completely.
- System/regular boilers (with tanks/cylinders): Stored hot water remains usable: don’t run tanks fully empty if mains is off, or you might introduce airlocks.
- Electric immersion heaters/point-of-use units: If you’ve isolated water for over an hour, turn the fused spur off—this stops the element from running “dry” and burning out.
- Smart stats/controls: Usually robust, but if an error displays, don’t reset aggressively. Call an engineer for advice.
- Underfloor heating: Hydronic systems remain stable, but avoid topping up a leaking circuit—it loses more than it saves.
Golden rules:
– Never open a pressurised vessel or attempt to vent cylinders: only someone G3-certified can safely intervene.
– If the system makes odd noises or an error flashes after isolation, leave off and get expert help.
Water off is not system off: react within the spec and avoid needless risks to heating, warranty, and property.
What Preparation Shields You From Chaos—And Makes Water Isolation Nearly Effortless?
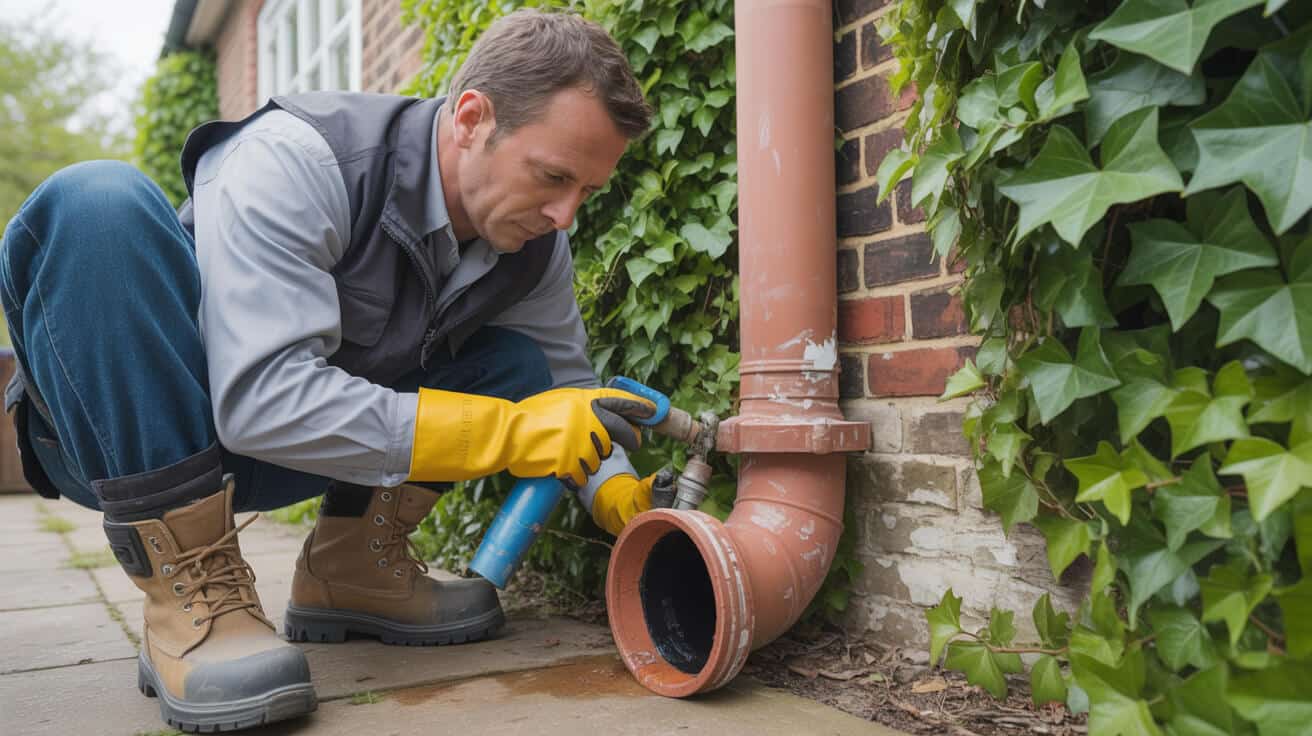
The drama of a leak is finished not by speed alone, but by routines built months before: clear documentation, routine testing, and property-wide access planning. That’s not “overly cautious”—it’s what separates resilient portfolios and safe homes from repeat crises and insurance exclusions.
Five Pro Moves That Turn Emergencies Into Routine Procedure
• Exercise every shut-off every six months: Open and close gently—catch corrosion, debris, or seized parts before they become deal-breakers.
• Label and photograph: Attach durable, written tags to all relevant valves. Keep photos in building handbooks, digital property logbooks, or WhatsApp groups for staff and tenants.
• Map the main (and backup) valves: Note locations in induction packs, emergency folders, and site signage.
• Train others, not just yourself: Walk teens, tenants, night-shift staff, or on-call contractors through the routine hands-on.
• After every plumbing or refit job, recheck access and documentation: Valves buried by new cabinets, floors, or boxing are an epidemic post-renovation.
For larger sites or critical businesses, demand a handover with plans—your insurer or compliance auditor expects nothing less.
A five-minute practice now is worth more than five grand saved later.
Why Plumbers 4U’s Fast, Regulated Emergency Response Protects Everything You Value
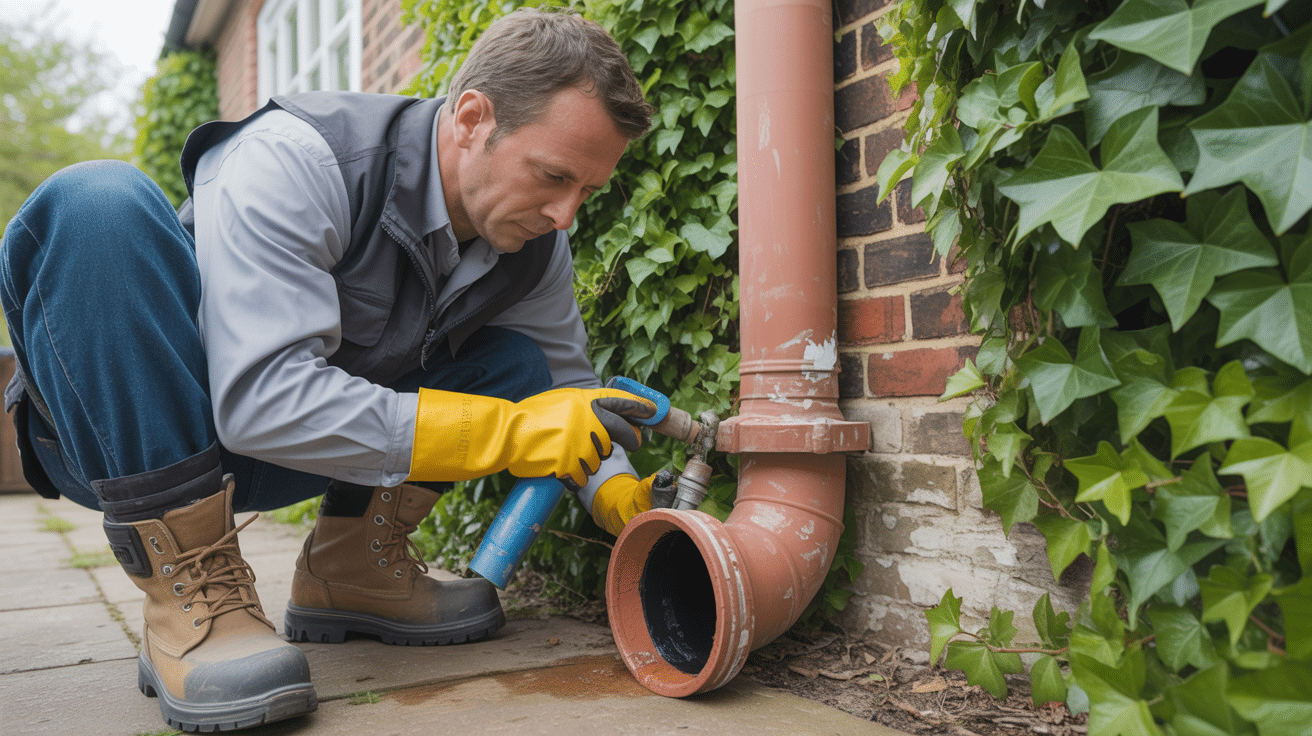
You shouldn’t have to choose between quick action and compliance—Plumbers 4U delivers both, without compromise. When a leak, hidden stopcock, or seized valve threatens your property and reputation, every minute counts. What sets us apart is not just technical fix-it skill, but the way we handle risk, proof, and aftercare for clients who can’t afford loose ends.
What Makes Plumbers 4U the Safer Choice in Any Emergency
- Instant triage, every call: Real engineers field your call, talk you through safe first steps, and escalate where necessary—many disasters are avoided before we even arrive.
- Certified, audit-ready engineers: Every technician holds WRAS, WaterSafe, CSCS, and compliance credentials—bringing tested skills and decision-making under pressure.
- Full repair and compliance log: Our jobs finish only with full digital documentation (photos, valve tests, compliance signoff for G3, Part G, CP12 where needed).
- Communication without jargon or drama: We explain what’s going on and what your options are. You never get left in the dark.
- Risk prevention as a service: Before we leave, we label, document, and train—turning a one-off job into ongoing risk reduction for homes, businesses, and lets.
Owners, managers, landlords, facilities teams, and asset managers choose us because robust isolation and documentation isn’t “extra”—it’s your shield against chaos, claim denials, and compliance headaches you shouldn’t have to fight.
One call now can erase months of stress later—when DIY or delay won’t cut it.
What Regulations, Standards, and Proof Actually Protect Your Investment—Not Just in Theory?
It’s easy to forget that legal, insurance, and warranty frameworks exist to protect you. But what catches people out is this: almost every denied claim or compliance fine traces back not to the event itself, but to missing documentation, uncertified isolation, or shortcuts that surface long after the leak dries up.
Core Standards Every Responsible Owner or Agent Must Meet
- WRAS and WaterSafe certificates: These prove that work, components, and methods used protect supply integrity and were installed by qualified engineers who understand UK law.
- Building Regulations (Part G): Every upgrade, isolation, and supply job is governed by these. They enforce safe temperatures, backflow protection, layout for access, and scald risk management.
- G3 certification for unvented hot water; CP12 for gas; Benchmark regimes: If you’ve got a cylinder, a boiler, or specialist kit, you need qualified documentation to keep insurance, warranties, and legal cover intact.
- Complete documentation—photos, job sheets, logbooks, and signoff: For agencies, landlords, and business operators, these are your default defence against claims denials or legal back-and-forth.
Some policies are now explicit: “no paperwork, no payout.” The bar is set by what you can prove after a crisis, not just how fast you acted.
Your reputation travels at the speed of your documentation—make that your superpower, not an afterthought.
Take Back Control—Call Plumbers 4U for Regulated, Stress-Free Water Shutdown Today
If you’re standing over pooled water, can’t move a stuck stopcock, or are balancing angry tenants and worried insurers, Plumbers 4U steps in with calm, regulated assurance. Every call is answered by real engineers authorised to isolate your emergency, repair, and document for insurance or legal needs.
When you call, you get:
- A direct engineer line and instant triage
- On-site support by WaterSafe- and WRAS-certified fitters—ready for anything from boxed-in valves to G3-only cylinders
- Digital photo, paperwork, and compliance logs—immediately available for risk managers, landlords, agencies, or insurance submissions
- Transparent, up-front pricing—no drama or “headline” bills
- Aftercare: step-by-step risk-proofing so you’re never caught out again
Whatever your role—home, portfolio, block, or business—you stay in control, not at the mercy of luck and paperwork gaps.
Increase peace-of-mind and tackle property risk before it spirals. Get Plumbers 4U isolation-ready on speed dial, and shift from reactive headache to bulletproof operator—any time, day or night.
Frequently Asked Questions
What Types of Plumbing Incidents Truly Demand Immediate Water Shutoff—and How Can You Tell Before Damage Spreads?
A genuine plumbing emergency is any uncontrolled escape of water that threatens to damage property, disrupt business, or trigger safety hazards—well before you see water pouring across the floor. The root causes range from burst pipes and blown flexi-hoses to leaking cylinders, cracked toilet cisterns, and hidden leaks inside walls. Key signs include unexplained water metre movement, sudden pressure loss, hissing behind plasterwork, and damp patches that seem to grow overnight. Insurance industry data from WaterSafe confirms that the average claim for water escape has soared past £3,000 per incident, with costs multiplying when response is slow. In multi-tenancy blocks or businesses, a concealed leak can cross into other units within hours, exposing landlords and facility managers to compounded repair costs and litigation.
Most water losses start quietly, but seconds of inaction can lead to months of repair headaches.
How can you spot a brewing plumbing emergency at the earliest possible stage?
- Fast-spreading stains, bubbling paint, or drip sounds: —especially near ceilings or between floors.
- Bathroom or kitchen fixtures losing water pressure: even when no taps are open.
- Unusual odours: (must, decay, or metallic) and cold spots on carpets or wood floors.
- Water running in the metre when all appliances are off: —test by noting the dial’s position before and after a 30-minute no-use window.
- Stopcock won’t rotate or is jammed,: raising the stakes for any sudden emergency.
Why does urgency matter so much for business, landlords, and property managers?
Regulations and insurance mandates increasingly require proof that you detected, escalated, and isolated any leak “in good time.” For rental or managed properties, delays cause not just higher direct costs, but more complaints, tenant churn, and compliance breaches—potentially invalidating insurance claims if you cannot demonstrate rapid response. Proactive risk audits now assess not just whether a property has a shutoff, but how it is documented, tested, and who can access it in a crisis.
How do you turn urgency into protection?
Log every isolation, response action, and communication. Make drills and water system checks a part of site routines—even adding reminders to your digital property management systems or tenancy packs. Professional teams like Plumbers 4U provide not just rapid response, but help you develop a structure for ongoing readiness.
Where Should You Look (and What Should You Map) to Guarantee Valve Access Under Pressure?
Locating every water shut-off valve before a crisis hits is fundamental to resilience, but building layouts, conversions, and decades-old plumbing modifications often hide key isolation points. Older homes may have original brass stopcocks under kitchen sinks, while flats or commercial premises can feature multiple, sometimes mislabelled, valves in risers or behind wall panels. Thames Water’s residential guidance shows nearly a third of emergencies escalate due to “stopcock not found in time.”
Blind spots in your water map don’t just delay response—they can multiply the impact zone and lengthen downtime.
What is an effective process for mapping and maintaining valve readiness?
- Inspect every property or unit with documentation in hand, starting from the main riser or street entry point and moving inward.
- Clearly tag all shut-off valves using engraved, waterproof labels or robust commercial clip tags; replace handwritten or paper notes, which fade and fall.
- Add measured photos to your maintenance logs, tagging “main,” “zone,” or “appliance” isolation points, plus any special access instructions.
- For landlords, embed stopcock maps within tenant welcome packs, emergency plans, and fire safety notices.
- Keep digital copies in shared cloud folders or apps—accessible whether staff are onsite or remote.
What happens if valves are hidden, hard to move, or absent?
Engage a professional to identify missing or obsolete stops—using tracer tools, thermal imaging, or gentle pipework exposure if needed. Schedule annual drills or rotation tests, and retrofit new lever-operated valves where feasible. Plumbers 4U engineers regularly upgrade and document isolation points to make future emergencies “unexciting”—because response is only as good as the weakest-mapped stopcock.
How Can You Deal with a Tight or Failing Stopcock Without Making Matters Worse?
A stopcock that refuses to budge, or feels “crunchy” or brittle under hand pressure, is a top hazard in both emergencies and routine servicing. Historic or painted-over valves are prone to shearing, spindle wear, or frozen threads. Forcing a stuck valve with tools or excessive leverage frequently results in broken pipes—converting a slow leak into a catastrophic one.
What’s the safest, compliance-friendly protocol for freeing or operating stubborn isolation valves?
- Attempt movement by hand only, using smooth clockwise action. Never use bricks, pliers, or metal bars to force a valve.
- If resistance is met, apply a modest amount of WRAS-compliant release spray and wait 15 minutes, gently testing movement without excessive pressure.
- For taps and stopcocks showing “give” then “lock,” alternate turning back and forth by tiny increments—no more than a quarter-turn in either direction.
- Prepare a secondary isolation strategy (e.g., outside stopcock or riser valve) before escalating if internal options fail.
- Notify team members, tenants, or staff before attempting, as partial movement may cause fixtures to sputter or pipes to vibrate suddenly.
A broken shutoff under duress adds cost and chaos, while a gentle test can buy you time for a permanent fix.
When should you call for a professional intervention?
Any valve that feels spongy, emits creaking or groaning, or leaks at the gland should be repaired or replaced—not forced. Log every attempted operation, including photos of the setup, condition, and any failure, as this will support insurance or warranty claims. Plumbers 4U can replace, repack, or reroute valves to return your isolation point to full, user-friendly performance—and provide a compliance certificate for legal protection.
What Regulatory and Insurance Implications Follow from Missed or Unserviceable Stopcocks?
UK water safety standards, including those from WRAS, WaterSafe, and BS 6700, require working, accessible shut-off valves in every dwelling and commercial premise—no matter size or age. For rented flats, block-managed buildings, and workplaces, the duty lies with the property owner, managing agent, or facility director to maintain, label, and test these points. Failure is not simply about losing control in a burst-pipe scenario, but can invalidate insurance cover and breach statutory Health and Safety obligations (HSE 1974; Water Supply Regs 1999).
How do you ensure (and prove) compliance and liability protection?
- Incorporate stopcock status in annual or quarterly maintenance schedules; audit with both written and photographic evidence.
- Note any resistance, corrosion, or inaccessibility and record actions—appointment bookings, notifications to residents, and contractor quotes—for each finding.
- Upload documentation to asset management platforms or share live updates with owners, letting agents, or business teams.
- For new tenants, require that all handover and inspection forms include a validation of isolation points.
- Secure signoff after repairs or upgrades—preferably with time-stamped, geotagged photos and signed work orders.
A working, documented stopcock is now insurance baseline and statutory minimum—you can’t afford to let it slip.
For landlords in particular, the risk of fines, rent voids, or contested claims from neighbours rises sharply if valves are inaccessible, untested, or just “assumed” functional. Plumbers 4U provides robust, shareable compliance packs after every emergency or upgrade, built for scrutiny and stakeholder peace of mind.
When Is It Justified (or Risky) to Use the External Street Stopcock—and What’s the Best Practice?
Street stopcocks—or “boundary” stop valves—belong to your local water utility and are generally reserved for major emergencies where internal shutoff points are unusable. Incorrect use exposes properties to leaks, can interrupt supply to neighbours, and leaves you liable for repair costs or regulatory penalties. Anglian Water and Yorkshire Water both report hundreds of “DIY boundary valve damage” incidents annually, often resulting in whole-street outages.
What are safe criteria and process flows for external stopcock use?
- Only approach the boundary valve if all internal options are locked, broken, or missing—never as a shortcut.
- Confirm the supply line serves only your property—many Victorian and Edwardian homes have shared mains.
- Use a purpose-built stopcock key, never wrenches or home-made tools. If unsure, snap a photo and contact your utility for remote guidance.
- Notify occupants on site and adjacent units about the planned action, timing, and likely disruption.
- Avoid operating the valve if icy, flooded, or corroded—a seized street valve is a job for water company engineers or certified professionals.
External shutoffs are a last resort—timing and documentation are everything if you want insurers and neighbours on your side.
Document the intervention thoroughly: who, where, and when. For block-managed or commercial sites, log every step, communication, and follow-up. Plumbers 4U’s engineers have direct lines to major utilities and always relay full records to keep you both risk-free and on the right side of both law and policy.
How Can You Ensure Water Isolation Doesn’t Damage Boilers, Unvented Cylinders, or Heating Systems?
Turning off a property’s water supply may be essential in an emergency, but if handled incorrectly, the aftershocks can include blown boiler components, airlocks, or voided warranties. However, proper isolation—executed per manufacturer, G3, and WRAS guidelines—poses minimal risk to well-installed modern systems. Risks only spike when non-qualified persons drain systems, open safety valves, or leave heaters powered “dry.”
What safety routines protect both equipment and compliance during water isolation?
- For combi boilers, simply shutting off the cold mains interrupts hot tap supply; heating functions remain until the system depressurises or trips a low-pressure switch.
- With unvented cylinders, never touch or reset safety valves unless G3-certified; leave the cylinder “at rest” and in most cases, the vessel remains protected.
- immersion heaters and electric point-of-use units must be powered down at the fused switch or circuit breaker ahead of any draining or extended isolation.
- Gravity-fed or loft-tank systems require you to ensure sufficient water remains post-isolation; refill and vent as needed on reactivation to prevent airlocks or burnt-out pumps.
- For smart controls or connected thermostats, make a note of error codes or abnormal readings after an event—this keeps warranty coverage on solid ground.
Most property system failures after a leak result from improper restarts—not from the shutoff itself.
Plumbers 4U engineers check, restart, and formally test all appliances after isolation, providing clients with clear records that align with warranty, manufacturer, and policyholder requirements—so nothing is left to chance.
What Habits and Support Differentiate a Resilient Future—And How Does Plumbers 4U Deliver on That Promise?
Making your building truly “emergency-proof” relies less on luck and more on discipline: well-mapped valves, scheduled checks, digital photo logs, and trustworthy expert contacts. The highest-performing landlords, agents, or facility leads handle emergencies quickly, minimise impact, and bounce back with zero complaint or legal wrangling. Preparation pays: leading insurers now offer premium discounts or claims guarantees for documented response structures and proof of annual drills.
What sets apart a “safer bet” in emergency plumbing services?
- National network of WRAS, WaterSafe, and G3-certified engineers—ready for rapid on-site triage and remote guidance 24/7.
- Immediate digital action reporting—photos, valve logs, labels—delivered directly to stakeholders for both audit and insurance.
- Focus on code-compliant repairs and upgrades, complete with shareable compliance evidence and service checklists for any new tenant or facility staff.
- Transparent, facilitated user enablement—hands-on demos, simple diagrams, and self-help drills for every type of user, from owner-occupiers to FM leads.
True resilience isn’t just building a plan—it’s running it before you ever need it.
Ready to shift from defensiveness to genuine confidence? Schedule a stopcock isolation check, request a live mapping walkthrough, or keep Plumbers 4U on standby—ensuring every emergency is a managed, reversible event rather than a lingering disaster. Robust systems, clear paperwork, and fast, professional support set you and your properties apart.

