 How to Add a New Radiator to Your Central Heating System
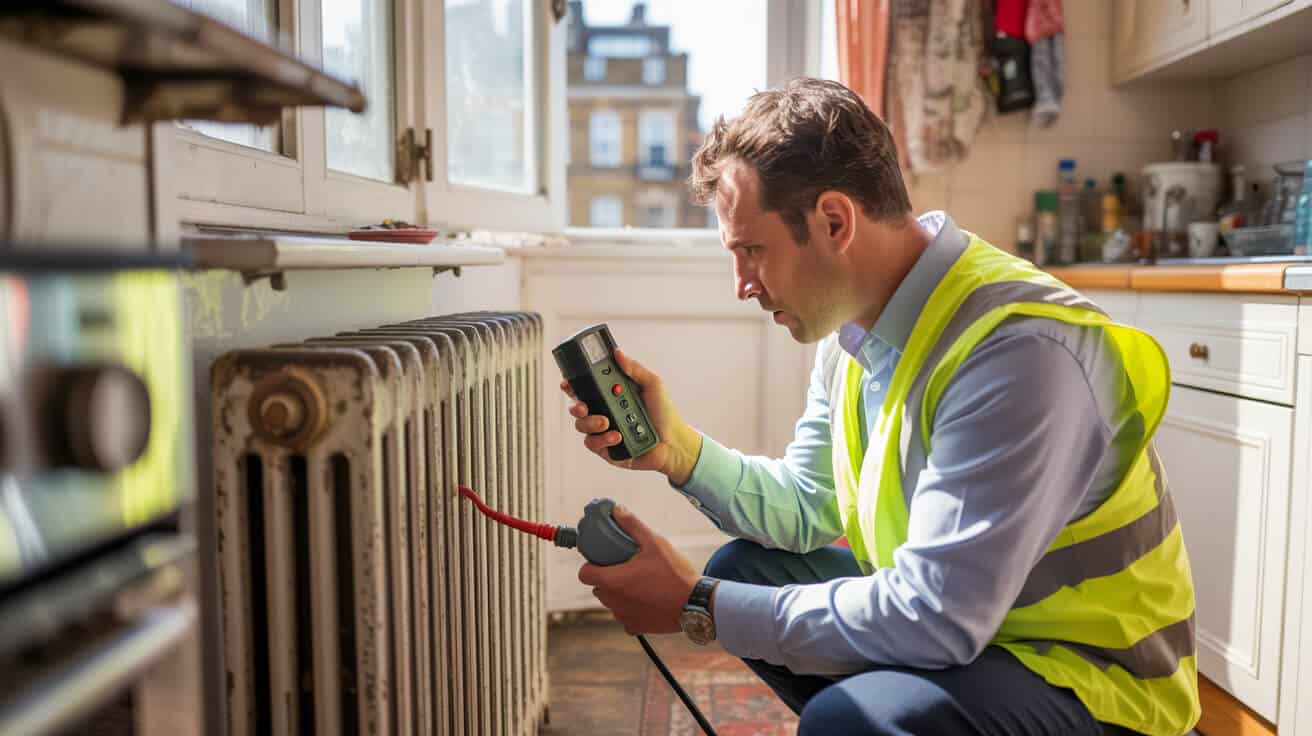
Can You Safely Add a New Radiator to Your Central Heating System—Without Risking Bills, Cold Rooms, or Compliance Headaches?
The decision to add a radiator isn’t just a matter of comfort—it’s a move that touches your property’s value, your compliance status, and even the trust of tenants, clients, or family. Whether your aim is to remove a persistent cold patch, boost Energy Performance Certificate (EPC) scores for a letting, or simply maximise the practical use of living and working spaces, adding a new radiator sets off a chain reaction throughout your central heating system.
Every heating upgrade is an audit of the whole system—one corner cut today becomes tomorrow’s pain point.
Landlords and property managers know that shortcuts ripple far beyond the instal date: a single oversize rad, missed isolation step, or unproven connection can trigger weeks of costly fixes or disputes. Homeowners face similar risks—from silent boiler overloads that push energy bills sky-high, to the headache of rejected insurance claims if a malfunction is traced to DIY work or non-approved parts.
If you genuinely want your new radiator to be a smart investment rather than an ongoing liability, then you need a process that starts with system-level logic. It’s not simply “find a free bit of wall and add the valves.”
This guide unpacks exactly how property owners, letting agents, managers and even local authorities can add a new radiator—without triggering hidden costs, unplanned outages, or headaches when the compliance letter lands.
Will Your Boiler and System Cope—Or Are You Setting Up a Chain Reaction of Problems?

It’s all-too-common to assume your central heating can handle just one more radiator. But the safe answer is only revealed by a clear-headed, numbers-driven load calculation—because every system has a tipping point.
Just because radiators get warm doesn’t mean the boiler’s coping—steady output matters more than first impressions.
Three Foundations for Capacity Assessment
- Boiler Output vs. Total Demand: First, tally the output needs of *all* existing radiators (in British Thermal Units, or BTUs) and add your new radiator’s requirement. Convert your boiler’s kW rating to BTUs for an apples-to-apples check. Cramming too many radiators onto an underpowered boiler doesn’t just mean lukewarm rooms. It can also invalidate warranties and increase servicing costs as the system works harder than intended ([Viessmann 2024](https://www.viessmann.co.uk/en/heating-advice/boilers/add-radiator-to-combi-boiler.html)).
- Pump and Pipework Health: Symptoms like slow heat-up, sluggish flow in distant rooms, or frequent boiler pressure drops point to a system stretched to its limit. If rooms are already chilly or “dead legs” in the system exist, expect the problem to escalate.
- System Type and Age: Modern combi boilers are less forgiving of additions, while gravity-fed and open-vented systems may handle incremental upgrades—though legacy pipework can hide corrosion and scaling. Pressurised (sealed) systems need professional assessment to avoid a domino effect of issues down the line.
Bottom Line: Always validate “spare” capacity, especially before connecting more load in rental portfolios, HMOs, or public sector housing. An accurate assessment protects comfort and asset value, and in a managed setting, can prevent insurance or compliance disputes.
What’s the Smartest Way to Isolate Part of Your System—And Avoid Costly Drain-Downs or Tenant Disruption?
No one enjoys a central heating shutdown, and for landlords or block managers, downtime spells unhappy tenants and lost days. Proper isolation not only speeds up the work, it safeguards other rooms and limits plumbing risks like airlocks and subsequent leaks.
Isolate the smallest zone possible—preserve service and avoid avoidable bleeding and resets.
Professional Isolation Techniques
- Modern Systems: Look for thermostatic radiator valves (TRVs) at each radiator—these allow quick isolation of a room or circuit. Some installations also feature electric zone valves for further control.
- Pipe Freezing: In homes without isolation valves, engineers can safely ‘freeze’ the pipework with specialist kits, creating a solid ice plug that holds back water while new pipe sections are added. This method is time-limited (20–30 minutes) but keeps disruption minimal ([House of Heating](https://www.houseofheating.co.uk/insights/the-heating-hub/detail-design-choosing-the-right-valves-brackets-and-pipe-covers/)).
- Full System Drain-Down: On older or complicated systems—especially those with silt, scale or neglected joints—a controlled drain and flush is best. Yes, it extends job time and may mean colder rooms, but it ultimately prevents bigger headaches.
A reputable installer will always explain their chosen method, balancing speed against safety and future maintainability. They’ll leave other zones running wherever possible—especially critical in offices, schools, or blocks.
What to Ask Before Any Work Starts
Before pipes are cut, know exactly how your property will be isolated and for how long. If your installer’s plan is “just empty everything and hope for the best,” it’s time to keep searching. The right firm keeps your building warm and your routine undisturbed.
How Can You Pick a Radiator That Heats Properly and Won’t Trip Legal Issues—or Leave You With an Eyesore?
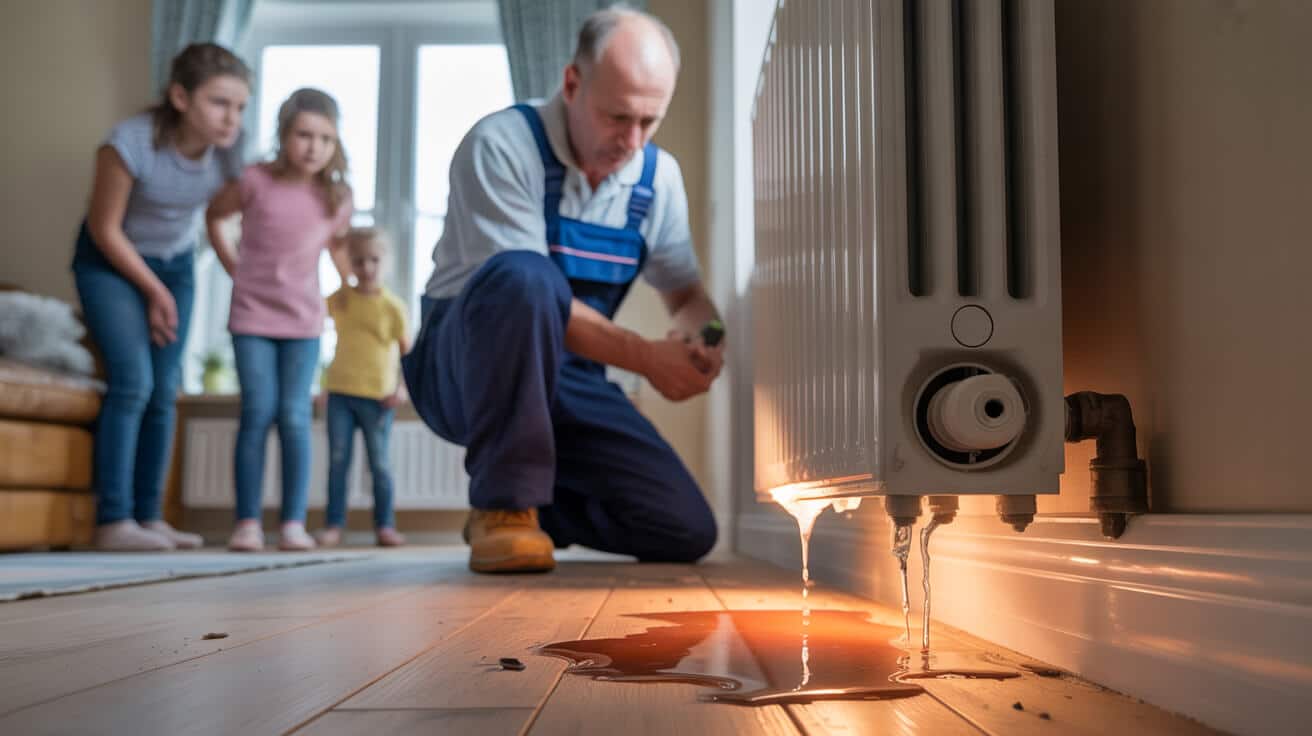
New radiators can mean fresh comfort, a boost to asset value, and even a better EPC rating. But the wrong choice (in size, output, or fittings) means cold spots, inefficiency, and possible compliance problems—especially in rental or managed stock.
Every valve, bracket and metre of pipe is a decision: will your system run quietly—or start complaining as pressure mounts?
Size and Select With More Than Guesswork
- Accurate BTU Calculation: Use a BTU calculator or, preferably, a heat-loss assessment by a qualified engineer for the specific room. Over-specced rads burn energy, while under-specced ones leave chilly patches ([Trade Radiators](https://www.traderadiators.com/blog/fitting-radiator-complete-guide)).
- Only Fit Certified Components: TRVs, lockshields, pipework, and (where needed) bypass valves must be WRAS-approved to satisfy both Building Control and your insurer. Automatic bypass valves (ABVs) are a legal requirement where all rads can be isolated, preventing system strain.
- Installation Quality: High-output or tall radiators must be fixed with reinforced brackets—especially on plasterboard walls. Cutting corners with pipe covers, trims, or bracket placement may seem minor, but these details are the first to fail (or draw complaints) after move-in.
Don’t Neglect System Alignment
- Combi Boilers: Watch total system output, and beware pressure drop.
- Gravity-Fed Systems: More adaptable, but check for hidden weaknesses—old rubber washers, mismatched pipes, or signs of corrosion.
- Unvented Systems: All pipework must be G3-certified—work by an unqualified installer can have insurance implications.
Owners who follow these principles avoid call-backs for balancing, leaks, or “shouldn’t this be warmer?” complaints months down the line.
Where Should a New Radiator Be Placed for the Best Comfort—And What’s the Impact of a Poor Location?
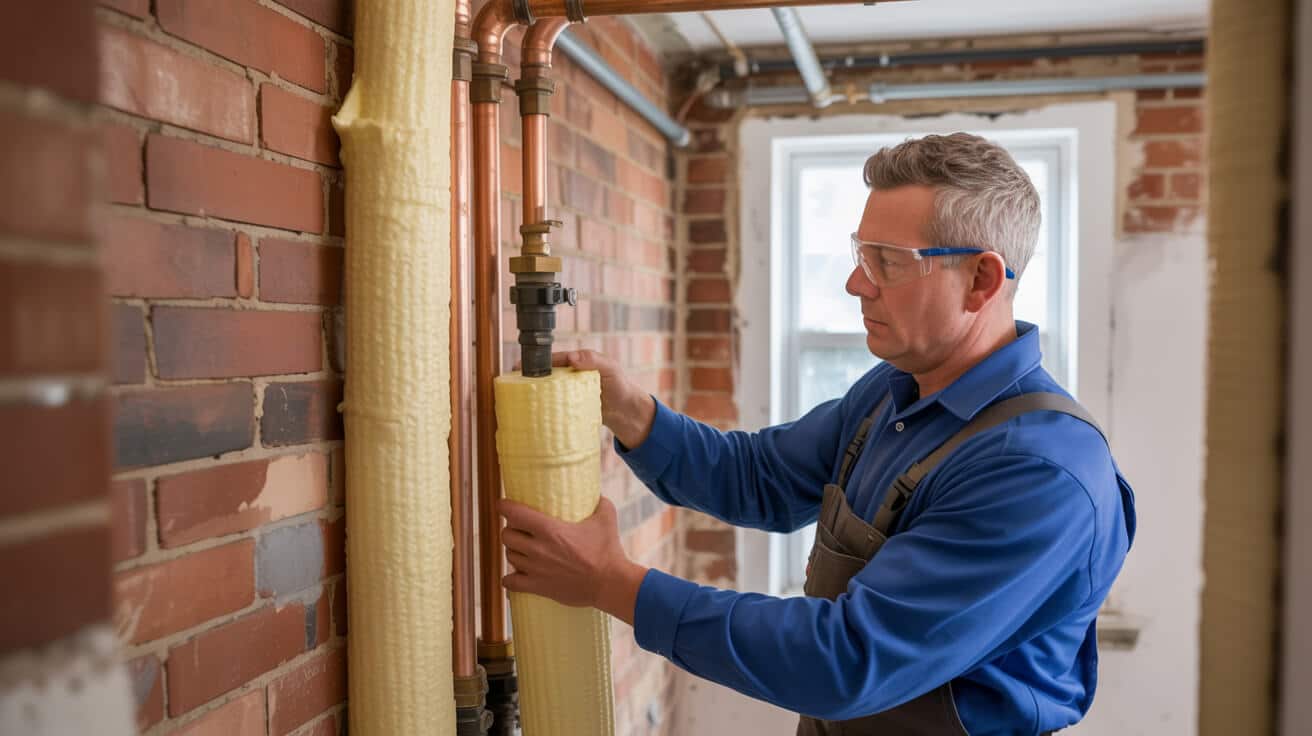
Heating is as much about flow as it is about output. The best-placed radiator can lift a neglected room instantly—while a poorly-sited one creates cold patches, endless condensation, and frustration.
Proper placement isn’t about filling empty walls—it’s about making heat work for you.
Placement Principles For Lasting Warmth
- Under Windows: Offsets cold incoming draughts—an industry staple for a reason. Loss through glazing is met with direct heat.
- Leave Space: Always keep 100mm atop flooring for airflow, and avoid hiding rads behind curtains or furniture.
- Wall Structure: Heavy radiators must anchor to studs, solid brick, or professionally-rated fixings for dot-and-dab plasterboard—cheap anchors won’t last ([BestHeating](https://www.bestheating.com/info/top-5-vertical-radiator-installation-mistakes/)).
- Visual Logic: Match position to existing radiators for aesthetics and future troubleshooting—symmetry means quicker diagnostics and easier balancing.
A Good Installer Checks More Than the Wall
Hidden pipes, wires, or wall weaknesses demand inspection before drilling or feeding pipework through. Overlook this, and you risk future leaks, system noise, or ugly visible pipes that spoil the finish (and future value).
How Do You Guarantee Water-Tight, Code-Compliant Pipework When Adding a Radiator?
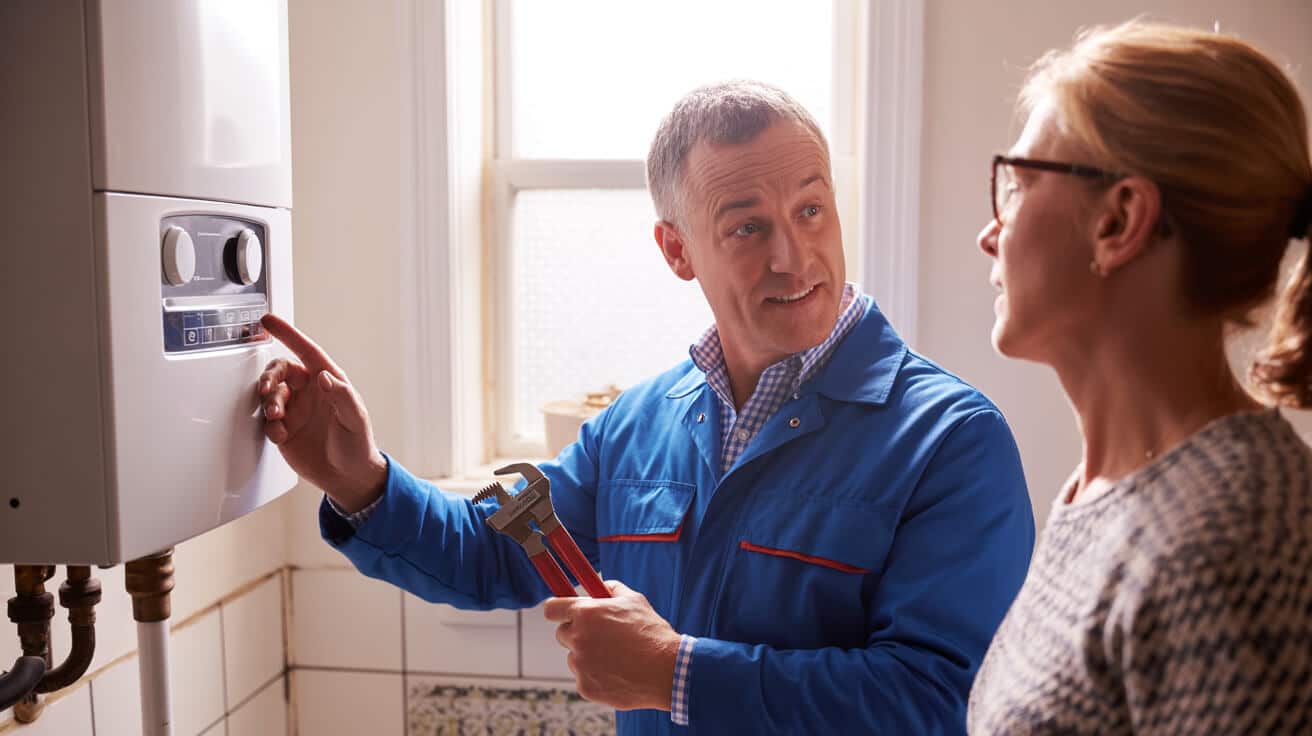
The real sign of a professional isn’t gleaming rads or neat paintwork—it’s the pipework hidden (and tested) behind every panel and floorboard. Messy, over-exposed, or poorly supported pipework is a flashing warning for leaks or future call-backs.
unseen leaks cost you more than visible mess—inspect every joint for peace of mind.
Technical Steps for Secure Pipework
- Confirm Flow/Return Routes: Mistakes here mean permanently cold rads no matter how long the heating stays on.
- Trial Fits—Every Time: Never commit to copper or plastic joins without a test assembly. Dry-fitting flushes out errors before the pipes are locked in.
- Heat Safety: Always deploy heat shields near combustibles or plastic when soldering. Never rush the job if water is present—trapped vapour causes poor joins.
- Freeze Plugs, Done Right: If using pipe-freezing, understand the time limit—20–30 minutes, then risk climbs. Always have a backup plan and the right joiners on hand.
What Makes an Engineer’s Work Pro-level?
All joints must be pressure-tested to a level above normal system use. Any minor drop triggers a full inspection and rework—this is non-negotiable. The best companies, like Plumbers 4U, will share test results and log them for warranty or compliance proof.
How Do Pro Installers Spot and Fix Leaks—Before the System Returns to Action?
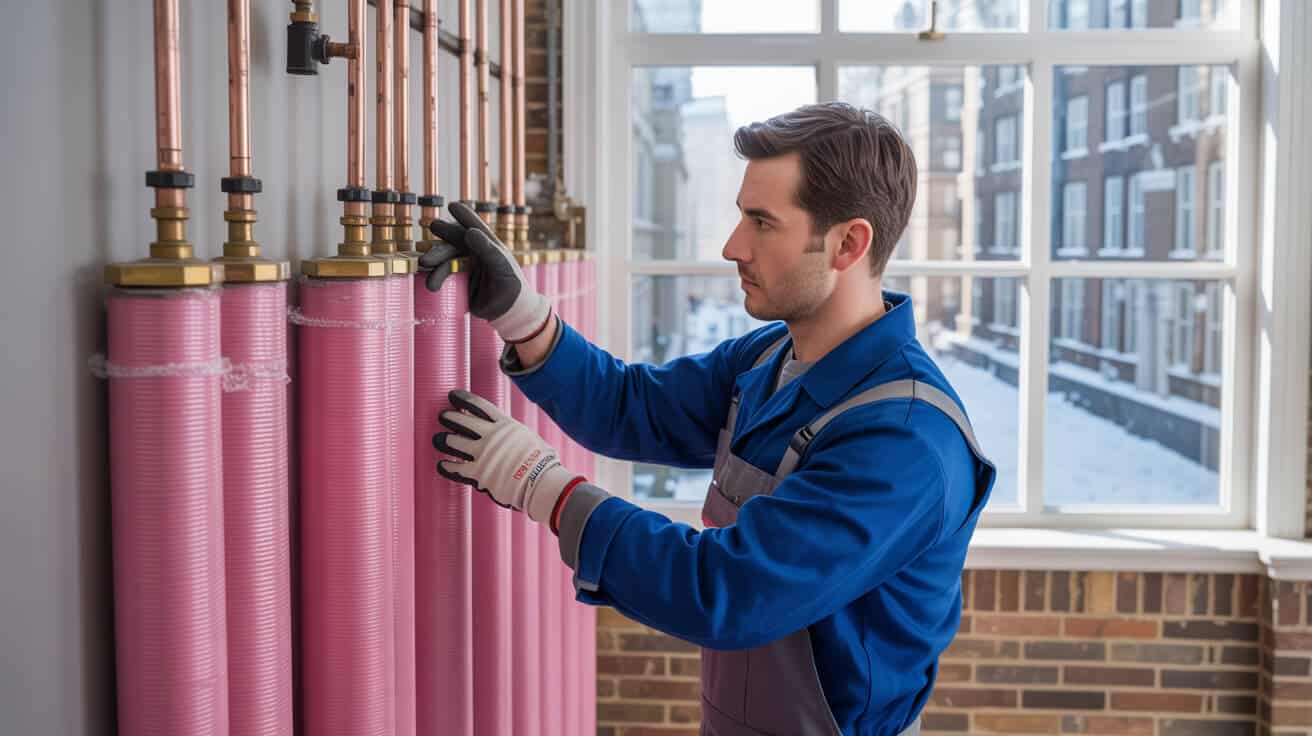
A “leak-free” instal is about more than luck. Pro teams ruthlessly test, detect, and fix micro-leaks before refilling the system, not after. Skipping this step leads to stains, property damage, and early component failure.
Water seeks the weak spot—don’t leave it to chance, check every joint twice.
Modern Leak Testing: A System, Not a Guess
- Section-by-Section Fill: Start by only testing the new run at slightly above normal pressure. This catches leaks early, without risking ceilings or floors in other zones.
- Tissue or Hand Test: Gently check every joint—pressure gauges sometimes miss the slowest weeps or capillary oversights.
- System Pressure-Up: Once local is dry, pressurise the full system and observe over at least 15 minutes. Any gauge movement means work isn’t done yet.
- Hot Run Check: After cold passes, cycle the system up to working temp. Some leaks only show as pipes expand or contract, especially in mixed copper-plastic installations ([WRAS, Practice]).
A property file should hold proof of these checks—not just for your confidence, but for future audits. This is an asset to agents, landlords, and those with long-term maintenance contracts.
Why Meticulous Bleeding, Balancing, and Documentation Makes The Difference—Especially for Regulated Properties
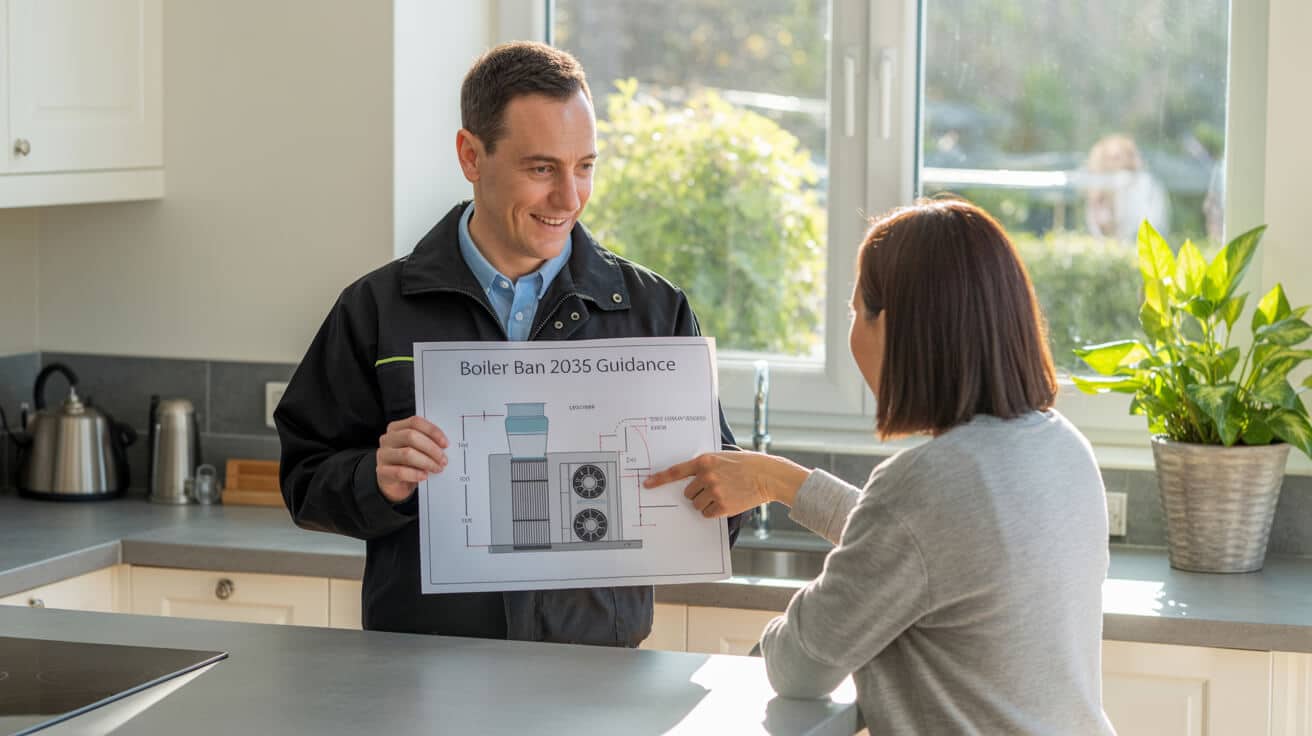
Getting warm rooms is only half the battle. True comfort, and regulatory peace-of-mind, depends on the quiet, balanced operation of every circuit after the new radiator is live. Overlooking these basics is the quickest way to rack up energy bills or play host to tenant complaints.
You don’t truly finish the job until warmth is even, system’s quiet, and the paperwork is ready.
System Commissioning Musts
- Bleeding: Start at the system’s highest point and finish with your new radiator—open one bleed valve at a time. Monitor for air purging, then top up pressure and recheck after a full heating cycle ([Plumbing Forums](https://www.plumbingforums.com/threads/bleeding-radiators-after-installing-a-new-one.20086/)).
- Balancing: Carefully adjust lockshield valves across the system until all rads heat evenly—no “buzzards” or “icebergs.” A balanced system costs less to run and makes boilers last.
- Documentation: Record pressure readings, serial numbers, and commissioning pass in the property log or digital CRM. Regulatory bodies (G3, CP12 or EPC auditors) often require this for regime checks or warranty validation.
Don’t forget aftercare: a short walk-through on bleeding and checking should be part of every installer’s wrap-up with clients, agents, or tenants—it builds trust and halves repeat callouts.
What Risks and Rewards Come With Professional, Accredited Installers—And How Do You Avoid Asset Disputes Down the Line?
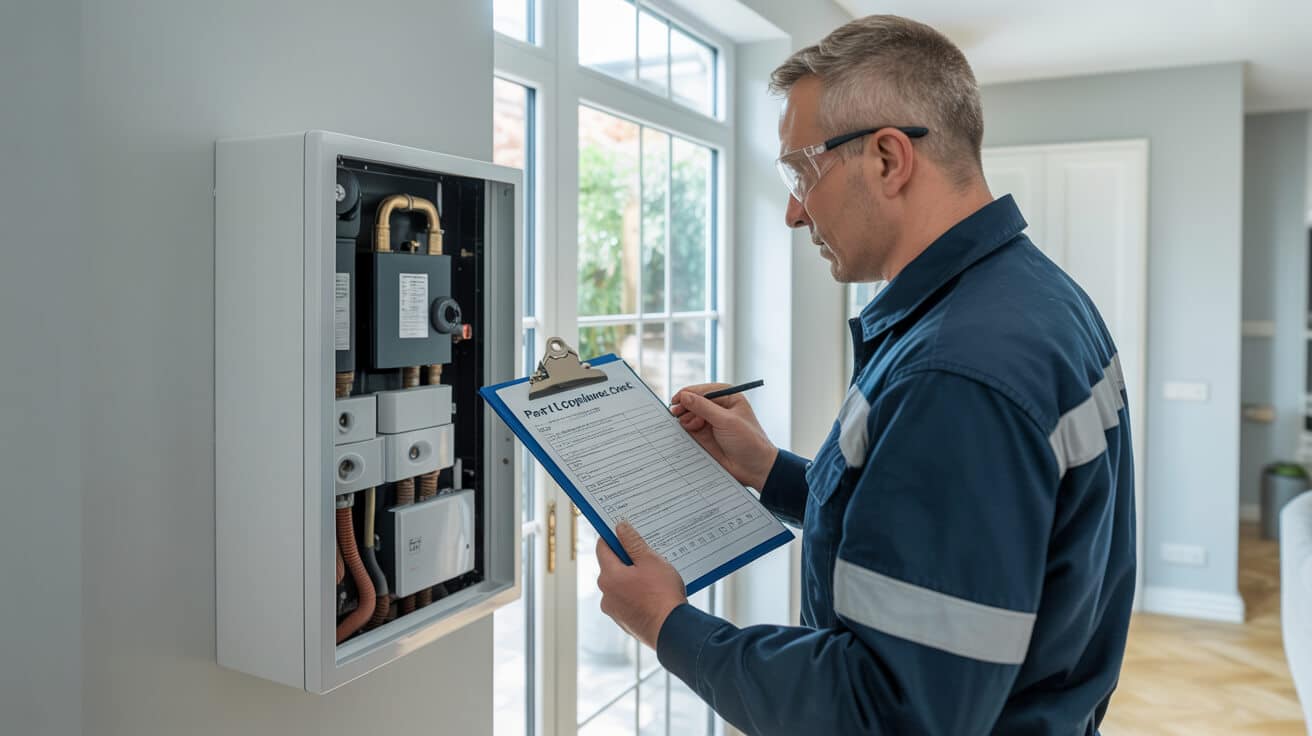
System upgrades touch asset value, legal standing, and operational reliability. Doing it right communicates reputation, not just compliance. Unqualified “fit-and-forget” jobs eventually mean legal headaches, system failures, or insurance wrangles for everyone—from landlords to local authority managers.
Documented compliance and clean handovers save property managers from a year’s worth of headaches.
Why Advanced Certification Matters
- Regulation Leadership: Plumbers 4U engineers are WRAS, G3, and Part G/L certified—so EPC, CP12, and letting renewals move smoothly.
- Minimal Disruption, Max Performance: Use of modern isolation or pipe freezing keeps most rooms live, so residents or tenants aren’t troubled.
- Rigorous Testing, Documented at Every Step: Every pressure check, part ID, and photo log is shared with stakeholders—a future-proof audit trail.
- Transparent Handover: Tailored end-user instructions, maintenance education, and robust digital documentation are standard, ensuring tenants and managing agents know what was done, when, and why.
- Collaborative Scheduling and Reporting: Teams like Plumbers 4U work to your calendar, not just their own, and all compliance and maintenance info is prepared for your property file before signoff.
Cut corners, and you risk asset downgrades, chilly rooms, angry clients, and more time fixing problems than enjoying results. The upside? Correctly executed radiator additions can enhance property reputation, compliance scores, and daily comfort for years.
Take Full Control—Book a Standards-Based Radiator Installation With Plumbers 4U
Adding a radiator isn’t just about closing off a cold spot or ticking a box for energy upgrades—it’s a holistic test of your property’s resilience, your risk management, and your stakeholder confidence. Plumbers 4U delivers engineer-led, standards-driven radiator installations for homeowners, landlords, agencies, and institutions across the UK.
From preliminary BTU assessments and system isolation, through robust installation, digital documentation, and compliance-ready certification, our accredited teams leave no detail to chance—and no room for future disputes. Get in touch for an accredited review, and invest in warmth, compliance, and seamless operation—today and every season ahead.
Frequently Asked Questions
Why does boiler and pipe selection shape the outcome when adding new radiators—and what’s commonly missed?
The success of adding radiators depends on how well your boiler and pipework can handle the extra demand. Most boilers in UK homes, especially combis rated 24–30kW, are sized for a set number of average radiators and specific hot water needs. If you add radiators without recalculating, you risk cold rooms, slow heat-up, noisy pumps, and—if your system’s already near capacity—lockouts that force expensive call-outs or even void your home insurance. Old microbore pipework (10mm) restricts the amount of hot water getting to far corners of the home, and every extra metre acts like a bottleneck, reducing efficiency and lifespan.
System strain rarely starts with a bang; it creeps in, showing up on your coldest day.
How can boiler and pipework limits be properly assessed?
- Room-by-room BTU calculation: —engineers calculate how many British Thermal Units your space needs, then check your boiler’s precise output label, and map your main pipe diameters and circuit length.
- Pipe size checks and upgrades: —if old or undersized, key pipes may need replacing so hot water reaches every radiator at equal pace.
- Physical inspection for hidden restrictions: —engineers mark down old valves, corroded joins, or debris blockages.
- Hot water demand: —factoring kitchen and bathroom usage alongside heating stops future cold-shower surprises.
Experienced professionals like Plumbers 4U always document these checks before quoting, flagging where upgrades protect you from subtle, lethal efficiency losses or future call-backs—saving homeowners and landlords money and hassle.
What are the real-world signs you’ve pushed your system too far?
- Rooms furthest from the boiler don’t fully heat, or lag behind.
- Sudden pressure drops when multiple taps or showers run.
- Pump cycling, vibration, or regular air in the system.
- Boiler shows intermittent lockouts, flow or temperature errors.
Practical move: Keep your boiler’s model, instal date, past upgrades, and total radiator count handy. Plumbers 4U requests these in initial surveys—streamlining the journey from quote to finished, fail-safe project.
What are the most disruption-free methods for isolating pipes when installing new radiators—and when should you avoid pipe freezing?
Reducing mess and protecting property are essential during any radiator or pipework upgrade. Many homes now have thermostatic radiator valves (TRVs) or manual isolation valves fitted—a quick twist stops water flow without draining the whole system. Where valves are jammed, absent, or inaccessible, skilled engineers use pipe freezing kits: these inject a safe coolant, creating a temporary ice plug right inside the pipe, halting flow for 20–40 minutes—just long enough for fitting swaps or small extensions without a flood risk.
Sometimes, the best results come from the fixes you never even notice.
When is a full system drain actually required?
- Older systems with severe corrosion or heavy sludge build-up
- Properties lacking isolation valves on circuit branches
- Commercial setups (schools, blocks, care homes) where compliance rules require full system documentation and fresh inhibitor dosing
- Upgrading pipe sizing or reorganising main runs
After a full drain, pros always flush, top up corrosion inhibitor, and may perform water quality tests—steps vital for insurance, warranties, and long-term system health.
Is freezing or draining best for your property?
| Method | Best For | Typical Mess/Down Time |
|---|---|---|
| TRV/valve | Modern homes, quick swaps | Minimal |
| Pipe freezing | Rental units, urgent add-ons | Low |
| Full drain | Old/extensive, compliance-led | Higher, thorough |
Engineers weigh material age, pipe type, property sensitivity, and compliance demands. Plumbers 4U always comes equipped for all three, meaning less risk of disruption—whether tenant-occupied, HMO, or owner-occupied.
How do radiator types, control fittings, and system add-ons deliver future-proof comfort and compliance?
Radiator choice is about more than looks—sizing, safety, control, and documentation underpin every reliable system. For each room, using a BTU calculator and matching heat output is step one. Every radiator, except maybe the bathroom, must be fitted with a TRV (for independent zone control), plus a lockshield valve. Serialised, WRAS-approved parts are essential. On any system where every radiator can be turned off (all with TRVs), you must have an automatic bypass valve (ABV)—this prevents back-pressure on the pump, which could otherwise overheat or fail.
The radiators stealing the fewest headlines often deliver the best peace and savings.
What guarantees true compliance and worry-free ownership?
- TRVs on every radiator: for efficiency and legal compliance.
- ABV: installed if all radiators are now TRV-equipped, to protect system longevity.
- WRAS-approved valves, brackets, and fixings: for evidence of legal coverage in audits or insurance claims.
- Certified brackets/supports: —especially for stud walls, where weight and safety rules mean using spreader plates or specialist anchors.
- Full parts identification, photographs, and job log: —Plumbers 4U supplies this digitally for every major installation or upgrade, smoothing future audits.
Why does this matter for landlords and agents?
Insurers, letting agents, and property managers increasingly ask for proof—photos, serials, and even job logs with every part. This documentation is gold if you’re ever questioned on a claim, EPC, or compliance visit.
Where should radiators and brackets be sited for maximum comfort, safety, and ease of service—and what risks come from getting it wrong?
Proper radiator placement transforms comfort and system reliability. Standard best-practice is to fix radiators under windows, 100–150mm above the floor, using spreader plates or heavy-duty anchors where needed. Common pitfalls? Fitting radiators behind furniture, inside alcoves, or using simple plugs in plasterboard. Fixings that aren’t up to the job can cause radiators to sag, detach, or fail compliance inspections. Spacing errors trap hot air, leading to persistent cold pockets. Skipping pipe sleeves or insulation might allow condensation or water hammer, contributing to costly after-effects.
Comfort’s first battle is won before the drill ever touches the wall.
What’s the checklist for flawless siting and fixing?
- Use wall fixings appropriate to wall type—spreader plates for stud, robust anchors or resin for heavy radiators.
- Pre-map for pipes and cables before drilling—avoids leaks or electrical hazards.
- Allow 100–150mm floor clearance and space for bleeding/maintenance.
- Always fit insulation and clips at every pipe penetration.
Plumbers 4U engineers run every instal against manufacturer’s specs and EPC guidance. Documented evidence makes handover, audit, or maintenance seamless—less stress if you manage multiple properties or site types.
What’s at stake if placement goes wrong?
Surveyors and agents report:
- Sagging, misaligned, or insecure radiators
- Compliance fails delaying tenant move-ins
- Heat distribution that leaves some rooms cold even after full system upgrades
What systematic installation steps shield against leaks, inefficiency, and compliance shortfalls during radiator works?
Installation quality is measurable from the first dry-fit to the final bleed. The best engineers dry-assemble before marking cuts or soldering one joint. Compression or soldered fittings are only made with WRAS-approved materials. PTFE tape? Only if the valve manufacturer demands it—never as a patch. After assembly, every joint is locally pressure tested, then the entire heating system is checked at working pressure. Each key step is photographed and logged.
What you double-check now is what you won’t worry about later.
Which details set apart a pro-grade instal?
- Dry assembling layout: for accuracy and avoiding mistakes
- Physical pressure testing: at both local and system level
- Photographic and logbook documentation: —not just for warranty, but future work or audit references
- Full update to compliance certificates: (WRAS, Part L, G3, landlord checks, EPC)
- Aftercare handover: —training for shut-off, bleeding, and maintenance
Errors such as skipping staged testing, re-using corroded or unapproved valves, mixing incompatible materials, or missing paperwork trigger not just leaks, but insurance and warranty frustrations. Plumbers 4U works stepwise—and supplies full digital trace—reassuring both property managers and private clients.
Why is professional handover central to ongoing comfort, system health, and legal proof on every radiator project?
The job’s only half done once the last panel’s fixed. Bleeding every radiator (start with the highest), topping up system pressure, and balancing flow with TRVs and lockshields come next. Running a full heating cycle flushes out expansion-induced leaks that might otherwise go undetected for months. Clear, photographic handover, digital filing of all key records, user training for controls and shut-offs, and cloud or physical storage of all certificates (WRAS, Part L, CP12, EPC) makes for future-proof comfort and compliance.
A system with digital audit trails never has to prove itself twice.
What makes a real-world handover robust and audit-ready?
- Bleed sequence and pressure adjustment completed
- Balanced flow across rooms for even warmth
- Full-cycle heating run and leak check performed
- All documentation (photos, parts, serials, certificates) delivered in a shareable format
- Users and agents shown all controls, emergency steps, and maintenance tips
For landlords, agents, and property owners, this full-spectrum record unlocks streamlined insurance claims and proves compliance at audit—no scrambling, no room for doubt. Plumbers 4U closes every project with a digital record and personal walkthrough, setting the standard for quality assurance.
Elevate your heating upgrade from guesswork to gold standard. Trust Plumbers 4U for radiator installation that pairs comfort, compliance, and full traceability—so you’re always ready for winter, audit, or resale.

