 Five Simple Plumbing Repairs Every Homeowner Should Know
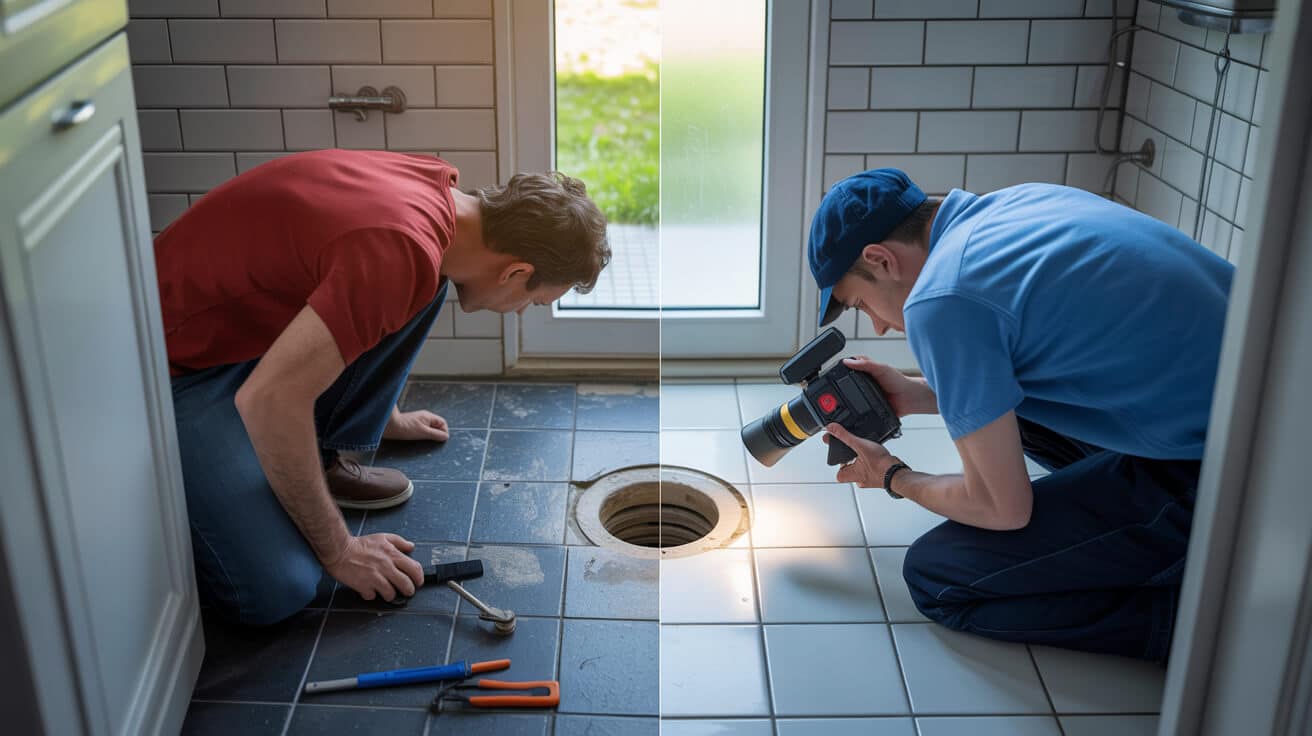
What Plumbing Repairs Will Actually Save You Money (and Stress) at Home?
You don’t notice your pipes, taps, or valves—until a puddle, cold room, or odd gurgle appears at the worst moment. But when water escapes or systems fail, every decision you make has consequences: costs, comfort, legal cover, and even reputation. If you own or manage property—whether it’s a family home, a growing rental portfolio, or a busy set of office suites—the right approach to repairs not only cuts bills but shields you from complaints and future claims.
The difference between a small fix and spiralling costs is usually a five-minute habit—never a cheap shortcut.
Landlords, letting agents, facilities managers, and home owners all face an unforgiving reality: UK insurance, housing codes, and rental law don’t reward “trial and error.” Simple steps—logging a repair, using WRAS-certified parts, taking a photo, knowing when to call a pro—pay for themselves many times over.
When you do the basics right, you halve your emergency call-out rates, speed up dispute resolution, and almost always keep your insurance and warranties in force. This guide breaks down which plumbing repairs are worth your time, how to make them assets (not liabilities), and why your skills—plus one file of checklists—can keep your whole operation calm and in control.
The Repairs That Always Deliver Value
- leak prevention: Stop one drip in time and you can save over 1,000 litres of water in a year *(Ofwat, 2023)*.
- Tap and valve fixes: Reduce wasted water, protect against scale, and prevent damage to worktops or floors.
- Pipe and joint checks: Often all it takes is spotting a split washer or loose compression nut before it causes visible harm.
- Regular documentation: Simple logs and before/after photos earn you faster settlements from insurers and less hassle with tenants.
For owners, managers, and agents: every good repair isn’t just about water—it’s your defence against avoidable calls, unhappy occupants, or failed audits.
You don’t have to fix every problem yourself, but you can always control whether a small issue becomes expensive later.
How Do You Know If That Tap Drip Is Yours to Fix…or a Job for a Pro?

That constant drip-drip from the kitchen or bath sounds minor, but it quietly adds £30–£100 a year to your water bill—plus a potential insurance headache if a fast fix goes wrong. Before you reach for a spanner or request a visiting plumber, it pays to know where your responsibility (and skills) start and end.
Quick action prevents small leaks from becoming a reason for withheld rent, lost trust, or invoice friction.
When a DIY Tap Repair Makes Sense
- Compression taps (older, twist handles): Replacing a washer is a straightforward, low-risk job if you fully isolate the water (service valve or stopcock), use a WRAS-approved part, and log the part change.
- Quarter-turn (lever) or cartridge taps: Only swap the cartridge with the manufacturer’s replacement or a WRAS-certified product *(wras.co.uk)*. Careful matching is key; the wrong part voids more warranties than you imagine.
- Evidence and paperwork: Take clear photos before starting, label the packaging from any part fitted, and capture the finished job. These steps support you in case of a future leak or claim.
When to step back or escalate:
- If you see scoring or heavy corrosion inside the tap body (“seat”), or leaks return after a first fix, you need a certified engineer and a record of what you attempted and why.
- Any re-routing of pipework, hidden supplies, or structural work is classified as “notifiable”—by law, only a qualified installer can proceed (Building Regulations Part G).
If you’re a landlord, letting agent, or block manager, document every action: isolation step, receipt, log entry. This habit clears you of blame and accelerates insurance or warranty fixes down the line.
The best repair isn’t about who does it, but whether you can prove it was done right—proof is the only real shortcut.
Can You Really Unblock a Drain Without Breaking Pipes or Voiding Cover?
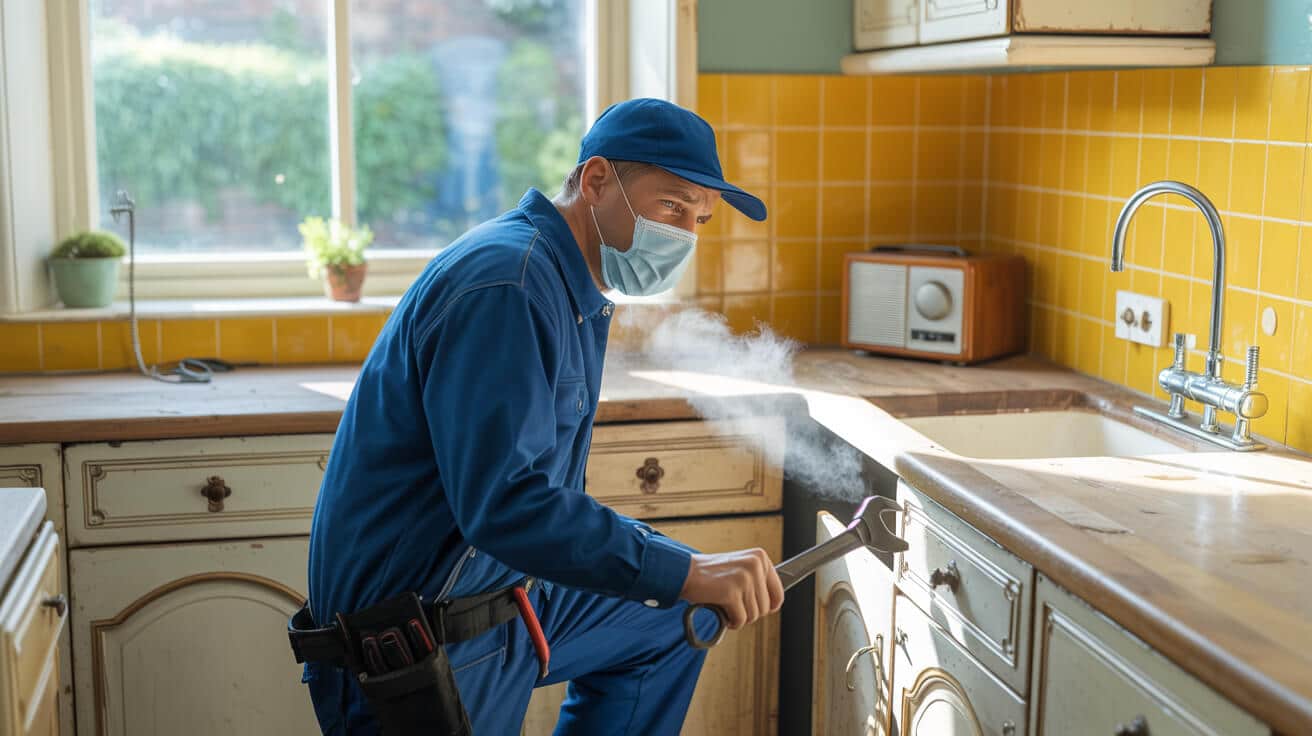
A slow-draining bath or kitchen sink invites DIY energy—but, in property and building management, one wrong move might create larger costs than the original blockage ever would.
The true cost of clearing a drain yourself comes after: leaks from overtightened plastic, burst traps, or dislodged seals aren’t covered by most insurance policies.
The Right Way to Clear Simple Blockages
- Remove surface debris by hand; avoid tools that could scratch or crack pipes.
- Unscrew the trap at the base (bottle or P-trap), hold a bucket underneath, and empty out standing water plus any food, hair, or waste.
- Refit joints only hand-tight—over-tightening plastic threads is a leading cause of hidden leaks.
- For stubborn blockages, an enzyme-based cleaner or a warm water plus baking soda mix is preferable to caustic or boiling solutions (which can deform plastic pipes).
When it’s time to call a plumber:
- Repeated blockages that return quickly, affect multiple drains, or produce bad smells signal issues with the main stack or hidden branches.
- If any trap or waste pipe cracks, loses shape, or won’t seal again, escalate—each of these means an insurance risk, not just a leaking sink.
For landlords and managing agents, best practice means logging the repair step, part numbers, and date—especially in multi-resident buildings. Clear documentation avoids “service responsibility” disputes if the issue returns or affects neighbours.
A blocked drain seldom ruins a flat, but a missed photo or over-eager twist on plastic fittings can undo years of good work.
What’s Really Causing That Toilet to Run, Fill, or Fail?
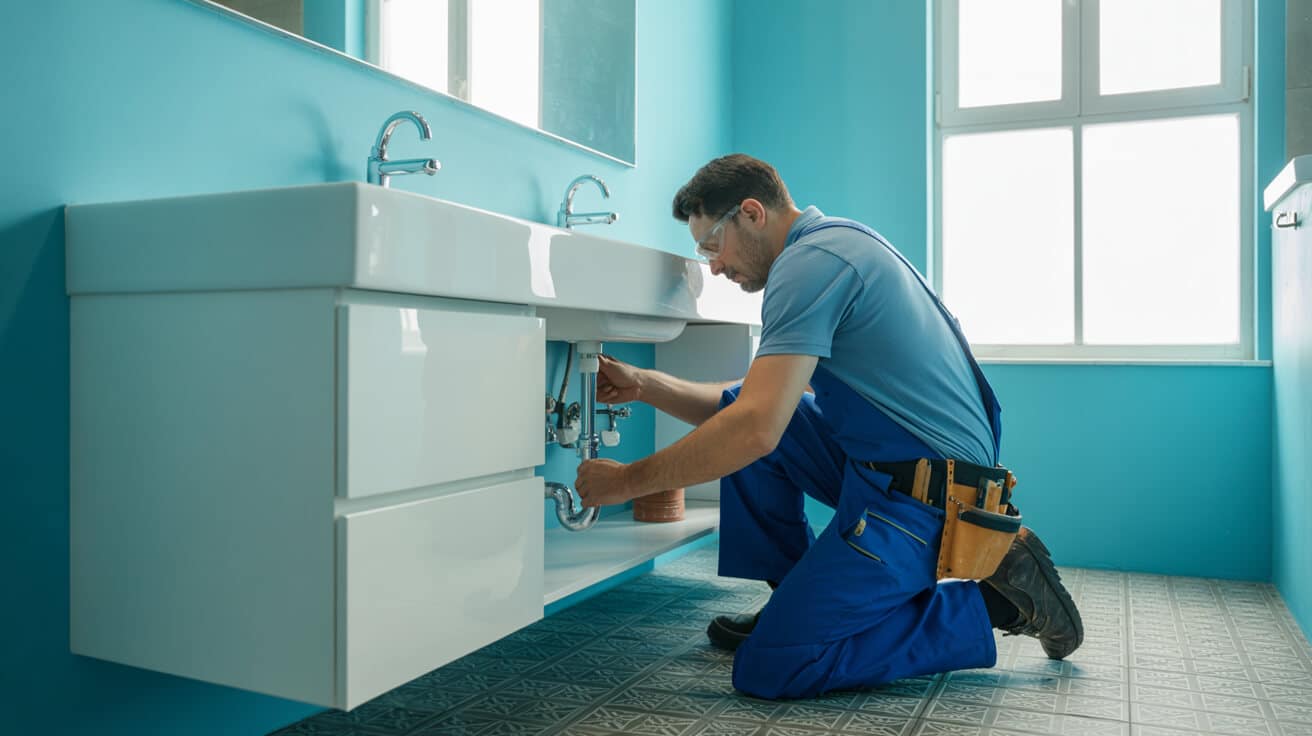
It’s the quiet faults that ruin weeks: a fill valve stuck open, a silent leak into the pan, a flush that won’t go—or a tenant’s call just before the weekend. A faulty toilet can waste 200–400 litres of water a day, spike your bills, and break trust with tenants and insurers.
Most water-wasting quiet faults in toilets are caused by seal or valve failure—with the right check, you control the fix, the cost, and the paperwork.
How to Pinpoint and Safely Solve Common Toilet Problems
- Gently remove the cistern lid and watch the refill—water should stop below any overflow tube.
- Add a little food colouring to the cistern; if colour appears in the bowl, you have a flapper or seal leak needing replacement.
- For overflow or a continuous fill, adjust the float arm gently; if this fails, swap out only with a WRAS-marked valve/flapper *(wrp.ukwater.org)*.
Complex or concealed cisterns—those hidden in walls or fitted units—are not for DIY. Only tackle repairs if all plumbing is visible and accessible. Any attempt to modify, cut, or re-pipe a WC supply requires a registered plumber.
Document every valve, part, and step, saving images and receipts; this is crucial for major landlords and letting agents under dispute or compliance review.
Persistent leaks, visible corrosion, or stains mean it’s time to escalate—sooner is always better, and every attempt should be logged in your property’s service records.
You can only claim for covered losses or repairs if you can show compliant parts and a clean repair trail.
How Should You Bleed and Check Radiators for Maximum Efficiency and Fewer Tenant Complaints?

Cold bedrooms, unreliable heating, rooms that never quite reach set temperature—these are familiar complaints for home owners and commercial landlords. An un-bled or unbalanced radiator system quietly robs efficiency, undermines your EPC rating, and exposes you to disputes or repair calls in peak season.
About half of all tenant heating complaints are linked to poor radiator bleeding, missed pressure resets, or delayed balancing *(viessmann.co.uk)*.
Stepwise, Safe Radiator Bleeding for Every Property
- Switch off all heating and wait until radiators are fully cold.
- Use a bleed key to gently open each valve at the top end—hold a rag or cloth below; close as soon as water (not air) appears.
- In sealed (pressurised) systems, reset boiler pressure to the manufacturer’s target (usually 1–1.5 bar, green zone on the gauge).
- Always photograph the bleed/pressure readings—this supports maintenance and dispute resolution.
If the bleed valve won’t open or appears stuck, or if you notice murky/brown water, stop; you may have sludge or trapped air and need a specialist system flush.
For managers and block supervisors: regular documentation (pressure logs, valve checks, confirmation of repairs) is a strong defence in any claim or dispute with residents.
Reliability is simple: steady process, good records, and always knowing when escalation protects both the system and your reputation.
What’s the Safe Protocol for Stopping a Leak—Without Creating a Bigger Problem?
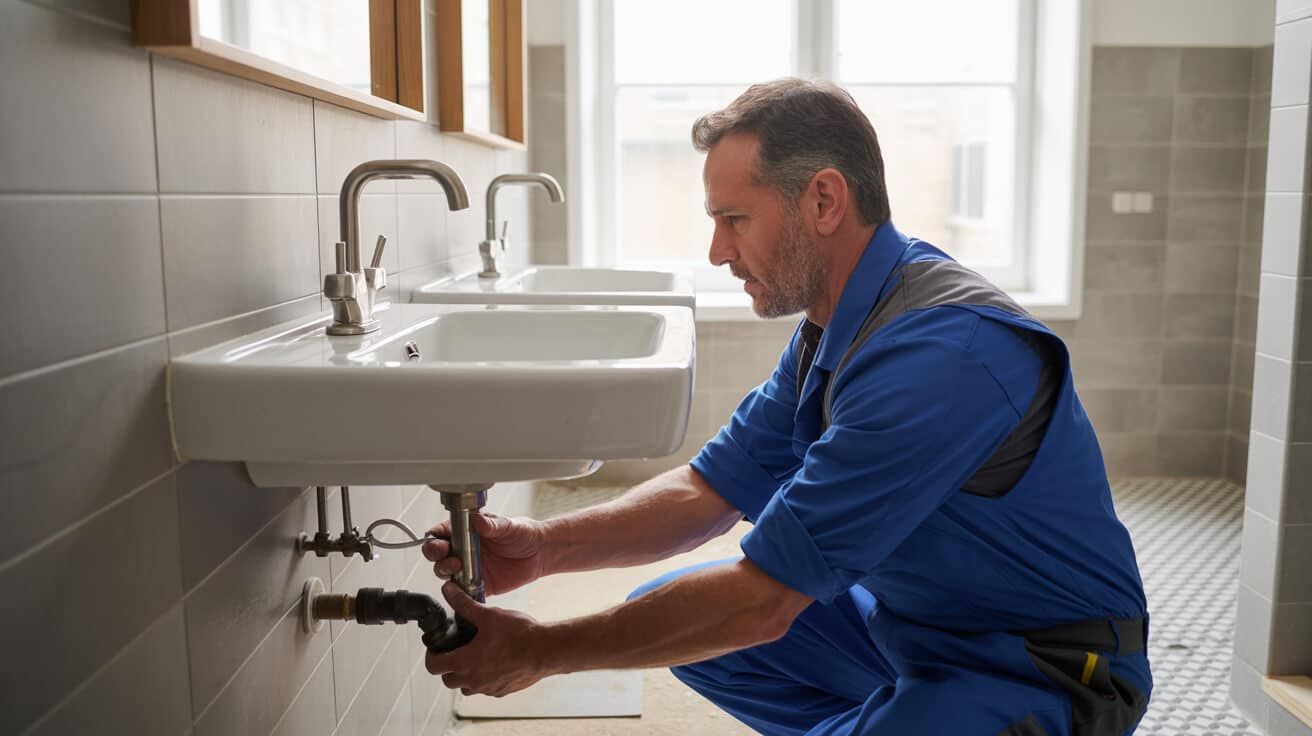
A burst pipe or split fitting is everyone’s overdue test—a minor panic, a risk, and a reminder of why compliance trumps improvisation. For owner-operators and facilities managers, the steps you take in the first minute usually determine if the fix is a relief, or a costly, uninsured headache.
Insurance nearly always excludes damage caused by overzealous fixes—your first priority is safe isolation and proof, not speed with a roll of tape.
A Calm, Disciplined Approach
- Isolate the main supply—or, where possible, only the relevant service valve; log the point and action, ideally with a photo.
- Dry the area: skip this and you risk slips, electric hazards, or a patch-up that fails and voids your insurance.
- For compression joints: a slight 1/8 turn with the right spanner is enough. Over-tightening causes leaks.
- Use only WRAS-certified clamps, tape, or patches as a temporary fix. Anything else—sealant, glue, or hardware store substitutions—can invalidate coverage *(trustedtraders.which.co.uk)*.
Call a qualified plumber if:
- Moisture spreads along floors or up walls
- You see corrosion (greenish stains, flaking), gurgling, or suspect electrical involvement
- Immediate repair won’t hold or more than one fitting is at fault
Your repair file—step list, receipts, photos—is critical not just for future works, but for defending your handling in a claim or tenant dispute.
You don’t need to be a hero—just thorough, compliant, and ready to call in the right pro when it matters.
What Habits and Documentation Will Keep Your Warranty and Insurance Valid?
Even the best, safest repair means very little if you can’t prove what was done, by whom, and with what parts. For home owners, agents, or commercial managers, documentation is your lifeline: from insurance claim to compliant EPC audit.
The “Big Five” Habits for Maximum Protection
- Always photo each repair site—before and after.
- Keep a digital copy of all receipts/packaging for parts, especially WRAS or WaterSafe standards labels.
- Log every shutoff: which valve, which supply, at what time. Confirm valves are restored or left isolated as appropriate.
- Record even minor fixes (a phone photo, diary entry, or a shareable email works for most)—this habit protects you in multi-party scenarios (letting agents, tenants, sub-contractors).
- For anything notifiable (new WC, supply reroute, or hidden pipe change), request or file the formal installation certificate from a qualified engineer *(buildingsafetyregister.co.uk)*.
Corporate and block property owners: use a digital logbook with job sheets, before/after images, part IDs, and technician names. Disputes with commercial insurers or auditors almost always come down to the clarity of your records—err on the side of over-documenting.
Fix it—and forget is a myth. Lasting safety means repair it, record it, log the proof for every audit and audit-trail.
How Can You Spot “Silent” Plumbing Problems Before They Cost You?

Major leaks, expensive heat loss, or build-up of compliance risk are rarely sudden—they build from missed cues, “quiet” leaks, or ignored damp patches. For property managers and owners, vigilance and routine checking are the unseen skills that keep both costs and crises at bay.
Early Warnings and Inspection Habits
- Audit your water bill monthly; look for spikes that often signal hidden leaks
- Check for damp under cupboards, baths, or skirting where pipes run
- Turn every isolation valve in the system at least quarterly—stiff or “frozen” valves cause delay (and legal risk) in any emergency
- Sniff for waste smells or listen for gurgling in any part of the drainage system—both are early warning signs
- Gather feedback: prompt tenants, cleaners, or co-workers to report floor damp, discoloured walls, or odd humidity
For properties you manage: after every fix or check, ask anyone involved for a quick written confirmation (email, text, or app entry). A single photo or log entry now is an ally in later disputes or evaluations.
- Assign a control or site audit as a monthly “must”—for agents and facility managers, this is a schedule, not an afterthought.
The quietest hazards bring the biggest bills. Consistency—not quick fixes—makes you resilient and trusted.
The Confidence to Call for Backup—Plumbers 4U
Managing or owning property isn’t about heroic DIY, nor is it about avoidance. The champions are those who know their “level,” respect where responsibility begins and ends, and choose partners who echo these values. Plumbers 4U delivers WRAS- and WaterSafe-approved engineers to homes, rentals, schools, offices, and blocks all over the UK, with a step-by-step, ever-documented approach.
When you need more than know-how—when it’s time for documentary-grade fixes, compliance checks, or an urgent response—Plumbers 4U is your steady answer. Our national team isolates, repairs, tests, and logs every step, leaving you with tidy systems, valid paperwork, and cleaner relationships with all stakeholders.
Quiet, lasting repairs come from partnership—not panic. Bring in Plumbers 4U when the stakes are real, and watch complaints fade, costs settle, and your property’s value endure the everyday storms.
Frequently Asked Questions
Where does UK law draw the line on DIY plumbing, and why does it matter for your property’s legal protection?
You’re legally allowed to handle minor visible plumbing fixes in your own property—think easy tap washer swaps, trap unclogging, loosening stuck nuts, or bleeding radiators—but UK law draws a hard line when you move beyond the basics. Anything that alters stopcocks, pipework layout, pressure systems, concealed connections, or links to gas, unvented cylinders, or communal pipes is reserved strictly for certified engineers. These lines exist for a reason: a seemingly harmless home repair gone wrong can unravel insurance cover, trigger compliance headaches, or create serious safety risks for tenants or neighbours.
A five-minute shortcut can spiral into months of insurance wrangling if anything leaks down the line.
Landlords, agents, and property managers live by even tighter rules. Any works beyond the most superficial maintenance—especially in flats or rental blocks—demand a recorded audit trail and a traceable proof of competence. Trusting a checklist alone is not enough: you need WRAS-approved or WaterSafe-certified parts, careful evidence (photos, receipts, logs), and sometimes even notifiable works sign-off from Building Control or WaterSafe inspectors. Failure to log repairs correctly or fit non-compliant parts risks voiding claims, tenant deposit disputes, or formal penalties under post-2024 lettings law.
What practical tasks remain safely within DIY limits?
- Tap washer/cartridge change (WRAS-approved part).
- Manual trap clearing on sinks and basins.
- Bleeding radiators with a standard key.
- Tightening exposed fittings or replacement of obvious seals.
What crosses the compliance threshold?
- ANY modification of hidden, communal, or mains pressure pipework.
- Unvented cylinder work (requires G3 certification).
- Gas appliance/plumbing or changes within shared/public spaces.
- Works that impact system pressure or involve fitting new concealed runs.
How does documentation protect your position?
While logs aren’t always required by statute, insurers, buyers, and letting agents increasingly request a digital or written “fix log” for proof and provide cover. That standard isn’t just best practice: it’s fast becoming both your legal shield and a negotiation asset if anything fails. Plumbers 4U generates digital logs, photo evidence, and compliance summaries for every complex job—keeping your audit trail bulletproof if the unexpected strikes.
How can you switch a tap washer or cartridge without risking your warranty or a failed insurance claim?
To repair a tap while fully protected, you need more than enthusiasm and a spanner. Every secure swap starts with shutting off the isolation valve—not the mains unless necessary—then photographing the tap in situ, logging package part numbers, and removing parts gently. Always check if your tap is compression (older) or quarter-turn ceramic (newer): the wrong technique can strip threads or damage seals way out of sight. Use a like-for-like WRAS-approved part, never a “universal” substitute, and resist the temptation to over-tighten—most leaks stem from overzealous torque, crushed washers, or forced fits.
Warranties disappear the moment an unlogged part or a force-fit is discovered after a leak.
Raise your compliance game at every stage: reassemble with steady hands, use tissue checks for micro-leaks, and photograph “after” shots for your records. Digital logs or printed fix summaries protect your position not only with insurers but when you eventually sell or re-let the property. It’s these records that separate professional from corner-cutter in any post-failure investigation.
Stepwise tap repair that keeps you covered
- Isolate water close to the tap—avoid full house shutdowns unless unavoidable.
- Photograph the old installation and packaging to verify compliance later.
- Use brand-specific, WRAS-certified washers or cartridges—no substitutions.
- Apply gentle torque, check for leaks, and snap “after” photos.
- File the receipt, packaging, and summary digitally or in a repair journal.
The biggest risk factors when DIY goes wrong
- Off-brand, mismatched, or non-certified parts.
- Cross-threading, forced fits, or over-tightening connections.
- Skipped documentation—no record equals no insurance backup if the worst happens.
Plumbers 4U takes the guesswork out: every part is traceable and repairs come with a digital log, so you’re never left debating the fine print if things take a wrong turn.
What drain and sink blockages can you sort yourself, and when does a quick fix become a compliance liability?
You can deal with surface-level blockages—removing hair, a soap buildup, or cleaning out a U or bottle trap using hand tools. That’s where DIY stops: once you start dismantling pipework beyond direct view, encounter persistent backups, or spot signs of leaks, the law says it’s time to bring in the professionals. Using harsh chemicals, makeshift tools, or brute force to shift a hidden clog is a recipe for snapped joints or bent pipes—and any later damage often voids your cover if it’s traced to an earlier “off-book” repair.
The line between saving time and triggering a claim is thinner than you think—one ill-advised hack can tip the balance.
Chemical unblockers cause particular headaches: many insurers have exclusion clauses for old plastic waste systems weakened by corrosives. In multi-unit or landlord-managed properties, every step needs a log—before, after, and parts/cleanup details. With repeat slow drains, persistent gurgles, or cracked pipes, you’re in notifiable territory. Plumbers 4U’s compliance-led approach doesn’t just unblock: you get full evidence logs that preserve your position and keep everyone—from letting agent to tenant—on the same page.
DIY “do’s and don’ts” for blockage clearing
- Remove visible debris by hand or with safe, purpose-made tools only.
- Unscrew traps with care; always log the process with photos.
- Avoid boiling water and harsh chemicals on plastic pipes.
- Never reroute, extend, or drill new waste pipes.
How is liability tracked if you cross the line?
- Document every action—no logging, no protection.
- In blocks of flats or multi-tenant setups: any undocumented fix could expose you to joint liability or major insurance gaps.
- Recurring faults should always be passed to a licenced, logged professional.
Plumbers 4U eliminates these traps—every intervention is logged, certified, and evidence-ready.
How can you stop a running toilet and guarantee your fix doesn’t void your warranty down the road?
A constantly filling or leaking toilet is almost always fixable with a simple swap: a new WRAS-approved flapper or fill valve, installed after clean isolation and precise logging of the water line, packaging, and each stage of the work. Stay out of trouble by replacing “like for like” only, using brand-and-model-qualified parts, and snapping photos before you replace anything. For concealed cisterns, in-wall models, or dual-flush settings, the rules are strict: these are professional-only areas. Anything less, and you risk voiding both your warranty and your property’s compliance status.
A repair with no record is just an argument waiting to happen when the next claim lands.
Conduct a dye test for leaks; only proceed if replacement is straightforward and fully documented. Mark fill heights, capture packaging and model numbers, and—most critically—never improvise with parts. Log your work for your own record and proof to insurers, landlords, and future surveyors.
Essentials for a warranty-backed cistern fix
- Access only standard, top-entry cisterns.
- Use replacement valves and washers with full WRAS provenance—store packaging and receipts.
- Document all steps with date-stamped photos—before, during, and after.
- Never alter, adjust, or “improve” flush mechanisms outside factory specification.
When’s the line crossed into “must call a professional”?
- Persistent leaking, unexplained drops, inaccessible workings, or non-standard/concealed units.
- Plumbers 4U attends, logs, and certifies—proof for audits, zero loopholes for insurers.
Maintaining a clear, dated record on every fix gives peace of mind—and untangles any future compliance or claim-related dispute.
When can you safely bleed a radiator or top up a boiler, and when should professionals take over?
Homeowners and landlords have the green light to bleed radiators and top up pressure on combi boilers—but the devil is in the detail: you must use manufacturer guidelines, record initial and final settings, and never touch specialist valves, expansion tanks, or open the filling loop with the power on. Bleeding starts cold, with the right key, and stops once air escapes and drips appear. For pressure, only the engineered filling loop is touched, targeting a mark (typically 1–1.5 bar) specific to your system, never exceeding the maximum. Always note readings before and after and save evidence for maintenance logs.
When in doubt, a pressure reading or valve photo is your strongest legal shield if claims later arise.
Leave anything extra—persistence loss of pressure, repeated air traps, fault code resets, or direct interaction with internal boiler components—to qualified and certified engineers. Insurers and auditors increasingly ask for timestamped proof that best practice was followed, especially when breakdowns or warranty claims are made months later.
Radiator and boiler jobs safe for DIY
| Task | DIY Permitted | Logging for Claim? |
|---|---|---|
| Radiator bleed (cold) | Yes | Yes |
| Combiboiler pressure top-up | Yes | Yes |
| System fill/open access | No | Pro only |
| Expansion vessel adjustment | No | Pro only |
Hidden risks lay in…
- Bleeding when system is hot or under pressure.
- Forgetting to relock valves, risking water damage.
- Topping above 1.5 bar or failing to note persistent loss.
- Touching relief valves or opening sealed covers.
For anything outside the “safe zone,” Plumbers 4U covers the job with a digital log, validated part traceability, and an engineer signature—arming you with insurance-grade compliance every time.
What transforms a routine plumbing fix into audit-proof evidence for insurance, warranty, or tenancy?
It takes only five minutes to turn every repair—whether minor or major—into untouchable, audit-proof evidence for your own security or for future property value. Start with “before,” “during,” and “after” photos that clearly show valve positions, system settings, and part packaging. Save all receipts, write (or log digitally) the address, time, date, and nature of the work, and record your or your engineer’s credentials. This “maintenance file” makes you bulletproof in both insurance claims and compliance disputes, especially for landlords or agents managing multiple sites.
Well-kept records are worth more than a quick fix—future value and legal protection rides on the logbook.
Professionals like Plumbers 4U add further value: every job is closed with a digital PDF report, scanned compliance certificates, photo logs, and, for landlords/agents, cloud-shared summaries across portfolios. When a post-fix problem pops up—be it leak, compliance check, or resale negotiation—your fast access to documentation means no disputes, no denials, and no lost property value.
Gold-standard for maintenance and compliance logs
- Date, time, job type, full address, and fixture/system involved.
- WRAS approvals, batch/part numbers, and receipts or packaging photographed.
- “Before/after” images showing all settings and repairs made.
- Engineer or DIY repairer info—name, credentials, registration where relevant.
- Step-by-step summary, including any compliance advice or certification referral.
Why does it matter in the real world?
- Insurance claims are paid or refused on the merit of these logs.
- Tenant/landlord disputes are dissolved with clear records.
- Sale or compliance/letting audits shift rapidly in your favour with rapid evidence access.
If it’s worth fixing, it’s worth documenting. Book your next fix with Plumbers 4U for the assurance of work that doesn’t just solve the immediate problem but creates a watertight compliance trail for the future.
