 A Beginner’s Guide to Bathroom Plumbing
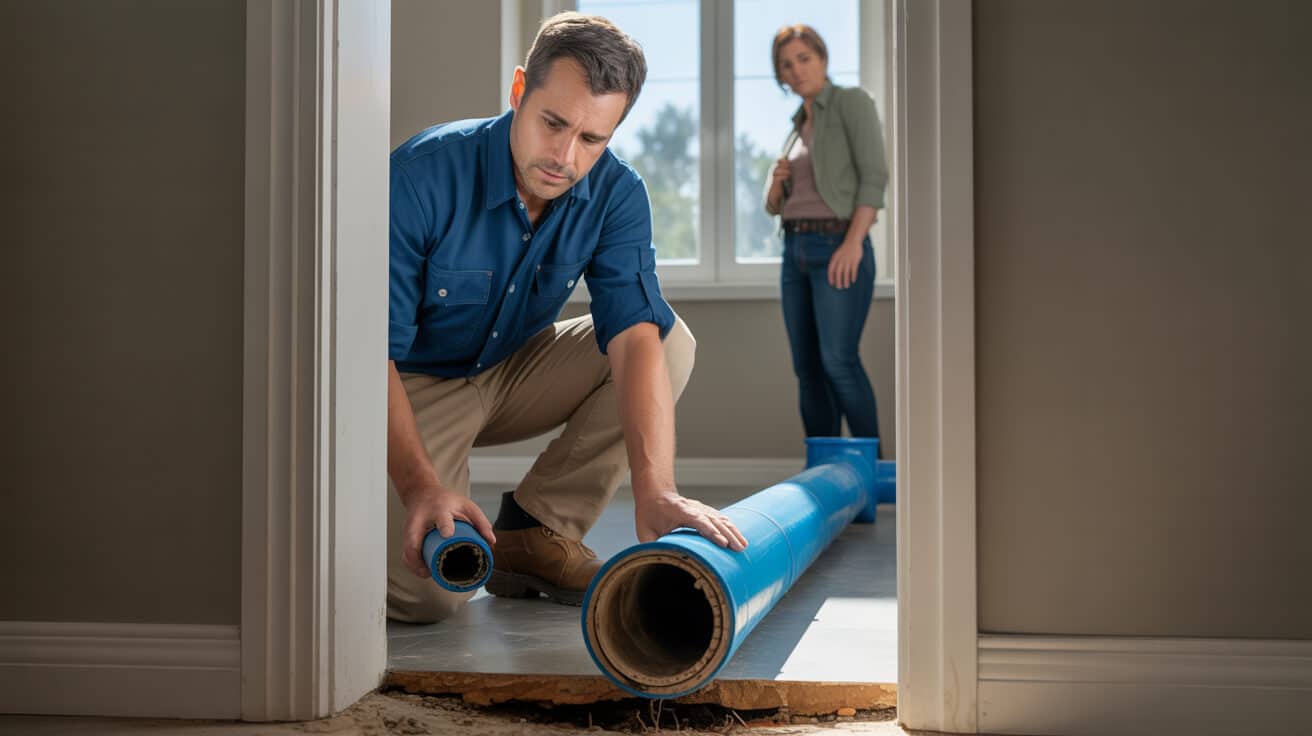
Why Should You Trust a Beginner’s Guide to Bathroom Plumbing?
Bathrooms aren’t just about tiles and taps—they’re the pulse of a functioning home or business, where small oversights lead to big messes and silent mistakes erode trust. If you own, let, manage, or are simply accountable for property in the UK, you know the feeling: the dread of a slow-forming stain, the confusion when a tap refuses to shut off, the scramble when a leak goes from drip to running in minutes. The urge to “sort it yourself” is natural, but confidence only comes when process wins over panic and you know when to call in trade-level support.
This guide’s roots are not in guesswork, but in the day-to-day, boots-on-the-floor experience of Hector Gauge—master plumber at Plumbers 4U, with over 20 years hands-on, WRAS- and G3-certified judgement behind every recommendation. Hector’s approach is practical, prevention-focused, and patient—built from years of fixing problems for landlords balancing compliance, agents fighting claims denial, and families who just want the bath to run clean and the sink to drain first time.
Panic creates puddles; process keeps your feet—and your property—dry.
You’re here for direct action, transparent logic, and advice that actually lowers risk. Instead of generic quick-fixes, everything in this guide draws from UK codes and real-world jobs where missing a step means missed insurance, non-compliance or expensive revisits. Whether you manage a single rental, a portfolio, a school, a shop, or your family’s only bathroom, you’ll find the right level of detail to spot danger, maintain compliance, and ditch hidden costs. It’s the kind of guide homeowners share, agents keep for onboarding, and contractors use to align with clients. Your asset, trust, and safety come first—always.
What’s Absolutely Essential Before You Touch a Tap or Pipe?
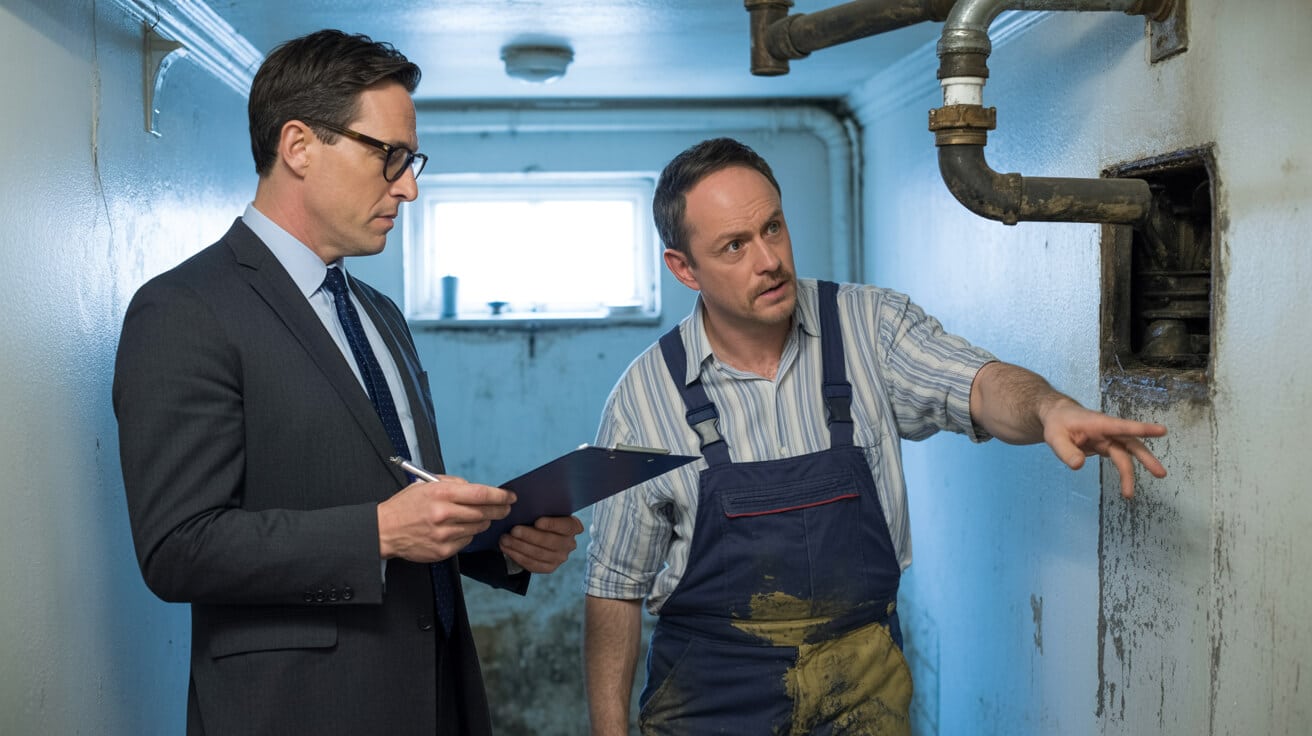
Walk onto any callout and the first move’s always the same: isolation. Not because it’s dramatic, but because starting a bathroom job without confirming how to stop water at source is like working under a leaking roof—mess is guaranteed, and so is regret. Step one is knowing exactly where your main stopcock is, if it moves freely, and what to do if it doesn’t.
You’re not alone if you’ve ever panicked at the sound of gushing water and realised your only defence was guesswork. Insurance claims are routinely rejected because owners didn’t isolate the system before a DIY attempt—or failed to prove they could at all (moneysupermarket.com). Insurers and agents treat this warning seriously, and for good reason: skipping this step means a tiny fix can become a flood. In managed flats or lettings, you’re expected to have this mapped for tenants and staff from day one.
Isolation matters for three unarguable reasons:
- Stops escalation: Loosen a nut, twist a fitting, or swap a fill valve and water will seek out the smallest gap instantaneously. Without control, what was a £2 washer becomes a £2000 ceiling collapse in a blink.
- Protects rights and reputation: Insurers and legal teams examine if proper isolation happened—no evidence, no payout. For landlords and property managers, it’s not just smart; it’s compliance.
- Prevents decision paralysis in crisis: Knowing you can stop the flow, even in the dark or when not on-site, means peace of mind beats panic and tenants/colleagues trust you when it matters most.
No one’s ever regretted isolating water before starting—even after a hundred ‘quick fixes’.
If your stopcock feels stiff, don’t force it—WD40 and patience rule here. Break or snap it, and you’ll discover that waiting for a water board main shut-off turns a bathroom job into a building-wide drama, sometimes lasting hours.
Pro tip for landlords and agents: log, tag, and share stopcock details with every new client or tenant. Miss this and you may be on the line for preventable damage and complaints.
Where Is the Stopcock—and Why Does Knowing Save More Than Just Water?
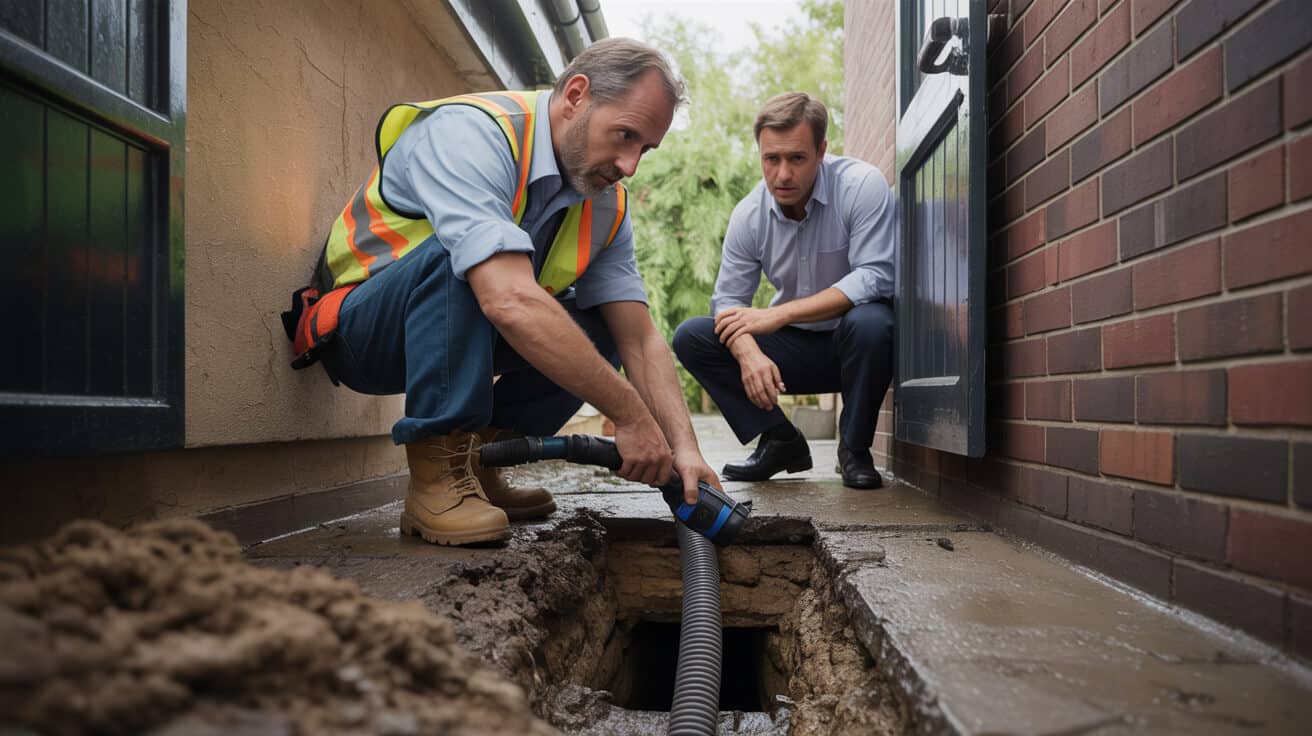
Let’s skip the myth: there is no “universal location” for a stopcock. Every UK property style—Victorian terraced, post-war council block, garden flat, or converted shop—offers a different plumbing puzzle. Knowing exactly where yours is keeps you one step ahead of floods, panicked texts, or late-night property manager calls. It also marks you out as a proactive homeowner or agent—someone who cares about detail and protects asset value.
Simple walk-through to guarantee isolation:
- Start at the kitchen sink: 70% of UK homes hide the stopcock underneath, but check left/right walls and boxing-in too.
- Widen the net: Flats can vary—the stop may be in utility rooms, airing cupboards, under stairs, or, in rare cases, just behind/next to the WC.
- Scan for tags: If you or your predecessor haven’t labelled it, do so now. This is non-negotiable for property managers and must be shared at tenant handover.
- Test the valve: Turn clockwise to shut and immediately check the nearest tap. The flow should stop in seconds—never use force, but if it sticks, note for immediate upgrade or planned fix.
Find it now, not during a midnight burst or a Monday-morning tenant call.
Communal setups (blocks, shared risers, commercial sites) often use external cabinets, metre rooms or risers—never assume without checking. Confirm with landlords, agents, block managers or caretakers and get written/photographic confirmation into your system. Skipping this part can cost hours and reputation in an emergency.
Managed properties? Make stopcock location and access a standard welcome pack item, right next to keys and alarm codes. The five minutes you spend documenting this is a win for asset longevity, tenant confidence, and ease of later repairs.
How Do You Drain Down a Bathroom Safely Before Any Plumbing Work?
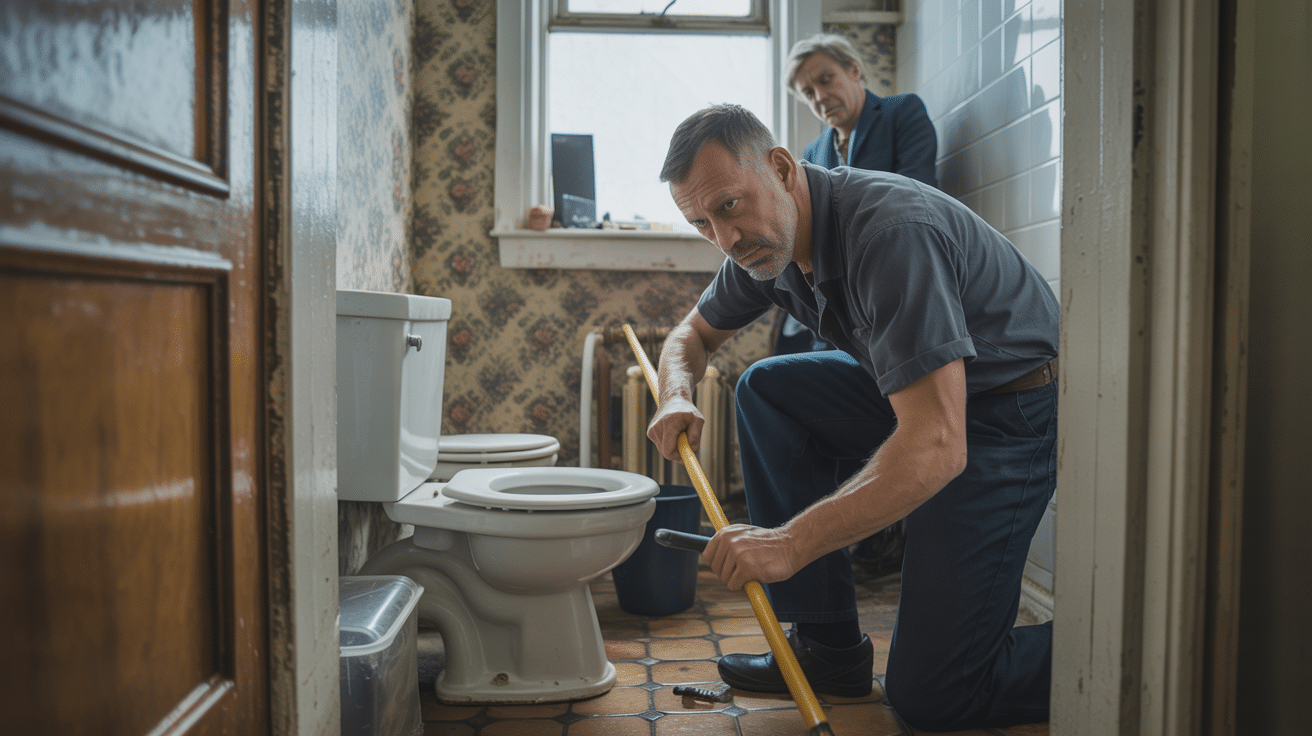
You’ve got the water isolated. Time to rip in? Hang on—pipes, traps, and tanks hold litres of water, and your property (or client’s reputation) is at stake. “Drain down” isn’t just an old pro’s ritual; it’s hard-won wisdom and the difference between a dry job and a soggy setback.
Follow this property-friendly sequence:
1. Shut the main valve—double-check it, don’t assume.
2. Release the lowest tap: Often outdoor or kitchen, letting gravity help flush stagnant lines.
3. Work upward: Open bathroom and basin taps, then shower, to clear branches and prevent false “empty” signals.
4. Wait clear: Draining takes longer than expected in gravity-fed or older systems; patience beats panic.
5. Towels and tray ready: Always. Disconnecting pipes means more water will escape—especially from traps and U-bends. Expect the unplanned.
Properties with overhead tanks? Pop the loft hatch and open the vent so trapped air helps you out—this speeds up drain-down, avoids refills from partially closed valves, and generally makes life simpler.
Avoid airlocks at all costs:
When refilling, open taps gently and close with care. Slamming taps or rapid cycles inject air, causing erratic flow and annoying “glugging.” These airlocks are misdiagnosed as major faults and fill callout books with emergencies that smarter draining avoids entirely. One calm step, one cool system.
You want a dry pipe and a dry floor—anything less means more work after the fix.
Landlords and site managers: photo-log your process, especially for older or recently hidden systems. Evidence matters if a claim or dispute arises, and keeps future engineers on the right path.
What’s Really Happening Inside Bathroom Plumbing: System Basics for Non-Pros
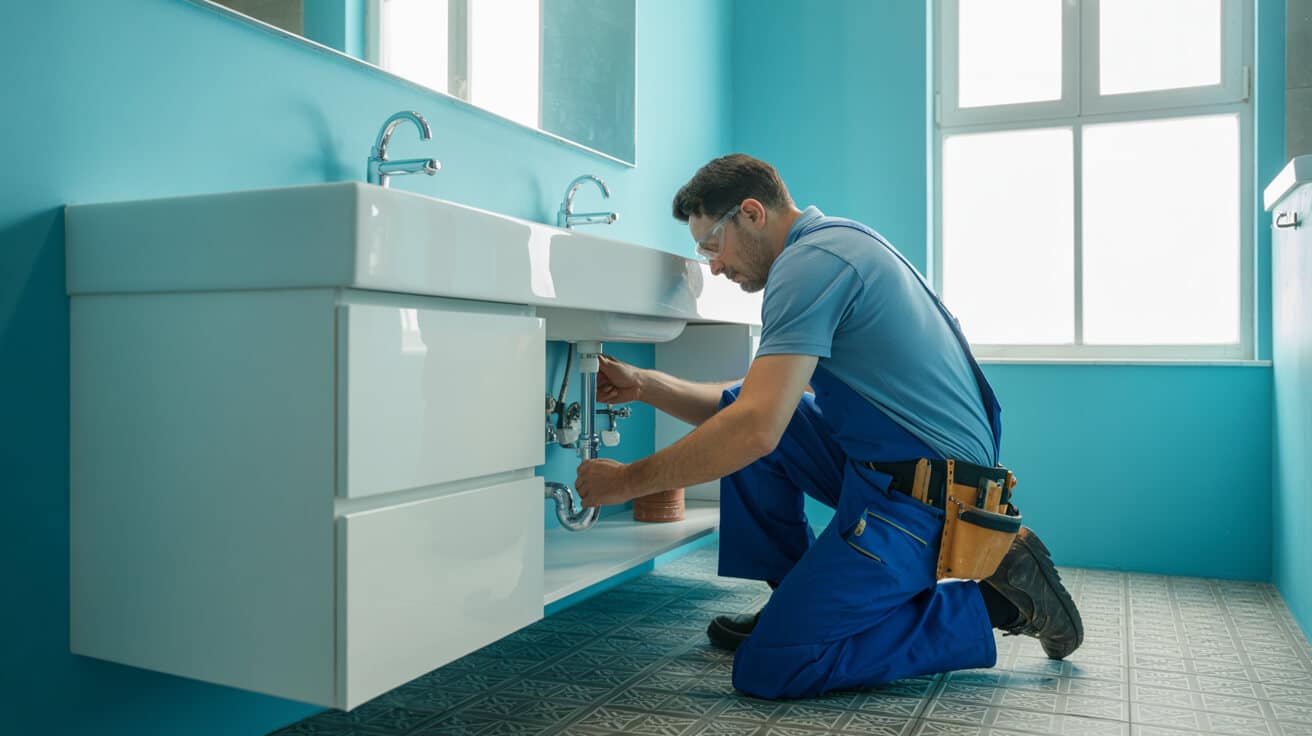
Most DIY disasters and recurring maintenance calls come down to one thing: a mystery about where the water starts, where it ends, and what gets in the way. Bathroom plumbing isn’t just about pipes and shiny chrome; it’s a network of protections and built-in defences covering safety, hygiene, and reliable function. Unlocking the basics puts you in control—whether you’re planning a quick swap or overseeing a complex refit.
- Cold water main: Often copper for line security, sometimes high-spec WRAS-rated plastic. Feeds all outlets, but routing varies—flats may use indirect tank feeds, so tracing is vital for correct isolation.
- Hot water supply: Two main methods—boiler-on-demand (combi) or stored in vented/unvented cylinders. Bigger buildings may integrate solar or heat-pump input using twin coils; know your source before you intervene.
- Waste and traps: Every fixture drains to a soil stack or sewer, with bottle/P/anti-vac traps preventing sewer gas escape. Dry traps signal either neglect, leaks, or missing air admittance devices.
- Vent and pressure control: Modern bathrooms feature air admittance valves (AAVs), anti-syphon traps, or exposed vent stacks to avert rattling, gurgling, and “big flush” issues.
Professional instals keep everything accessible—never crowd pipes behind tiles or floor—using only WRAS-approved joints, valves, and proper support. If you see tangled, hard-to-reach plumbing or tape-wrapped bodge jobs, call a pro. Quality pays for itself down the line.
Plumbing is less about pipes and more about pathway—good access is future-proof (and saves money on repairs).
Getting to grips with the system logic means your decisions protect against backflow, leaks, and hygiene issues—especially valuable for those managing flats, schools, care homes or buildings with unusual layouts.
What Should You Fix Yourself—And What Calls for a Pro (and Why)?

There’s pride—and sometimes a little too much risk—in DIY. Small wins like fixing a dripping tap or swapping a flush mechanism feel great, but too often we see emergencies triggered by crossing over that invisible line into work better left to qualified hands. Respect that line—not just by skill, but because the law, compliance, and asset value depend on it.
Go-ahead DIY jobs:
- Easy swap: tap washers, heads, or visible spindle repairs after full isolation and drain down
- Toilet fill valves or push-button flush units, as long as pipework stays untouched and diagrams are followed
- Removing easy-to-access traps for waste blockage clearing (if you know how to reassemble with no leaks)
- Toilet seats, covers, or exposed hardware (not supply or waste inlets)
Jobs that are always for the pros:
- New or concealed pipework, any re-routing, or penetrations behind walls, floors, or under tiles
- Total suite swaps that shift locations or use wall-hung/suspended fittings—supporting structure, weight, and compliance matter
- Unvented cylinder instals or checks—requires G3 sign-off, always
- Any upgrade, refit, or change for tenanted or managed properties—landlords and agents are legally obliged to use certified engineers and to retain all docs for compliance review
A compliant repair is an investment in your property, not just a tick-box for now.
Recurring leaks, unreliable seals, or invisible “just push harder” fixes land on the radar of insurance assessors, valuation agents, and letting contracts. Paperwork like CP12, G3, or WaterSafe certificates isn’t bureaucracy—it’s legal and financial protection for owners and agents. Never hand over keys or green-light a tenancy without these in your records.
Can You Spot Bathroom Problems Before They Become Disasters?
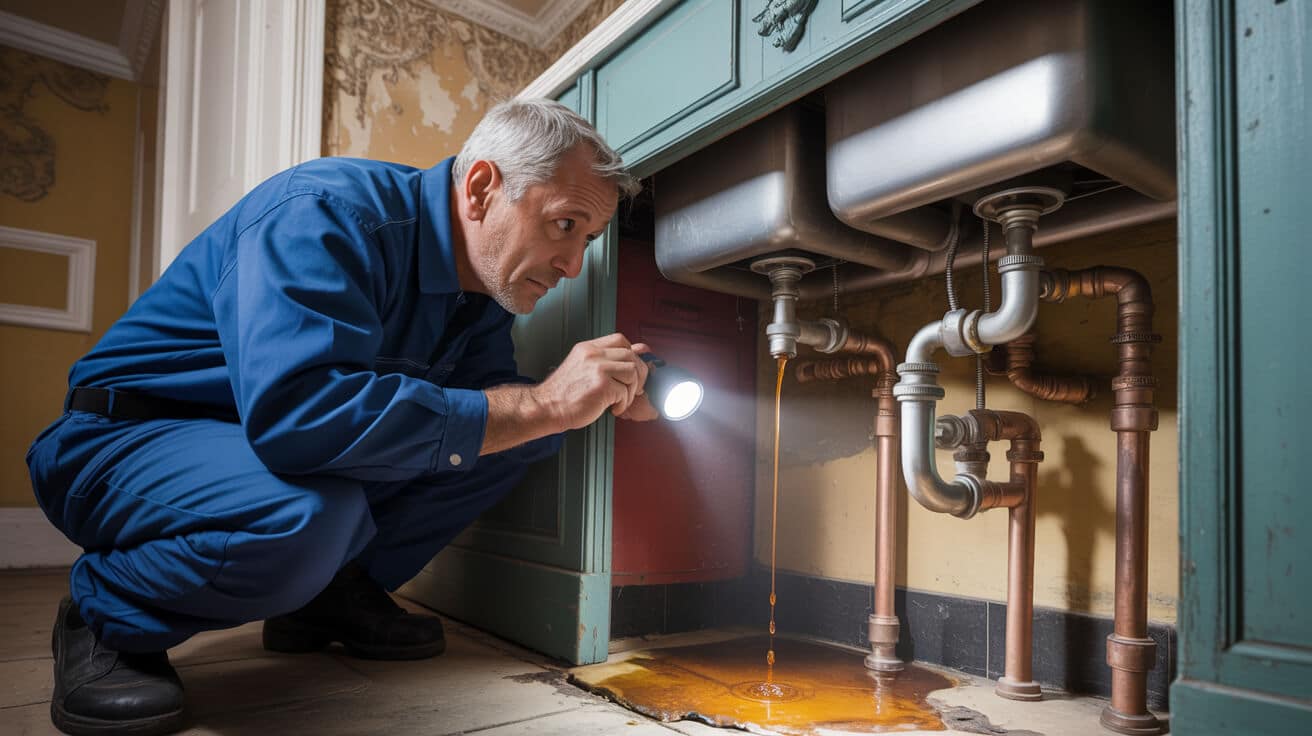
Every bathroom “disaster” started as a whisper: a slow drip, an odd smell, a stubborn waste. Spot them and act early, and you become the owner or agent everyone trusts. Ignore them, and the costs multiply—financially, practically, and in reputation.
Key warning signs that pay off if you spot them soon:
- Dripping taps or inlets: Non-stop drip? Worth checking washers, but if it persists, suspect pressure, limescale, or valve grime. Left alone, even a minor drip can waste thousands of litres, raise metered bills, and hint at hidden grit or scale ([thameswater.co.uk](https://www.thameswater.co.uk/help/save-water/common-water-leaks?utm_source=openai)).
- Slow or smelly drains: Hair or gunk blockages are only part of the storey. Slow drains often reveal improper pipe gradients or deeper hidden blockages. “Quick fix” chemicals rarely solve the core, and repeated issues point to a professional diagnosis.
- Pressure changes: Both hot and cold should run steady. A sudden drop (especially on the cold) can flag leaks, faulty valves, or tank/riser issues. Document changes, especially in flats or blocks.
- Persistent or returning damp/patches: Water that reappears after repair means hidden issues—misrouted pipes, bad joins, or evolving leaks. Multiple “quick patches” are a giant red flag for system diagnostics.
A persistent fault is a system telling you to look closer.
Set up a property log—photo and note changes, track fix dates, and keep receipts. For letting agents and managers, this “paper trail” is both compliance gold and a shortcut to rapid claims. Sharing early warning signs with tenants and colleagues builds trust and cuts long-term cost.
When Is It Essential to Bring in a Certified Professional?
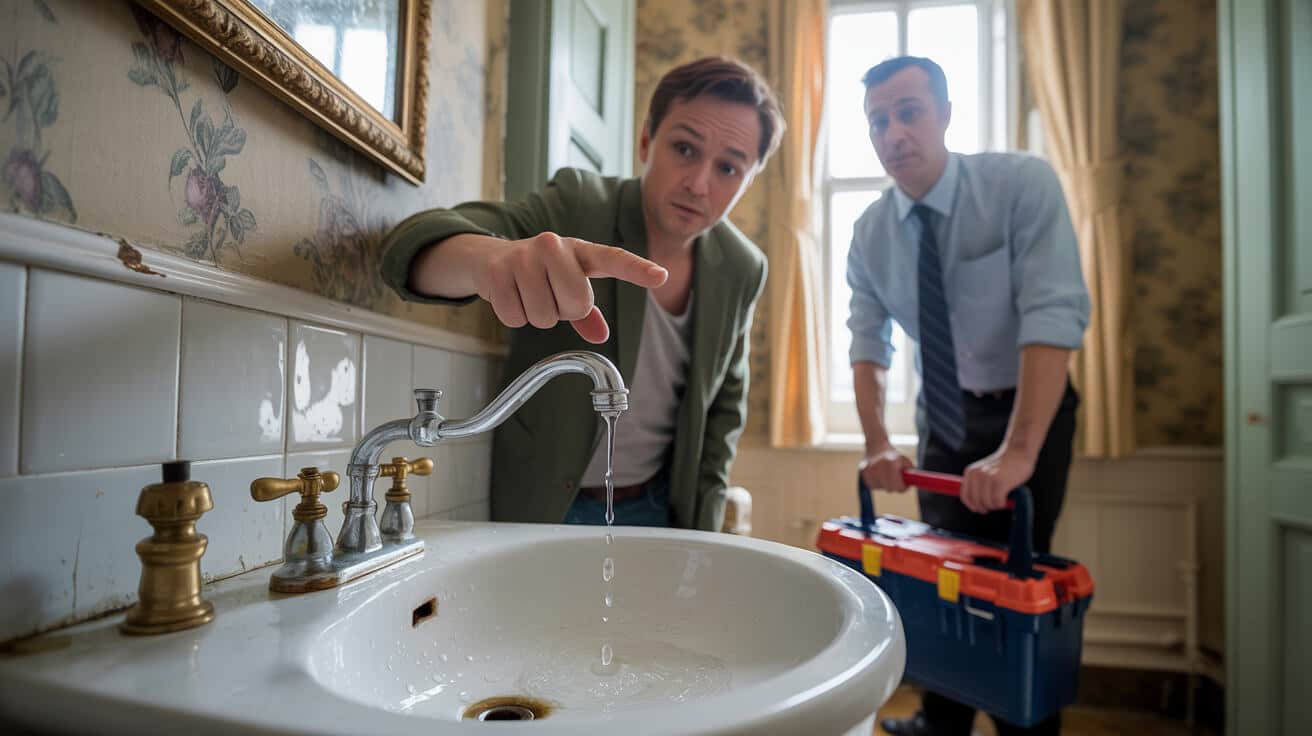
There are clear red lines: either because your skill, tools, and time aren’t enough—or because regulation and asset protection step in. Overconfidence with compliance is far riskier than any honest “I need a hand.”
Professional plumber or engineer is a must for:
- Leaks you can’t isolate, or that persist, recur, or spread after basic repair
- Water heating or pressure issues tied to cylinders—especially if it’s unvented (G3 law applies)
- Any rerouting, splitting, or work on supply or waste pipes that pass through walls, floors, or communal settings
- Repairs, refurbs, or installations requiring insurance, compliance, or safety certification (CP12 gas, G3, WaterSafe)
- Drains and wastes that won’t clear with basic tools—cameras, jets, and professional methods required
- Situations where the system won’t “restore” after refill or pressure test; that’s usually a sign of hidden airlocks, blockages, or supply faults
Pros like Hector don’t just “fix the leak.” They audit the system—testing pressures, checking every visible and hidden joint, and recording this for compliance. For managed properties, the compliance paperwork (certificates, warranties, and step-by-step photos) is the only thing standing between you and an insurance/claims fall-out.
Compliance adds value and peace of mind—it’s never ‘just a formality’.
Landlords—don’t pass over keys or start new rental contracts until official paperwork is in order. Agents, diarise compliance checks: make it annual. For business and asset managers, visible safety documentation is trusted by every stakeholder, from insurers to tenants. Plumbers 4U stand on the side of full transparency: you get advice before action and responsibility all the way through.
What Actually Happens During a Plumbers 4U Professional Bathroom Review?
A proper bathroom review is not a flashy sales pitch—it’s a stepwise, trackable protocol designed to reduce risk, build trust, and document safety. This single review can shave thousands off long-term maintenance by catching “silent fails” before they escalate.
Expect this from Hector Gauge and Plumbers 4U:
- Isolation and pre-checks: Before a wrench touches a nut, the mains and any “live” supply points are secured. No exceptions, no shortcuts.
- System inspection: Every accessible joint, pipe, trap, and outlet is checked. That means not just surface-level “looks good,” but actual handling and gentle movement to expose hidden fatigue, corrosion, or bodges.
- Pressure and function test: Both system “off” and “in use” pressures checked and logged. Resting and dynamic states compared—numbers you can see, not just promises.
- Fully itemised, transparent quote: No vague “it depends”—every part and action is listed for you to review and question ([which.co.uk](https://www.which.co.uk/reviews/plumbers/article/plumber-quotes-what-should-you-expect-azcOt2R89cSd?utm_source=openai)).
- Photo and video logs: You receive before/after evidence for your asset file, proof for insurance, or just peace of mind that no corners were cut.
- All legal certificates: G3, WaterSafe, TrustMark, or required landlord/agent forms issued and explained—never left for you to chase.
- Personal walk-through: Hector or the team explain what was found, what was changed, and what matters next—showing stopcocks, highlighting risk spots, and leaving you empowered, not overwhelmed.
- Aftercare and follow-up: Warranty, support contacts, and follow-up reminders are part of the job, not an up-charge. You’re never left hanging after the job is done.
With a proper walk-through and your paperwork in hand, you have proof that work was done right, not just quick.
For businesses, landlords, and facilities teams, this process adds months of hassle-free compliance. For homeowners, it’s reassurance you can pass on—and full control at every step.
Secure a Stress-Free Bathroom With Plumbers 4U Today
Think of the relief: pipes that run smooth, stops and fillers that work, showers that don’t surprise you with scale or a cold blast. The real win is knowing your bathroom is as safe and compliant as it is clean, and every fix, upgrade or inspection backs up your home or business asset’s long-term value.
At Plumbers 4U, Hector Gauge and his team combine seasoned diagnosis, WRAS/G3-cert precision, and the sort of respect for property you only get from professionals who see your space as a trust, not just a ticket. From leaks to full refurbs, you get:
- Work that follows UK codes and best practice, not “get away with it” shortcuts
- Transparent, photo-logged quotes and paperwork that support every insurance, sale, or let
- Clean handovers—line-by-line aftercare, warranty cover, and support you can call on years later
From first fix to full renovation, emergency stop to planned upgrade, expect straightforward guidance, legal confidence, and property-safe work—so your bathroom works for you, not against you. Schedule your professional review or just ring for advice. With Plumbers 4U, your water, asset, and peace of mind are always protected.
Frequently Asked Questions
What hidden risks exist in bathroom plumbing, and how can understanding each help you prevent emergencies?
A single overlooked part in your bathroom plumbing can trigger loss long before anyone sees water pooling. You stand between silent system failures and thousands in damage by knowing the real-life purpose of pipes, valves, fixtures, and safety devices. Every component is designed to do more than move water; it acts as both a gatekeeper and a safety net against flooding, sewage backflow, and even pathogens. Homeowners, landlords, and property managers who understand what’s “behind the panel” earn the financial upper hand—insurers trust you more, audits run smoother, and compliance stops being a guessing game.
Small leaks bury themselves in silence. By the time you spot a damp patch, the real damage is already multiplying.
Why are compliance stamps and system mapping as important as the visible tap or toilet?
- WRAS and G3 approval: aren’t just technicalities. They’re required by law for many fittings and cylinders, and underpin your ability to pass a sale, letting, or insurance claim.
- Well-mapped systems—where you can trace isolation points, check valves, and pipe runs—give you agility in emergencies and enhance your standing with tenants or auditing agents.
- Ignoring these standards leaves you exposed: 34% of bathroom insurance claims in the UK are rejected over non-compliant parts or lack of documented asset trails (UK Water Regs Advisory, 2023).
- Isolation valves, well-positioned traps, and labelled fixtures allow safe, targeted works without collateral damage to untouched rooms.
- Regular photographic records, kept for tenants or future buyers, build trust and pre-empt disputes.
Bathroom plumbing isn’t just “background infrastructure.” Treat every element—from the humble bottle trap to venting and overflow design—as a reliability investment and your asset becomes both safer and more valuable. If you’re in doubt about a fitting’s pedigree or your system map, Plumbers 4U offers detailed inspection and documentation tailored for risk-averse owners and managers.
How can you confidently shut off water to a bathroom and ensure no branch or supply is missed?
Most floods and large-scale repairs start with quick fixes gone wrong—water still pressurised in a pipe the owner didn’t know existed. Properly shutting off water is more than “find the stopcock.” Bathrooms may have separate feeds, combi boiler branches, or legacy tank lines. Start by identifying the main stop tap, usually beneath the kitchen sink or in a service box. Test by opening the lowest cold tap and checking for flow. But that alone isn’t enough for modern setups.
Every missed isolation point in a property adds hours, costs, and the risk of avoidable damage—especially during winter bursts or emergency repairs.
Step-by-step checklist for comprehensive isolation
- Label every valve and keep a simple, printed map for all users: —the future you (or your agent) will thank you.
- Isolate the main: gently. Avoid excessive force to prevent shearing the spindle or valve seat.
- Test all outlets—including the upstairs bathroom and the kitchen tap—to confirm pressure has dropped.:
- Check for extra feeds.: Loft tanks (common in older UK homes) may continue supply to certain bathroom fixtures.
- Drain the system.: Run each bathroom tap and flush toilets—remember that tanks and deadlegs can hold water even after mains isolation.
- Check and drain any electric showers or smart valves separately, as they can retain residual pressure.:
- Lay down towels or shallow trays.: Catch inevitable slow drips and avoid water stains beneath pipe joints.
- After repairs or maintenance, refill slowly.: Watch critical fittings first. Photograph joints at pressure for digital records.
Landlords with HMO properties or anyone managing multiple units should keep this process visible to tenants and service partners. If you find anything suspect, jammed, corroded, or legacy—call in a certified engineer. Plumbers 4U uses a “test, photograph, label, document” regime that stands up to insurance, audit, and tenant scrutiny.
Where does “DIY” cross the legal or insurance line in UK bathrooms, and what jobs are genuinely safe to tackle yourself?
Changing a tap washer or updating silicone sounds like a quick solution—until the wrong move floods an adjoining property or quietly voids your home insurance. UK law is explicit: surface repairs, like re-sealing silicone or swapping a visible trap, pose little risk. Anything involving pipework behind walls, unvented cylinders, or electrics moves into regulated territory.
Britain’s biggest insurers deny claims for DIY bathroom water damage in almost 2 out of 3 cases when the work involved pipe joints or pressure systems replaced without evidence of proper isolation.
Breakdown: What’s safe for owners or tenants to do—and what absolutely isn’t
- Safe to DIY, after full isolation:
- Change exposed flexible tap hoses, replace shower handsets, or adjust a toilet float arm.
- Clear simple blockages from basin or bath traps, reseal edges with silicone, tighten visible compression joints.
- Never DIY—always use certified (WRAS/G3) professionals for:
- Any work on hidden supply pipes, soldered or push-fit systems behind boxed panels.
- Unvented cylinder maintenance or installation (G3 law).
- Mixing valves for anti-scald compliance on new and renovated baths (Part G).
- All electrics and heating controls (Part P).
- Any job where rented property legal duties (CP12s, asset logs, or handover paperwork) apply.
Landlords and managing agents have extra duty. Every unregistered DIY fix is a dispute waiting to happen at the next inspection or insurance review. If clarity is at all lacking, check with a qualified professional. Plumbers 4U explains exactly where your rights and risks start and stop, with all certification work recorded against your property ID for legal backup.
What are the first warning signals of a hidden bathroom leak, and how can you catch costly issues before damage appears?
The simplest leaks cost the most once they’re ignored. Often, the earliest sign isn’t dripping water—it’s a musty odour, a subtle discolouration, or warped flooring. Recognising these low-level alarms will save you days of repairs, rental voids, and strain on tenant relations.
- Persistent damp odour or slight increase in humidity—often before visible mould appears.
- Slight “give” or bounce in bathroom flooring near the bath, toilet, or basin.
- Fine limescale, green or white flecks on copper joints, or dark marks around pipe collars.
- Wallpaper or paint blistering, especially at corners beneath the bath or behind the cistern.
- A sound of dripping even when all fixtures are off.
- Unusual spikes in water bills, metered or not—nearly always sign of a slow, hidden leak.
- Reduced pressure at certain outlets, especially after a recent repair.
- Cosmetic tiling movement or grout cracking around the bath’s base.
- Black patches on the ceiling beneath the bathroom (for flats or multilevel homes).
The longer a bathroom leak escapes notice, the more likely you’re paying for rot, not just moisture. Early detection gives you the leverage—not just a short fix.
For anyone managing property portfolios, systematic quarterly checks and well-maintained photographic records become your legal and financial lifeline. Plumbers 4U uses thermal, acoustic, and dye tracing to pinpoint invisible leaks—often resolving small losses on first visit and preventing the domino effect of systemic water damage.
How do UK bathroom plumbing regulations and compliance rules differ for owners, landlords, and agents?
Bathroom plumbing in the UK operates on an interlocking web of water, health, electrical, and building safety standards. Your role—owner, landlord, managing agent, or block manager—fundamentally alters your audit risk, legal duties, and which certificates must be displayed or retained.
Which laws and standards actually apply—not just “best practice”?
- Water Supply (Water Fittings) Regulations 1999: Every part installed in your bathroom must be WRAS-approved; using other fittings can breach legal requirements and void insurance.
- Building Regulation G3: Only G3-certified engineers may fit or service unvented hot water cylinders and must ensure correctly routed discharge pipes with visible tundish. Records should accompany sale or tenancy agreements.
- Building Regulation Part G (Sanitation, Hot Water Safety): All new baths require thermostatic mixing valves (anti-scald) and the hot water storage must hit minimum temperatures for Legionella safety.
- Building Regulation Part H: Dictates falls for drainage pipes, correctly vented soil stacks, and backflow protection.
- Building Regulation Part P: Absolutely prohibits unqualified electrical work in bathrooms; notification and certification essential.
- Landlord-specific duties: Landlords must retain up-to-date WRAS, G3, and CP12 (gas) certificates, provide asset logs, and maintain a transparent repair history.
Regulatory drift is real: insurance claims and legal disputes often hinge on a missing WRAS stamp, untraceable change, or non-compliance log. Even for planned upgrades, get a compliance review first—retrofits can drag an entire property into costly non-compliance. Plumbers 4U provides, stores, and explains all required documentation, turning complex rules into easily demonstrable asset protection.
What do professionals do differently to ensure a bathroom installation or repair is resilient, audit-ready, and built for future-proof confidence?
The most rigorous plumbing work is invisible when it works—but dramatically visible if the right steps are skipped. Systematic professionals don’t just fix—they document, pressure-test, anticipate future faults, and always build with an eye fixed on asset value, audit, and buyer perception.
Core practices of high-trust, future-proof engineers
- Labelling all isolation points—physical tags plus digital/photographic asset logs accessible to all responsible parties.
- Pressure-testing every new joint or fixture, then photographing under static and dynamic pressure, so every repair or instal can be validated after the fact.
- Using exclusively WRAS/G3-certified materials, storing receipts and manuals securely for retroactive compliance.
- Choosing pipe routes and fixture layouts for inspection—not concealment—preferring external isolation, open pipe elbows, and minimised wall chases.
- Ensuring all waste pipes are installed at correct gradients (ideally 1:40; not flatter than 1:60).
- Double-checking waste trap prime, venting, and overflow routes—critical for avoiding backflow and odours.
- Compiling a living record of all repairs, upgrades, and scheduled maintenance, ideally with digital timestamps and before/after photos.
- Scheduling annual cylinder and full-system service, with asset point checks and documentation as a routine feature of ongoing property management.
- Maintaining direct relationships with WaterSafe, G3, and Building Control contacts—speeding up response to inspections, tenant changeovers, or insurance needs.
Audit fails and asset write-downs come from missed details—every labelled valve, documented test, and registered part pays dividends for years.
If you want your next instal, renovation, or repair to pass any audit—and impress both insurers and future buyers—choose engineers who make transparency and compliance non-negotiable. Plumbers 4U leads industry best practice with detailed mapping, photo records, and cloud-stored certification, guaranteeing your property is always ready for scrutiny and safe for occupation.
