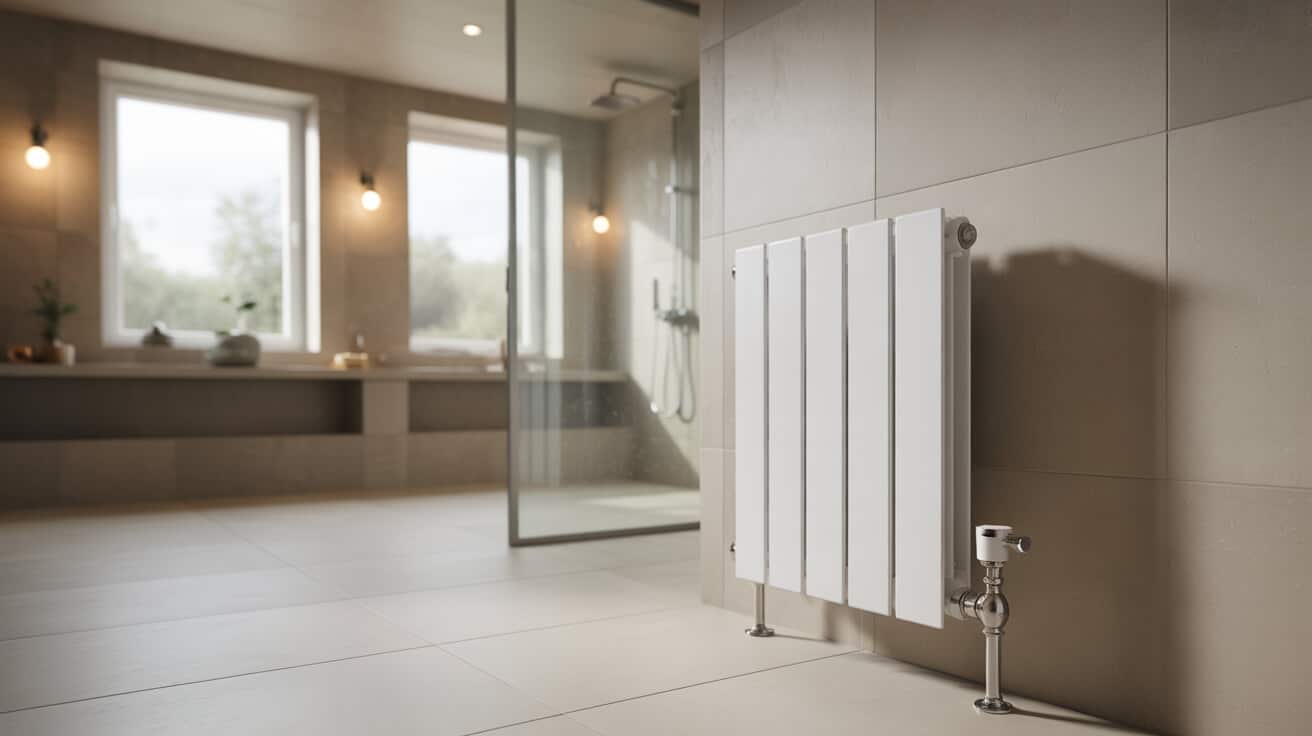
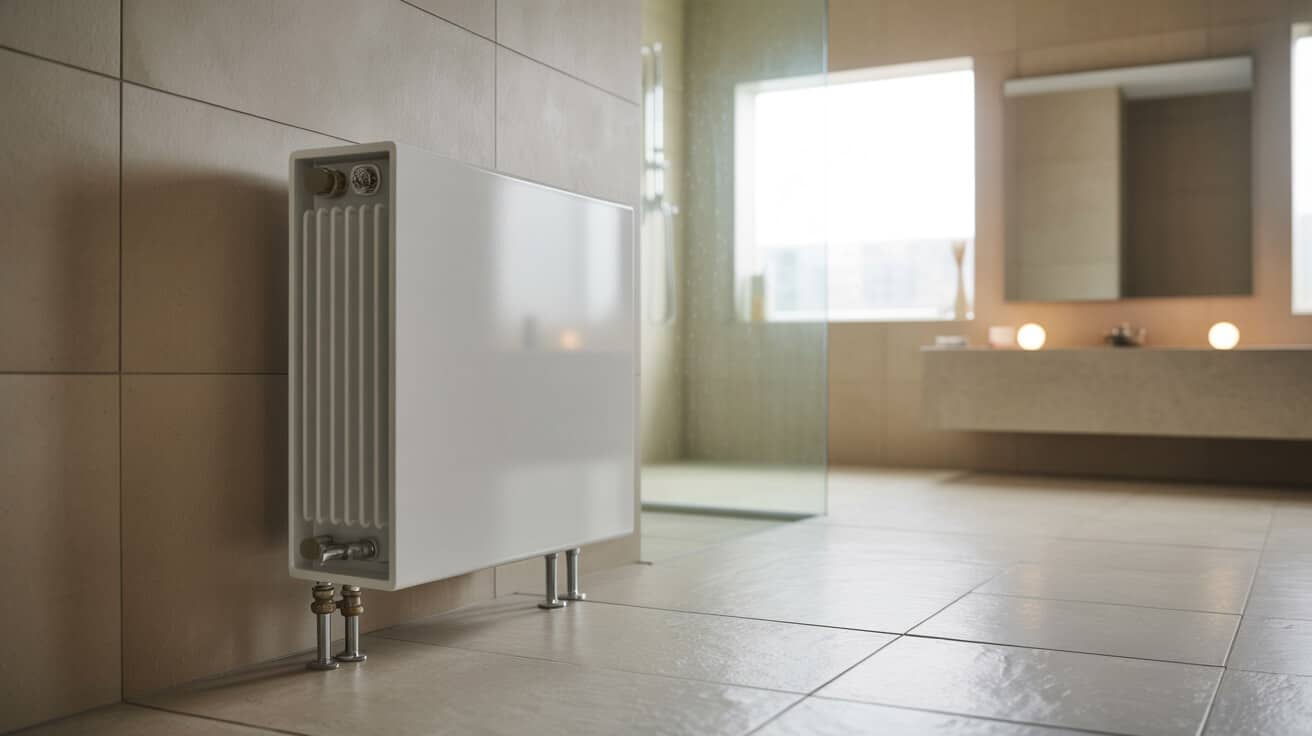
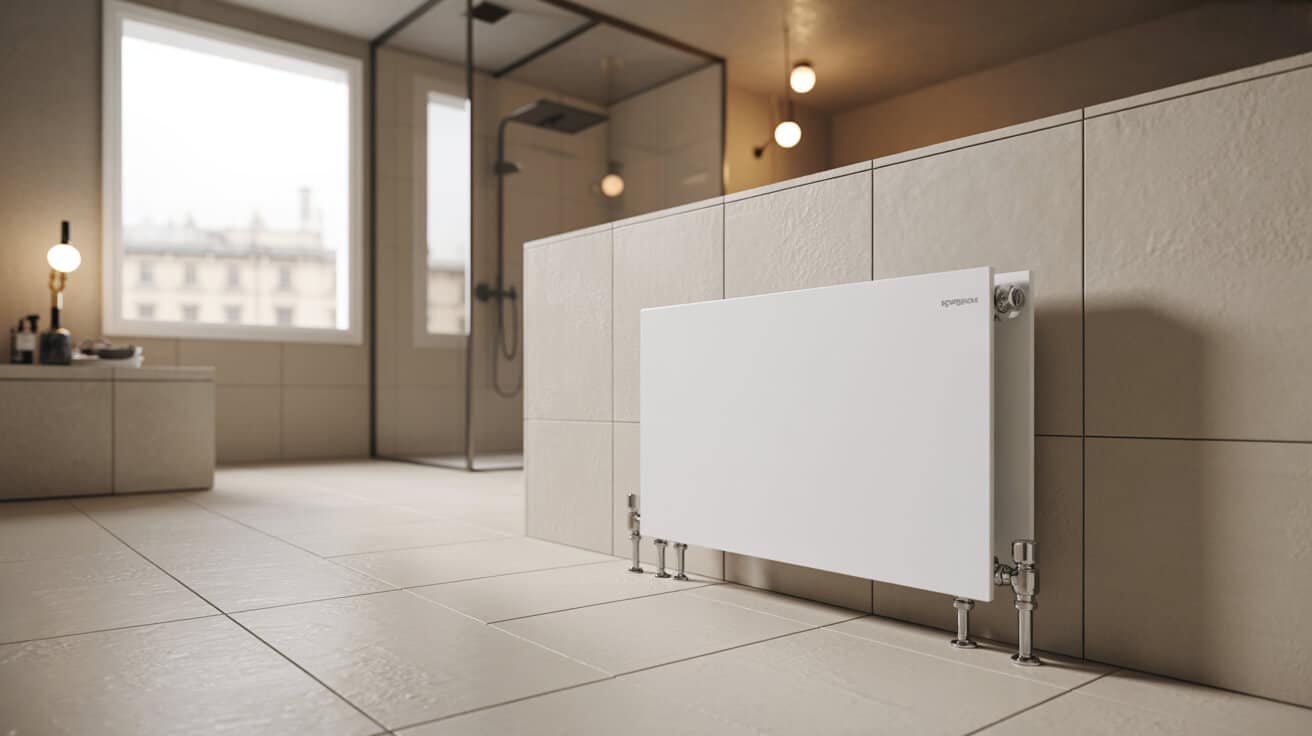
A single panel radiator is characterised by its streamlined design—a single sheet of metal, often steel or aluminium, engineered for effective water flow and consistent heat transfer. Its place in modern heating systems is shaped by the pursuit of space-saving utility and controlled thermal output, offering a balance between aesthetics and performance. The installation process interlaces property-specific assessment, tailored selection, and meticulous fitting, culminating in an energy-smart fixture that can adapt to evolving demands within your property or organisation.
Etymology or Name Origin
The term “single panel radiator” arises from the unit’s defining format: a solitary, pressed-metal panel providing the sole conduit for heated water. Unlike older cast-iron radiators or newer multi-panel types, single panel units offer a reductionist approach, foregrounding simplicity and slimline integration. “Radiator” historically references the original intent to radiate heat via thermal emission, although contemporary single panel models rely more heavily on convective currents for the bulk of their heat delivery. In professional circles, alternative designations such as “Type 11 panel” or “single convector” may be encountered, marking subtle distinctions in construction or fin arrangement.
Overview / Context
Single panel radiators represent a core choice within the hydronic heating landscape, bridging lower output needs and premium spatial economy. Their application has expanded in step with the evolution of energy standards, insulation strategies, and interior design preferences. Deployment typically occurs where wall depth must be minimised, such as hallways, compact bedrooms, utility spaces, or offices with bespoke shelving and fitted furniture.
These radiators do not stand alone; they function as nodes within larger, carefully balanced networks. Your heating system may combine single and double panel models, integrating thermostatic control and smart scheduling for responsive environmental adaptation. Plumbing and heating companies often recommend single panel formats for smaller zones or in multi-storey dwellings to achieve zoning, system balance, and cost-efficient operation. Selection criteria span heat load calculations, wall construction, anticipated occupancy, and even décor alignment, emphasising a holistic, customer-responsive installation philosophy.
History
Origins and Early Use
Radiator technology can be traced to the 19th century, when engineers first devised methods to transmit steam heat via stationary metal surfaces. Initial models, forged in heavy cast iron, were suited to high-mass, slow-response heating. The rise of hydronic systems in the late 19th and early 20th centuries led to significant diversification, as lighter, more scalable pressed-steel panels emerged in the wake of industrialization.
Industrial Emergence
Postwar construction booms, urban planning, and the need for mass-produced, cost-efficient heat emitters catalysed widespread adoption of the single panel format. From the 1950s onward, advances in automated metal forming, spot welding, and powder coating resulted in the refinement of panel radiators as a staple of European and British heating. The proliferation of modular homes, office blocks, and social housing drove further standardisation, with mounting hardware and pipework layouts aligning to installer and contractor preferences.
Contemporary Evolution
Today, single panel radiators stand as paragons of efficient design, shaped by regulatory shifts and the ethos of environmental stewardship. In response to the drive for housing decarbonization, manufacturers have introduced eco-friendly coatings, lower-water-content variants, and vertical or colour-customised units for interior designers. The implementation of thermostatic radiator valves (TRVs), smart controls, and integration with low-temperature systems such as condensing boilers and air source heat pumps has cemented their relevance. Within property portfolios managed by landlords or facilities directors, single panel radiators remain sought after for lifecycle reliability and accessible maintenance.

Concept / Description
Construction and Composition
Each single panel radiator comprises a pressed steel (or, occasionally, aluminium) panel formed with internal vertical channels. Typical dimensions range from 300–900 mm in height and 400–2000 mm in length, with panel depth controlled for minimal projection. Industrial coatings, usually epoxy powder, defend against corrosion and facilitate cleaning. G1/2″ or G3/4″ tappings accept standard pipe connections, while side or bottom entries confer retrofit flexibility.
Core Components
- Main panel: Flat metal sheet with water channels
- Brackets and fixings: L-shaped or slotted, tailored to wall substrate
- Bleed valve: Top-mounted, enables air purging during commissioning or maintenance
- Inlet and outlet connectors: Compatible with compression, push-fit, or soldered adapters
- Fin options: Some models embed a single convector fin for marginally increased efficacy, maintaining a one-panel structure
- Accessories: Lockshield valves, TRVs, blanking plugs, and decorative end covers
Underlying Mechanism
Hot water circulates through the panel, heated by your central boiler, biomass appliance, or heat pump. The panel’s surface transfers energy directly to the room by radiation and sets up convection currents, drawing cooler air at floor level, warming it, and circulating it upwards. Panel shape, steel thickness, and surface treatment modulate both warmth delivery and acoustic profile (minimising thermal expansion “clicks” or “pings”). Manufacturers declare heat output under standard delta-T (ΔT) conditions, assisting property decision-makers with precise specification.
Installation Location and Context
Choices of location intersect with architectural and user priorities. The installer must account for window proximity (reducing cold draughts), available wall area, interference from skirting or electrical points, and alignment with existing pipework. Strategic positioning supports zoning and individualised comfort, especially in multi-use or subdivided environments.
Installation Process
1. Pre-installation Survey and Assessment
The journey begins with a site survey: measuring the room, recording insulation levels, documenting window sizes, and specifying required output using heat loss calculators. This informs not only the unit’s size but its optimal location and mounting height.
2. Preparation and Isolation
Your heating circuit is isolated—radiator valves and boiler power are turned off—then drained to allow safe, dry access. Furniture and floor coverings are protected, and necessary wall reinforcements are identified.
3. Bracket and Physical Installation
Brackets are anchored to structural points using wall-specific fixings: heavy-duty plugs for masonry, toggle bolts for dot-and-dab plasterboard, or timber screws for battens. Levels are used to ensure true horizontality and correct standoff from the wall and floor, accounting for valve clearance and cleaning access.
4. Valve and Pipework Connection
Pipe runs are mapped and cold-cut to suit the radiator’s entry points, either from floor or wall. TRVs (thermostatic radiator valves) or manual valves are installed as per system zoning and manufacturer guidelines. Pipe joints are sealed with PTFE tape or compression olives, while alignments are checked for stress or potential flexing.
5. Pressure Testing and Balancing
After fitment, the system is refilled and carefully checked for leaks at every new joint. The bleed valve is used to expel air, and pressure is monitored to remain within appliance constraints (typically 1–2 bar for sealed systems). At this point, system balancing may be required—lockshield valves are incrementally adjusted to ensure even heat dispersal across all connected radiators.
6. Final Checks and Commissioning
The unit is checked for steady, even heat distribution, with infrared or contact thermometers verifying surface temperatures. A visual inspection confirms the structural security of brackets and joints. All work areas are cleaned to professional standards, and any packaging or obsolete components are removed for recycling.
7. Handover, User Instruction, and Documentation
To complete the instal, your engineer provides an orientation on controlling the TRV, using the bleed valve, and recognising signs of imbalance or air ingress. Manuals, warranties, and compliance certificates are delivered as appropriate, forming an auditable record for landlords, property managers, and future occupants.
Table: Principal Steps in Single Panel Radiator Installation
| Step | Key Actions | Tools Required |
|---|---|---|
| Pre-installation Survey | Room measurement, heat loss calc, wall/pipe review | Tape, surveyor apps |
| Preparation & Isolation | System shutdown, drain-down, area protection | Spanners, drain hose, towels |
| Bracket Installation | Wall fixing selection, level and secure brackets | Drill, plugs, screws, level |
| Valve & Pipework Connection | Cut and connect pipes, fit valves, PTFE seal, alignment check | Pipe cutter, spanners, PTFE |
| Pressure Test & Balancing | System refill, air bleed, leak and balance checks | Bleed key, pressure gauge |
| Final Checks & Clean-Up | Surface temp check, visual inspect, waste removal | Thermometer, cloths |
| Handover & Documentation | Operation guide, warranty, compliance paper | Manuals, documentation forms |
Functionality, Purpose, and Applications
Single panel radiators render targeted, room-by-room heat delivery, integrating easily with existing hydronic frameworks and responding rapidly to controller or TRV input. In your home, these models are often chosen for bedrooms, studies, or hallways—zones with less pronounced heat loss or where aesthetics and space efficiency are paramount.
Commercially, their modular footprint suits office suites, educational facilities, and healthcare settings, where the occupant density is variable and recalibration of thermal comfort is routine. Single panel units excel in retrofits, enabling incremental system upgrades without wholesale disruption, proving especially valuable for property managers balancing operational downtime with maintenance cycles.
Your organisation benefits from the combinatorial logic of large and small panels, maximising the building’s overall climate responsiveness, reducing wasted energy, and providing a sense of customised comfort to users.
Classifications, Types, and Variants
Single panel radiators fall into several technical and stylistic families:
- Standard panel: Baseline “Type 11” with no additional convector fin—a flat, efficiently sized model.
- Single panel, single convector: A shallow fin is welded to the panel’s reverse, modestly increasing heat exchange.
- Low surface temperature (LST) designs: Cased versions for care environments or schools where burn risk must be minimised.
- Designer options: Vertical, coloured, or architecturally distinctive radiators for visually prominent spaces.
Your choices are mapped during consultation, aligning performance to the measured heat load, aesthetic intent, and mounting requirements of your property.

Systems, Tools, and Methodologies
Essential Tools and Materials
- Pipe cutters, benders, and deburring tools
- Spanners (open, adjustable, torque-specific)
- Power drill and masonry/wood bits
- Level (bubble, laser)
- Bleed key and pressure tester
- PTFE tape, compression or push-fit adapters
- Wall fixings appropriate to substrate type
Specialist Tools
- thermal imaging camera for cold spot and balance analysis
- Leak detection sensor or chemical indicator
- Power flush machine for pre-instal cleaning of legacy systems
Methodologies
- Heat Loss Calculation: Applied formulaically, blending U-values, external wall ratings, and occupancy to model the required wattage.
- System Balancing: Precision adjustment of lockshield valves across radiators in real-time testing to achieve ΔT performance targets.
- Maintenance Scheduling: Maintainable records and reminders are developed for bleeding, inhibitor top-ups, and annual checks—often managed digitally by facilities teams.
Stakeholders and Entities Involved
Installation Stakeholders
- Plumbing and heating companies: Expert teams led by professionals like Plumbers 4U are central to specification, fit, and aftercare.
- Engineers and apprentices: Holders of NVQ/SVQ, Gas Safe registration or comparable credentials directly execute and oversee installations.
- Property owners and landlords: Decision-makers for product choice, compliance, and budget allocation; receive and store compliance documentation.
Operational Stakeholders
- Facilities directors and property managers: Plan upgrades, prioritise zones for replacement, manage warranty claims, schedule maintenance.
- End users (tenants, residents, employees): Experience the thermal, acoustic, and operational comfort (or discomfort) of the installation.
- Suppliers and manufacturers: Provide certification, spares, and technical support as required, ensuring product continuity throughout warranty duration.
Legal, Regulatory, and Ethical Considerations
Building and Product Standards
Compliance with standards such as UK Building Regulations Part L (energy performance) and Part G (water hygiene) is non-negotiable; system design must reference current codes and practices. WRAS-approved fittings and valves are specified to guard water purity and protect occupant health.
Installer Certification
Engineers undertaking installation must hold industry-recognised qualifications and insurance. For rented properties, compliance records and pressure test data are often requested during audits.
Documentation and Waste
Hallmarked paperwork must record all relevant testing and installation points (pressure, output, serial numbers). Old radiator removal and material packaging follow recycling and hazardous waste protocols—Plumbers 4U aligns its process with contemporary environmental standards.
Performance Metrics, Data, and Measurements
Heating Capacity and Efficiency
Each unit’s specification lists output in watts (W) or British thermal units (BTU/h), with detailed charts mapping length and height combinations to expected delivery at standard ΔT. Water content—expressed in litres—combines with flow rate to forecast warmth-up intervals and cost per use.
- Temperature gradient (ΔT): Used to standardise output performance; most rated for ΔT50°C (system water temperature minus target room temperature).
- System Pressure: Installation and commissioning must confirm operation within appliance and manufacturer parameters.
- System Water Quality: Monitored for contaminants, pH balance, and inhibitor (anti-corrosion) strength.
- Leak and noise checks: Integrity and acoustic comfort are tested post-instal for both legal and operational compliance.
Table: Typical Performance Metrics
| Metric | Typical Value/Range | Measurement Context |
|---|---|---|
| Heat output | 600–2000 W (2050–6824 BTU/h) | Product/size dependent |
| Operating pressure | 1–2 bar | Sealed system, UK |
| Water content | 2–7 L | Size/model dependent |
| ΔT | 50°C (standard test) | EN 442 rating |
| Noise level | <30 dB | Properly balanced units |
Challenges, Barriers, and Limitations
Operational and Technical
In some properties, poor prior design, underfloor pipework, or lack of structural wall integrity requires significant workaround. Inadequate system flush may introduce air, sludge, or corrosive residues, impeding performance and accelerating wear. Retrofitting to new pipe standards sometimes necessitates adaptation, temporary suspension of tenant use, or significant redecoration.
Economic and Regulatory
Budget cycles, mortgage or insurance requirements, and compliance re-certifications (notably for landlords) all affect project schedule and radiator selection. Supply chain constraints or manufacturer discontinuation may challenge sourcing compatible spares or matching aesthetics during phased upgrades.
Social and Philosophical
Your organisation may face conflicting priorities: environmental goals versus up-front capital outlay, or the desire for design-led fixtures against maintenance simplicity and asset longevity. Tenant engagement—accommodating resident schedules or health concerns—adds nuance to planning.
Impact, Influence, and Legacy
The single panel radiator, through eighty years of refinement, has set the baseline for comfortable, predictable, and cost-managed heat. Its widespread adoption transformed expectations in public, commercial, and domestic spheres, making centralised heating a default amenity. Standardisation has enabled competitive product development, lower costs, and streamlined replacement cycles, fostering a servicing economy that maintains local employment and technical expertise.
Within managed property portfolios, adherence to proper installation and documentation has minimised insurance claims, reduced catastrophic losses from leaks or freeze events, and advanced environmental performance. For many in your organisation, the unassuming radiator symbolises a standard of living that once required luxury infrastructure.
Future Directions, Cultural Relevance, and Design Discourse
Innovations in materials—such as 100% recycled aluminium, high-heat-dispersion alloys, and bacteriostatic coatings—are shaping the next generation of radiator design. Integration with building management systems, modular “click-in” pipework for rapid upgrade cycles, and invisible retrofit options (hidden, low-profile units) are gaining favour.
Societal demand for energy awareness and regulatory schemes like EPC (Energy Performance Certificate) drive property owners and your organisation to reassess system sizing, redundancy, and smart control. Hybrid designs—part radiator, part towel warmer, or including air purification features—herald a blending of comfort technologies anticipated to redefine the boundaries of climate control. The conversation continues in architectural magazines and housing policy debates: as central heating moves toward decarbonization, will the humble single panel radiator adapt or cede its role to newer, perhaps more ephemeral, solutions? The shape of warmth is as much cultural as it is technical, touching not just your property but your daily expectations of comfort, reliability, and peace of mind.

