 How to Tile a Bathroom a Step by Step Guide
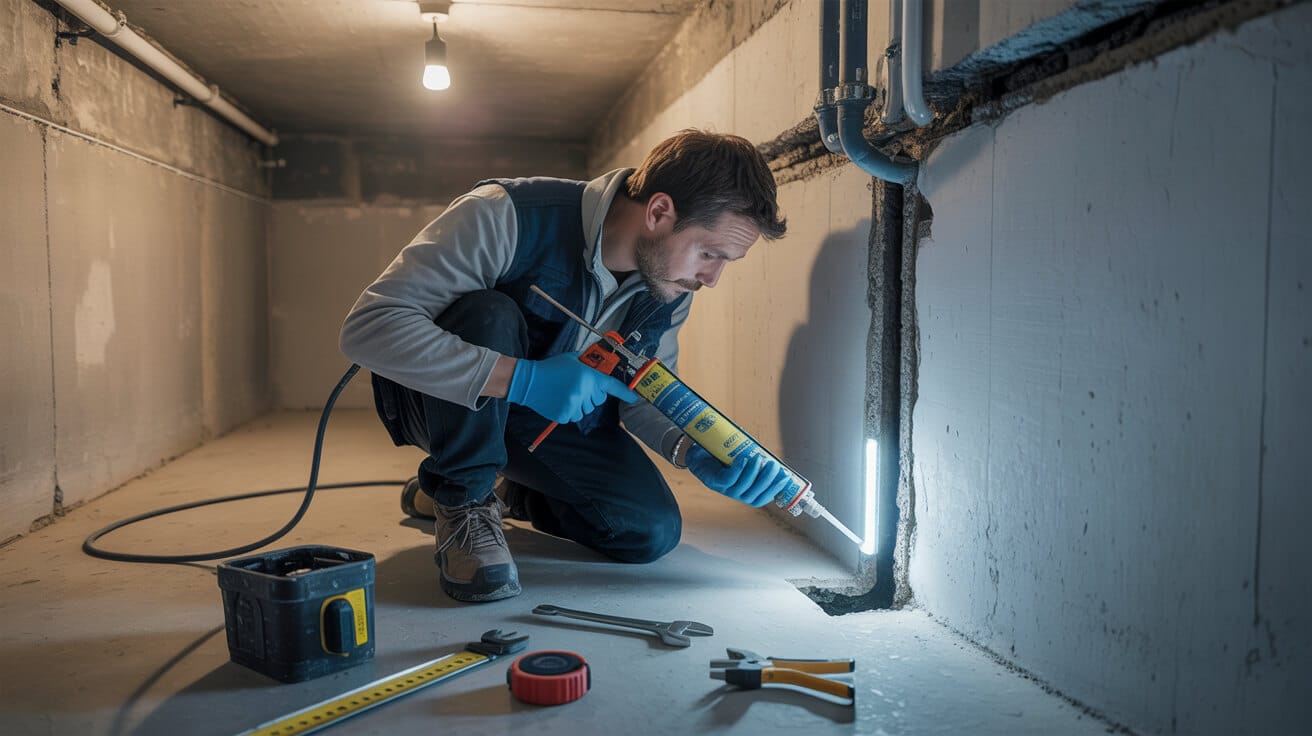
Why Do So Many DIY Bathroom Tiling Projects Go Wrong—And What’s the True Cost When They Do?
When property value and reliability are on the line, the bathroom doesn’t forgive shortcuts—especially in tiling. Whether you’re a homeowner looking to refresh your space, a landlord safeguarding an investment, or a management agent carrying the can for ongoing compliance, the reality is stark: most DIY bathroom tiling ends up redone, repaired, or queried during insurance or sale. Surface perfection can mask silent problems that will hit your wallet, reputation, and legal standing harder than you expect.
It’s usually not the tile that fails—but the layer you ignored, the record you missed, or the proof you can’t provide.
Peel back that gleaming tile and you may find gaps in waterproofing, prep corners cut, or adhesives and grouts that simply don’t match up with WRAS and BS 5385 standards. This isn’t just a technicality—over half of water damage claims in UK bathrooms trace directly to dodgy prep or wrong products at instal (WRAS, 2023). Insurance won’t pay for what looks like ignorance or a quick fix. More than £1,500–£3,000 is the typical DIY rework bill when the shortcuts catch up; and for landlords, failing to document the right steps invites all sorts of headaches at tenancy change, sale, or audit—often visible only when the tenant moves on and takes their towels with them.
Unpacking the Hidden Risks
– Fast Looks, Slow Failures:
A rush job holds out for a month, maybe a year, before a musty whiff or swelled skirting board flags trouble. That’s when the claims battle—or worse, the legal dispute—starts.
– Blame That’s Hard to Shift:
When an inspector or letting agent opens a claim after a leak, guess who answers for missing paperwork, “universal” primer, or an adhesive that doesn’t show up on a WRAS list? Insurers and property managers rarely forgive untraceable prep.
– Lifetime Value on the Line:
A smart buyer, tenant, or agent checks documentation. The absence of proper records can halve the long-term value of your “fresh” bathroom—if your property’s even countenanced for premium rental or sale.
Neglected proofs and hidden jobs steal value faster than a crack in the tile ever could.
What Steps Guarantee a Bathroom Tiling Job Survives Both Use and Scrutiny?
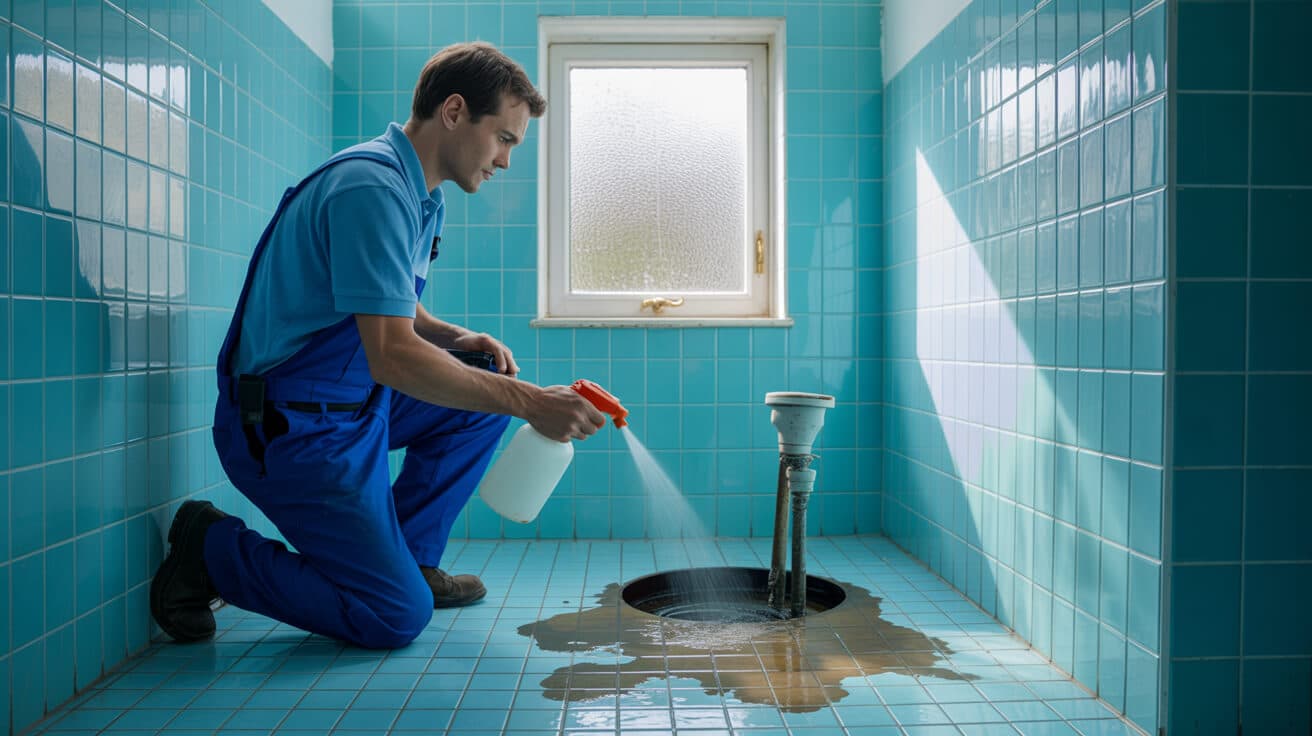
Every reliable, audit-proof bathroom starts long before the tile ever touches the wall. You want ten years of uninterrupted use, not ten months of anxiety. Professional installers and asset managers know where the risk lives—under the finish, in the prep, and often, in the file folder (or lack thereof).
The Professional Prep Sequence
1. Rip Back, Don’t Patch Over
Old mastic, lingering damp, even a single unstable board? Remove and replace, not just cover. Amateurs might think “The new tile will hide it” until the leak wakes the tenant—or the compliance inspector.
2. Damp and Firmness Testing
British Standards aren’t optional—tap every section for hollow sounds, run proper moisture tests in every zone (not just visually “check”). Skipping this is the #1 cause of post-tiling damp claims.
3. Use Validated Fillers, Level, and Sealers
WRAS- and BS 5385-approved materials only. Generic DIY patching or “all-in-one” solutions won’t fly with insurers or buyers. Check the product code; if you can’t prove it, don’t use it.
4. Photolog Each Step
The difference between a call-back and a quick sale or tenancy is often the ability to text or email time-stamped prep and instal pics.
The cosmetic shortcut almost always ends up being replaced twice—once for safety, once for compliance.
Managed Property? You Need Full Evidence
For landlords and commercial managers, certain steps move from “good practice” to must-haves:
| Phase | Private Owner | Landlord/Managed | Proof Required |
|---|---|---|---|
| Substrate Test | Optional | Mandatory | Moisture logs, tap-test records |
| Materials Used | Optional | Mandatory | WRAS/BS datasheets, purchase record |
| Installer Identity | Optional | Mandatory | Name, cert, company stamp |
| Photos (All Steps) | Optional | Mandatory | Dated, labelled, kept 6+ years |
Get one of these wrong, and you’re exposed. Many agents and insurers now view these as baseline—fail to produce and your claim, sale or deposit may stall or be denied.
Are Your Tools and Materials Up to British Standards—or Setting Up Hidden Failures?
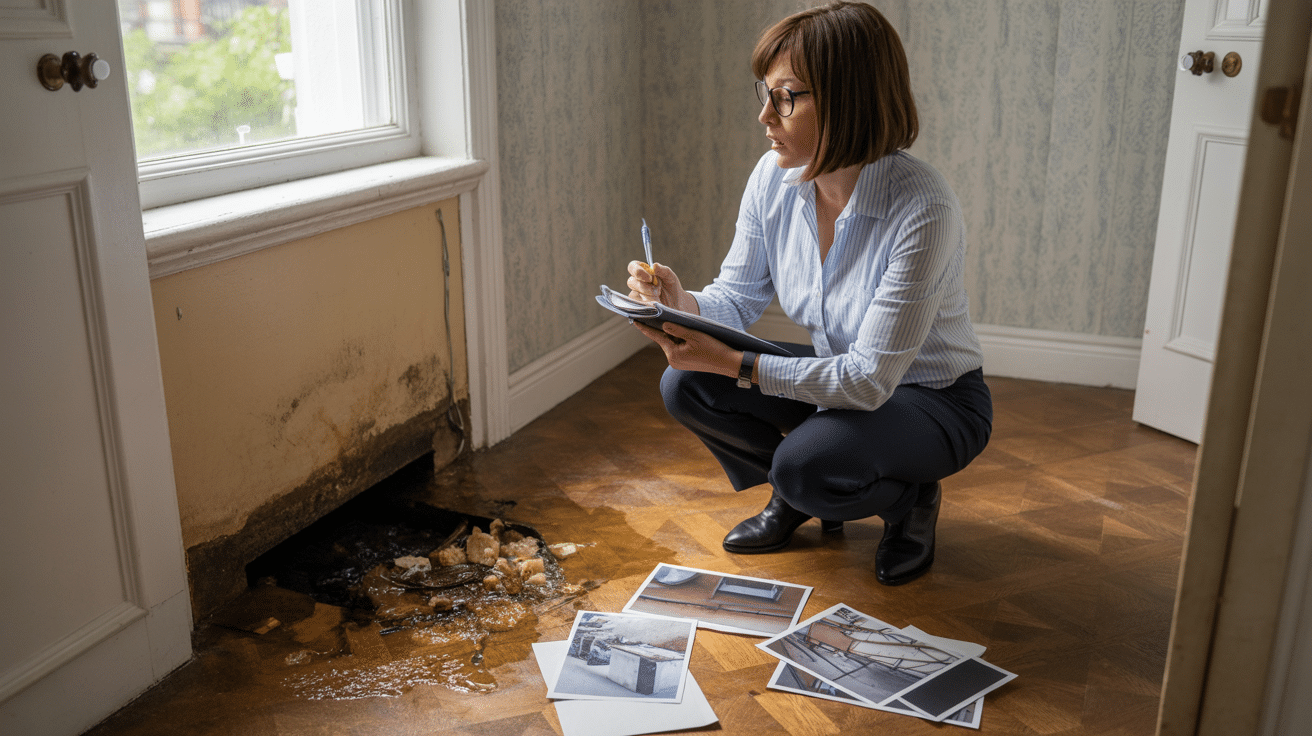
The recurring pattern behind DIY disasters? “Grab bag” adhesives, lack of planning, and tools that simply don’t deliver a trade finish. For asset managers and anyone concerned with property lifecycle, this is negligence, not just naïveté.
Your Must-Have, Asset-Proofing Tools
- Laser Level / Spirit Level: Ensures precision straightness, which a casual glance won’t catch.
- Tile Cutter (Wet Saw or Manual, Matched to Tile): The right cut avoids visible edge chips—surveyors spot this on viewings, and tenants won’t forgive a nicked rim that looks like a repair job.
- Notched Trowel (Correct for Tile/Adhesive Spec): BS 5385 dictates exact adhesive depth; “winging it” is a flag for noncompliance.
- Heavy-Duty Dust Control & PPE: Not just for health—it reduces insurance, letting, and claims risks by meeting SWP (Safe Working Practices).
- WRAS/BS 5385-Certified Adhesives, Grouts, and Silicones: Multi-purpose or “one size fits all” products get flagged and rejected in compliance audits.
If you don’t keep the tube, take a photo, and note the batch—be ready to defend it in front of an auditor, not just a mate.
Building a Document Trail
Especially for landlords, instal packs and “as built” logs are worth their weight in gold. Retain:
- Dated photos, receipts, product codes, and installer ID.
- Photos from key steps (substrate cleared, tanking in, tiles set, grout, silicon).
- *A simple camera roll can save a £5k+ asset from being marked down after a dispute.*
Why Professional “Dry Laying” and Layout Transforms Bathrooms (and Your Saleability)

The artistry—and audit-proofing—of a high-value bathroom starts with invisible, disciplined planning. Approved pros dry-fit every tile first, mapping out even the awkwardest obstacles with patience you’ll never see in a casual YouTube “how-to.” This avoids those giveaway slivers at the edge, awkward border cuts, and the bathtub always just a bit off-centre.
Most tilers will tell you: The sale or the rework is lost in the first two hours, not the last one.
The Layout Steps That Protect Value
• Start with the Main Sight Line:
Where does the eye fall first? Start there so larger tiles, perfect symmetry, and pattern land exactly where a tenant or buyer notices.
• Account for Every Pipe and Fixture:
Mark, dry-fit, and photograph before adhesive. Hiding an ugly notch or barely clearing a pipe is the rookie mistake that gets “needs rework” noted in survey.
• Even Out Every Edge—Strips Kill Value:
Never settle for micro-strips or “close enough” margins at walls or bath rims. They signal amateur hour and future complaint tickets.
• Photolog All Dry-Runs:
Visual proof isn’t just extra credit; it proves you cared before you stuck a tile.
For Agents, Owners, and Multi-Unit Pros
Survey data consistently shows better rent, faster sales, and fewer returns when tile planning is visually rigorous, symmetrical and fully logged. It’s not flash—it’s an asset-protection move.
What’s the Stepwise Method to Cut Tiles for Pipes, Corners, and Awkward Edges—Without Ruining the Finish?
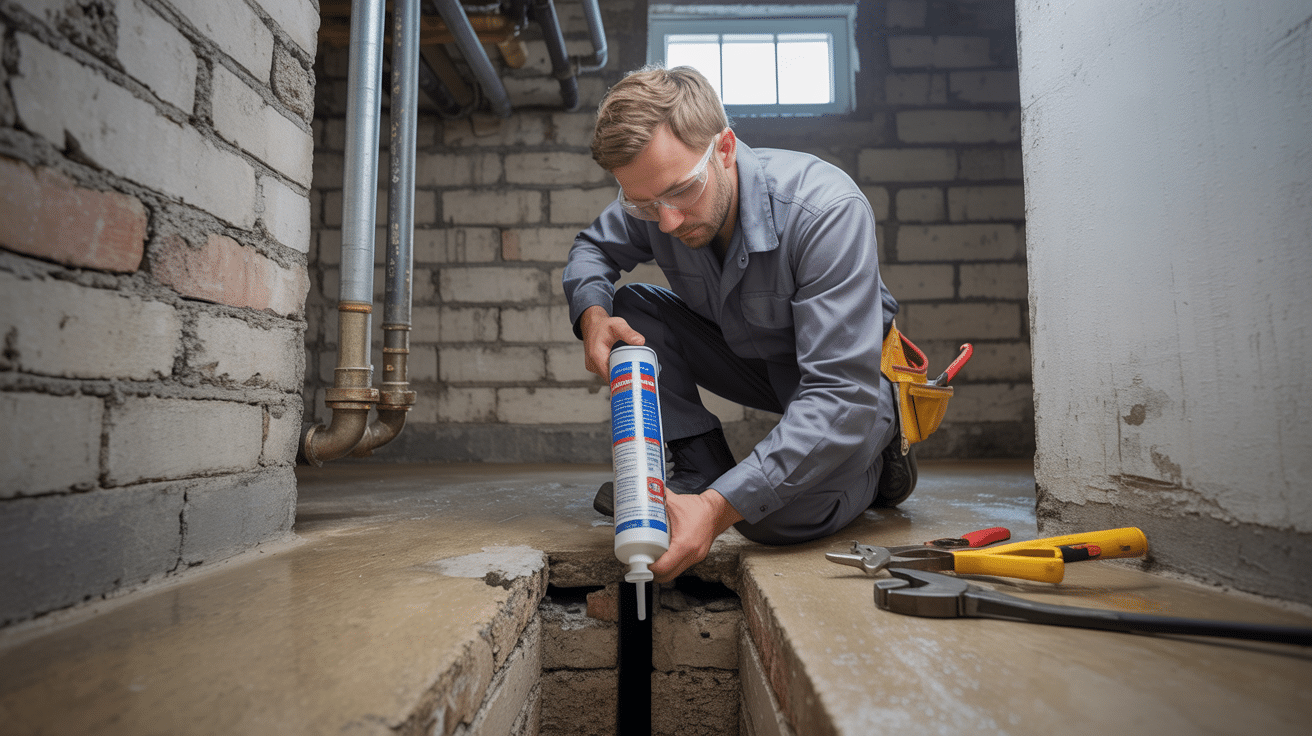
Cutting tiles well is what separates an amateur job from a professional result—tenants and agents know it at a glance. A DIYer wobbles a manual cutter or hopes for forgiveness from grout. Pros treat every piece as proof of skill, not just function.
How to Cut Tiles Like a Pro—And Bulletproof the Finish
- Tool Match:
Water-cooled saw for stone or porcelain. Manual rail or scored cuts for basic ceramics. Always use diamond bits for tricky pipe holes or angle cuts.
- Mark with Discipline, Test Before Cutting:
Stable, sharp marks—never cut “on a hunch.” Dry-fit trial and error beats guessing and filling later.
- Cut in Safe, Controlled Zone:
Always away from installed pieces—no hurried cuts or improvisation at the job face.
- Test Every Piece Before Fixing:
Fit, adjust, and check alignment before applying adhesive. If it doesn’t sit correctly dry, it’ll fail wet, fast.
The good enough cut today is the cold call-back, repair, or full rip-out tomorrow.
Checklist for Managed and Commercial Properties
Check under work lights and daylight; rejected edges, warps, or notches don’t pass muster with most surveyors. This diligence halves defect-related claims in portfolios.
What’s the Legally Required Sequence for Waterproofing, Priming, and Curing—and What Happens If You Skip It?

British regulations and WRAS guidance don’t “recommend”—they require—that every wet zone “proves itself” with stepwise waterproofing, priming, and full curing logs. If you skip, fudge, or can’t prove the method, nothing else can save the job when it matters.
How to Waterproof and Document—Zero Shortcuts
1. Prime All Absorbent Surfaces
WRAS/BS 5385 only; do not trust catch-all primers. No paperwork? No validity in the event of a dispute.
2. Instal Waterproof Tanking—Correct Coverage, Right Sequence
Apply liquid tanking or layered mats to at least 1.8m up the walls around baths and showers, with dated photos for every layer.
3. Allow Proper Curing—Don’t Jump Steps
Some adhesives “set” fast—but membranes need proof of time elapsed. If insurance or an auditor requests, the time-stamped photo or batch sticker is gold.
4. Keep and Label Each Step
A workbook with product, batch, and installer—photos of hands in gloves, with timer/clock in frame—turns a beautiful bathroom into a compliance fortress.
The hidden leap—skipping curing time or universal primers—voids more insurance and passes than any other error.
Compliance Protects Property Value
For landlords, agents, and owners, proof of full waterproofing sequence isn’t desk clutter—it’s your shield in any claim, repair, or sale.
How Do the Best Pros Guarantee Their Fix, Grout, and Seal Never Fail (Even Years Later)?
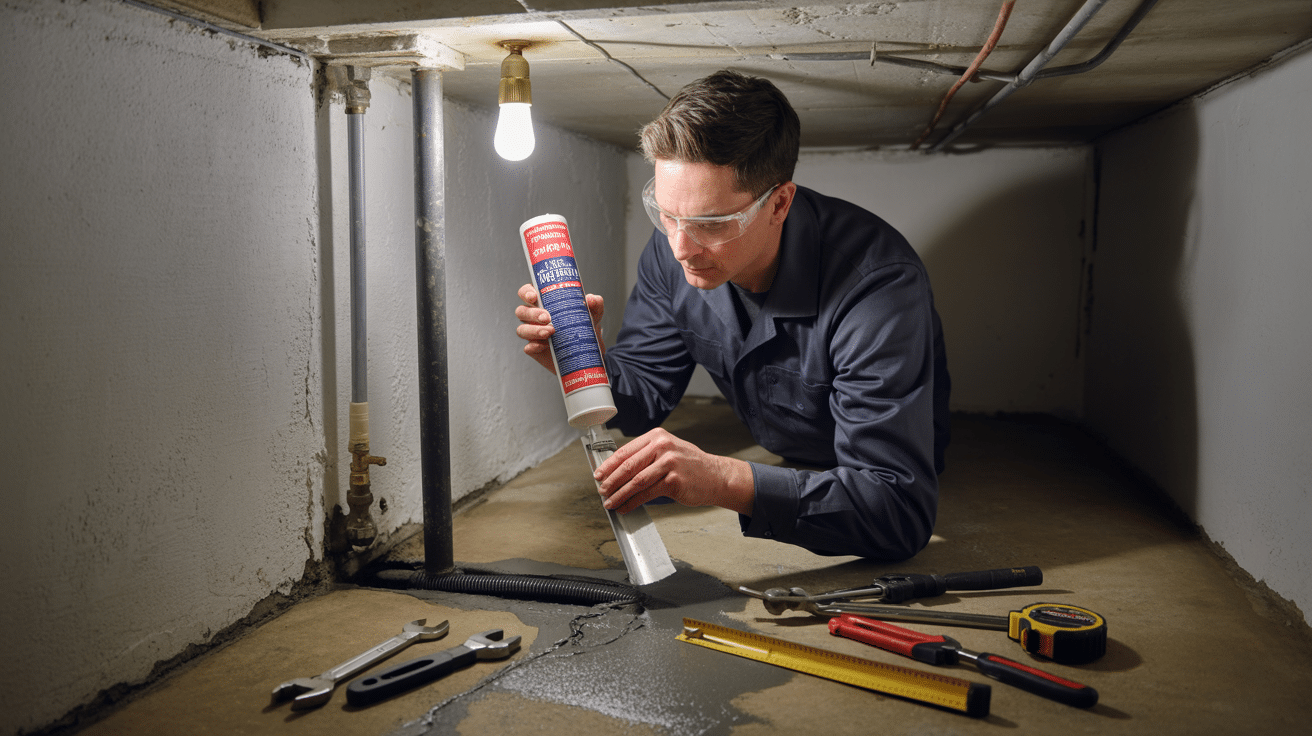
Grout cracks, gaps at edges, or a suspect “flex” in the tiles? That’s where failed DIY can become a threat to your asset. It’s not about “making good”—it’s about going beyond what you see, to what will last.
Step-By-Step: How Pros Bulletproof the Job
- Trowel Combing in One Direction (BS 5385 Standard):
This removes air pockets, which are the cause of voids and leaks—the silent culprit in most bathroom breakdowns.
- Physical Tile Spacers and Levellers:
Uniform joints and perfectly flat surfaces mean a finish that’s not just pretty for a photo, but passes “standards” and rental inspections alike.
- Cure on the Clock:
Respect the adhesive and grout manufacturer’s cure times—rushing this is the classic DIY misstep that only appears months down the line.
- Compliant, Flexible Silicone Seals:
Every junction—‘corner, edge, change of plane’—gets flexible silicone. That’s the fault line most post-occupancy losses start from.
The cheapest tube—sealant—stops the biggest loss. Ignore at your peril.
Asset Holders: Don’t Forget Documentation
End with lippage and “movement” checks, under all lighting. Final photo and checklist verification is now standard for experienced managers and agents.
What Paperwork and Evidence Actually Shields You at Sale, Rental, or Inspection—And Who Demands It?
Forget the days of a handshake and a nice finish. In 2024, documented compliance is as important as the tiles themselves. For managed properties, commercial lettings, or owner-occupiers thinking ahead, every key step must be logged, labelled, and ready to surface.
Your ‘Forensics-Ready’ Compliance File
| Step | Documentation to Keep | Who Will Ask For It |
|---|---|---|
| Substrate/Prep | Moisture logs, tap-test photos | Surveyor, buyer, compliance auditor |
| Materials | WRAS/BS 5385 datasheets, purchase rec | Insurance, landlord, letting agent |
| Waterproofing | Step photos, batch, installer log | Company, agency, resale, letting |
| Layout/Dry-Lay | Room layout & dry-run snaps | Surveyor, audit manager |
| Tiling/Finish | Installer name, batch code, sign-off | Agency, compliance officer |
| Completion | Final photos, warranty docs | Landlord, letting agent, insurer |
Miss one log and the pain is tangible: claim rejected, deal delayed, tenant deposit dispute escalated, asset written down, or reputation punctured.
The pro job is the one you can prove—long after the dust has settled and inspectors have moved on.
DIY vs. Professional—Who Should Do Your Next Job?
Owner-occupiers ready to learn, photo-log, and follow regulation sometimes succeed—but the margin for error is razor-thin. Landlords, property managers, and business owners? Hire a certified installer with WRAS, G3, and BS 5385 credentials. When the stakes are your assets or your legal cover, professionals are the sure bet.
Does Booking with Plumbers 4U Actually Prevent All These Problems—Or Is That Just Marketing?
Here’s where asset stewards, managers, and rental professionals earn their edge. Plumbers 4U isn’t just another compliant badge for your boiler room wall—every job is both technical and legal protection rolled into one.
What You Actually Get With Plumbers 4U
- Every Job Benchmarked to WRAS, G3, BS 5385:
- Audited with photos, batch labels, and time-stamped logs; every tenant, buyer, or agent will accept it.
- Full Audit Pack for Sale, Letting, or Insurance Claims:
- Never scramble for documentation—the digital logbook comes with your job.
- Expert, Certified Advice with Aftercare:
- Real, WRAS-qualified humans build, service, and explain your system. You get direct support—no delays, no jargon, straight answers.
- Long-Term Partnership, Not One-Off Trades:
- We offer ongoing maintenance, upgrade plans, compliance refreshers, and honest reports—especially for landlords and commercial property holders.
Download our ‘Compliance-Safe Bathroom Tiling Checklist.’ Book a certified survey, trade instal, or simply get your compliance paperwork up to date with Plumbers 4U. The real cost of getting it wrong is thousands; the cost to get it right is often a day—and peace of mind for years.
Your next chapter starts with full proof—not just a nice finish.
Ready to Protect Your Asset—and Your Reputation? Book a Bathroom Tiling Assessment or Certified Instal Today
Don’t wait for the leak, the phone call, or the insurance rejection. Tomorrow’s regret is always cheaper to fix today. Get clarity, compliance, and peace of mind with a certified bathroom tiling assessment, a full audit pack, or a trade-level installation from Plumbers 4U.
Click below to secure your checklist or speak with a certified assessor—because your property’s value is worth more than guesswork.
Frequently Asked Questions
Why does true UK bathroom tiling compliance go deeper than visual finish—and what does it actually protect?
True bathroom tiling compliance in the UK is never just about a flawless finish; it’s about safeguarding your property’s future, validating every insurance claim, and shielding asset value over time. Beneath every straight grout line sits a web of invisible details—WRAS and BS 5385 approvals, moisture-tested substrates, photo-staged tanking, and a living documentation trail that outlasts the initial handover.
What can’t be seen is often what matters most. A compliant bathroom starts with a substrate that’s tested and dry, matched to British regulations, and logged with before-and-after photos. Every adhesive, grout, and waterproof layer must have a traceable batch number and WRAS sign-off. The best installers log every stage: from the first primer to the last bead of WRAS-approved silicone. These aren’t optional rituals; they’re what turn a tiled room into an asset that passes every survey and never trips you up at renewal, move-out, or sale.
A seamless space isn’t just easy on the eye—it’s your first and last line of defence against loss or reprisal.
Surveyors, insurers, local authorities, and letting agencies increasingly demand this exact audit trail. Compliance preserves your leverage, ensures claims can’t be denied, and clears the way for fast remortgage, tenancy, or resale—which is why every step must be logged, retained, and ready when questioned.
Core Compliance Layers That Aren’t Surface-Level
- Moisture readings on all substrates, logged with timestamps
- WRAS/BS 5385-certified tanking, adhesives, grouts, and sealants
- Date-stamped progress photos at tanking, tiling, and sealing stages
- Batches and receipts traceable to every installed product
- Full digital or paper logbooks for handover or audits
What you build beneath and document at each step is what stands between you and future cost, legal wrangles, or stalled transactions.
How can UK property owners ensure their bathroom waterproofing stands up to claims, inspections, and the test of time?
Robust waterproofing in UK bathrooms is all about sequence, evidence, and the right product match—fail at any stage and you risk more than water stains. Failed claims, survey flags, and denied handovers catch out owners who cut corners, miss a photo log, or use general-purpose products lacking WRAS or BS approval.
For bulletproof waterproofing, every old tile and fragment is removed first, returning to a substrate that’s firm, dry, and level—checked with a moisture metre and logged. All repairs use WRAS-certified filler, documented with photos. For dusty or porous substrates, only a compatible, batch-tracked primer ensures the coming adhesive bonds properly. Tanking is mandatory: whether applying a liquid membrane or mat, you must extend coverage up walls and across every area exposed to direct water, reinforcing every joint and penetration.
Each stage must be captured in date-stamped images, with labels and product codes in frame. Batch numbers and receipts become your claims currency. When each layer is proven—in documentation and installation—you own a bathroom that shrugs off claims, passes survey first time, and avoids the stress of retrospective fixes.
The strongest defence is always built underneath—one watertight layer at a time, logged for every future what-if.
Steps to Watertight, Defensible Waterproofing
- Strip area to clean substrate; test and log moisture content
- Repair with WRAS-approved filler; photograph for record
- Apply and photo-log primer suited to both your adhesive and substrate
- Instal tanking membrane or mat, run minimum 1.8 metres up wet zone walls
- Reinforce every seam, penetration, and junction; log all work
- Store all product codes, batches, and photos with receipts
Proactive record-keeping isn’t bureaucracy—it’s your shortcut to hassle-free claims, stress-free lets, and a bathroom that survives the toughest inspection.
Which mistakes in bathroom tiling most often trigger compliance failure, and how can you proactively close these gaps?
The most expensive bathroom tiling problems don’t show up immediately; they surface months—or even years—later as failed claims, denied tenancy, or compulsory rework. Nearly every case can be traced to one missing step: not logging a cure time, skipping tanking, using generic adhesives, or failing to photo evidence a repair.
Cutting corners with substrate priming or tanking—especially in high-exposure areas like showers or bath surrounds—is the surest way to risk pop-offs, leaks, and rot in hidden areas. Rushing adhesive set periods invites uncured tiles, uneven joints, or cracks. Failing to record batch numbers, product labels, or staged photos means losing your warranty rights and weakening every negotiation during sale or audit.
Professional control isn’t luck or guesswork; it’s a set routine. Start with a dry-lay plan, walk your layout, and trim awkward cuts from every visible line. Use manufacturer-matched adhesives and grouts, each with a photo and batch log. Only flexible, WRAS-certified silicone should ever finish wall-to-wall or wall-to-floor junctions—not grout. And above all, log every deviation, repair, or surprise as part of one continuous chain.
A tiling job that’s silent today but undocumented is just a future claim waiting to happen.
Most Common Hidden Compliance Fails—and How to Fix Them
| Missed Step | Typical Outcome | Proactive Solution |
|---|---|---|
| No tanking log | Leak, future damp, claim denied | Photo-document tanking stage |
| Wrong adhesive | Tiles pop off, survey flagged | Batch-matched, WRAS adhesive |
| Skipped levelling | Lippage, rework, survey dispute | Level per tile, log checks |
| Rushed cures | Cracks, premature wear | Time batch log, follow specs |
| No documentation | Warranty/claim loss, tenant issue | Staged photo log/proof retained |
Proactive logging and stage-matched materials are your best protection against costly, silent failures down the line.
What financial and legal risks emerge when bathroom tiling records are incomplete or shortcuts are taken?
Over £3,000 in additional costs, insurance rejections, and property downgrades can arise from one undocumented bathroom tiling job, per UK property claims data. It’s not the visible flaw—it’s the missing chain of batch receipts, staged photos, or substrate logs that blocks insurance, survey sign-off, or lease renewal.
Savings from shortcutting preparations, using store-brand adhesives, or skipping a tanking photo are an illusion; the ‘invisible invoice’ comes when an agent, surveyor, or insurer needs proof you can’t supply. Retrospective tanking or tile fixes are often more costly than the original project. For landlords and portfolio asset managers, duplicated shortcuts multiply risk and can put entire portfolios out of compliance—a costly position during audits or new regulatory cycles.
The bill always arrives for what isn’t documented—sometimes years after the last tile dries.
Shortcuts and Documentation Gaps: Real-World Impact
- Missing batch logs: No warranty, insurer and agent disputes on fault
- No tanking record: Claims rejected, damp fails on new survey
- Skipped substrate imaging: Down-valued asset, protracted sale
- Uncertified adhesive use: Forced strip-out, re-tile, plus certification costs
- Incomplete logbook: Blocks tenancy, voids portfolio compliance documents
Avoiding a few minutes’ work up front can cost months in delays, disputes, or fix bills later. Documentation is your simplest risk-hedge—every time the property changes hands or use.
What new 2024 regulations and manufacturer requirements could impact your bathroom tiling projects or asset management strategy?
New regulations in 2024 reinforce the trend towards traceability, staged evidence, and WRAS/BS-driven instal practices. Standards like BS 5385:2022+ tighten rules on tanking, substrate documentation, and product traceability—agents, surveyors, and insurers are enforcing these rules with renewed scrutiny.
Manufacturers of adhesives, grouts, and tanking membranes are also heightening warranty conditions. If you can’t produce full installation logs (dated photos, batch-labelled receipts, and evidence of compliant coverage), warranty coverage may be instantly void. G3 sign-off on unvented cylinders is essential for claim eligibility, and government-backed energy and water efficiency initiatives are driving new minimums for material choice and insulation.
Facilities managers and landlords should plan for expanded photo requirements, stricter renewal checks, and mandatory evidence handovers for all UK sales, lets, and refinancing events.
Compliance and Manufacturer Rule Changes—2024 Snapshot
| Requirement/Standard | What You’ll Need | Effect if Missed |
|---|---|---|
| BS 5385:2022+ | Substrate/tanking photo logs | Audit failure, rework needed |
| WRAS/Part G | Batches, receipts, staged photos | Insurance/warranty void |
| Manufacturer guarantees | Documented instal + batch receipts | No cover, possible product recall |
| G3 cylinder sign-off | Certificate in property log | Can’t claim for HW faults/repairs |
| Efficiency, EPC updates | Proof of insulation, approved materials | Blocks letting/sale/refinancing |
Early compliance and up-to-date documentation keep your property portfolio ready for market and every new rule.
When do you need professional bathroom tiling—and how does a partner like Plumbers 4U deliver beyond DIY or cut-price instals?
You need a professional tiling partner when the risk outweighs the reward of DIY, when compliance records must satisfy agents, insurers, or surveyors, or when asset value and tenant transition depend on proof as much as polish. If the substrate has historic damp issues, if you face portfolio-level compliance targets, or if installations must pass insurance tests, professional expertise is the fastest, safest route.
Plumbers 4U transforms a risky job into an audit-ready asset—starting from moisture logs and batch documentation, through WRAS/BS 5385/Part G sign-offs, to staged photography at every phase. You receive a digital or physical logbook covering every point critical for claims, surveys, or handover. For landlords and property managers, this means quick, controversy-free tenant moves and claims handled without drama. For homeowners, it ensures an asset that’s sale-, audit-, and insurance-ready whenever you decide to move or let.
A single missed detail can undermine years of asset value—but robust records turn every new challenge into a simple ticked box.
Plumbers 4U: The Professional Tiling Compliance Advantage
- Full compliance documentation logbook (substrate, tanking, batch labels, staged photos)
- WRAS, BS 5385, Part G, and G3 certification managed in one end-to-end service
- Warranty rights, repair, and aftercare handled by proactive professionals
- Rapid response for surveys, audits, and insurance claims—minus delay or confusion
- Future proofing for legal or regulatory change; your asset stays in front
Book your compliance survey or tiling project with Plumbers 4U to guarantee your property stands up to scrutiny—every claim, every handover, every time.
