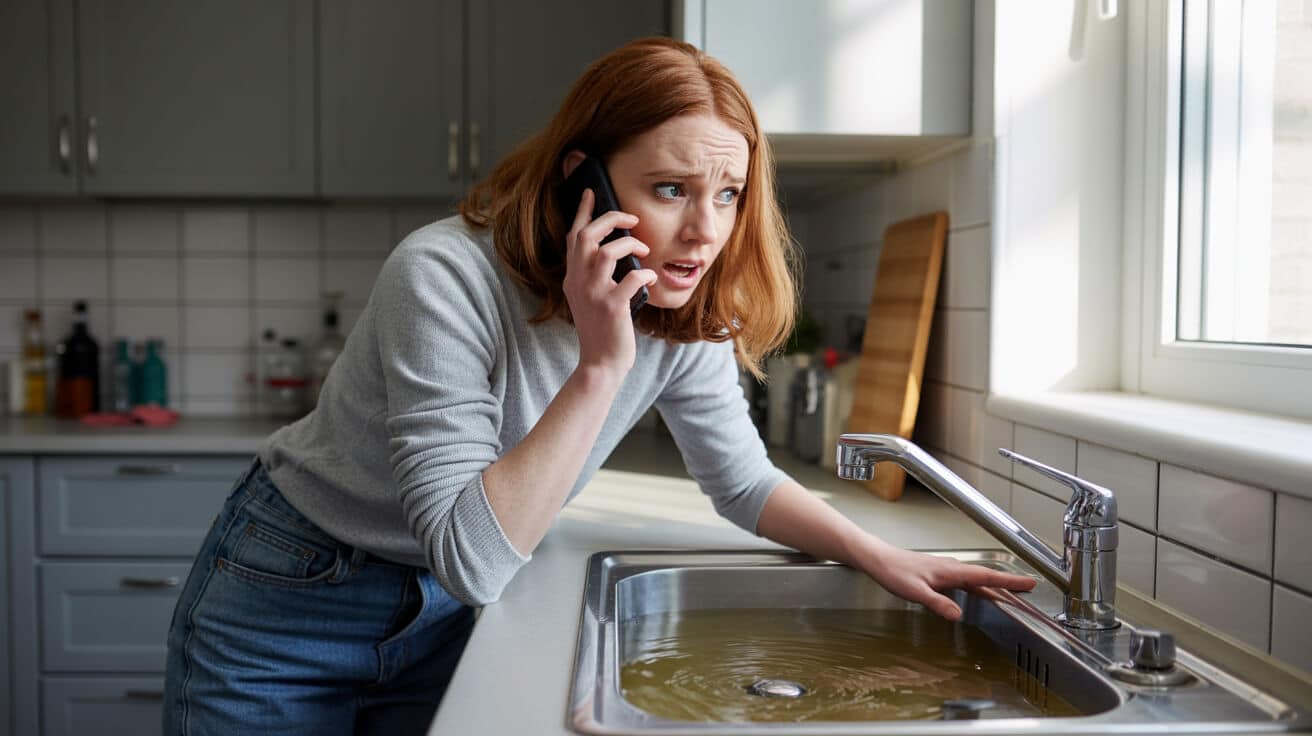
 Getting Ready for Winter How to Prevent Frozen Pipes
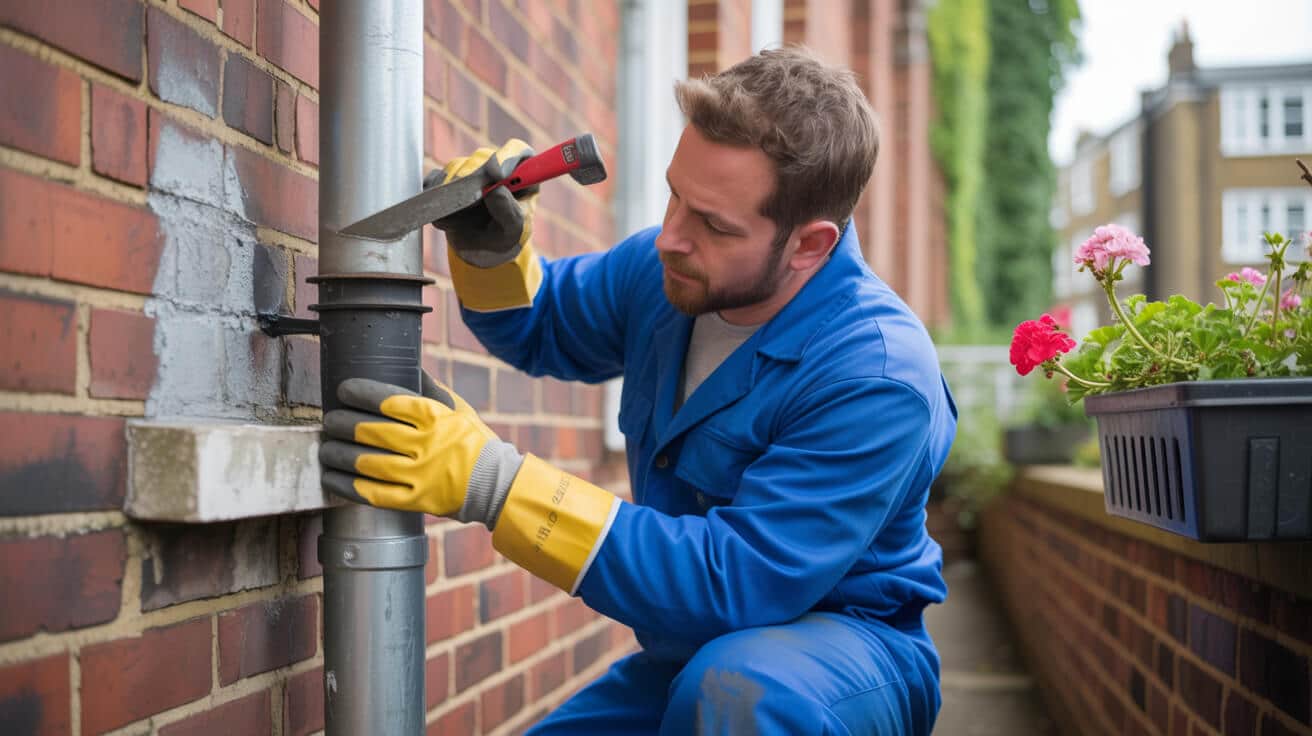
Where Are Frozen Pipes Most Likely to Strike—And How Do You Spot Risks Before Catastrophe?
Every UK winter, you hear the same horror storey—a pipe bursts unseen in the small hours, and by breakfast, the floor’s flooded, routines are wrecked, and all the “it probably won’t happen to us” logic goes up in smoke. Freezing pipes don’t just pick old cottages or rickety sheds—they hit where most owners, landlords, and property managers barely glance: the garage corner, under kitchen cabinets, any run hugging a cold outside wall.
One missed patch of pipe insulation is all it takes for overnight disaster.
You’re not dealing with bad luck. It’s physics—water in pipes freezes fastest at the weak link: where draughts sneak in, insulation’s thin, or cold seeps through an unsealed gap. For homeowners and landlords, the risk map shifts with layout, upgrade history, and how each building has been maintained (or not) over the years.
The UK’s Most Overlooked High-Risk Zones
- Lofts and Roof Voids: Heat rarely makes it up here, especially where insulation isn’t continuous. If someone’s run pipes up high “for convenience,” frost will find them eventually.
- Garages, Utility Areas, Outbuildings: Out-of-sight means out-of-mind. If there’s no regular heating, any exposed pipe can freeze solid after just a few hours below zero.
- Pipes Along External Walls: Kitchens, bathrooms, even block risers—when pipework is set against cold external bricks, every winter night puts them on the edge.
- Garden Taps and Supply Lines: External taps and pipes don’t just look frosty—they hold standing water that will freeze, expand, and snap if left undrained.
- Boxed-In or Hidden Runs: Behind units, kickboards, and in wall cavities, these routes are forgotten until the thaw turns the problem visible—and expensive.
Most property owners won’t see the warning signs in time. By the time the first small leak shows, water’s often been working through insulation, walls, or flooring for hours, sometimes days.
Your next move: Map all visible and suspected pipes. Use diagnostics—thermal imaging or moisture metres—where you can’t inspect visually. Prevention costs a fraction compared to sorting burst-pipe chaos (CIPHE, 2023).
Where UK Pipes Freeze Fastest—and How to Counter Every Risk
Here’s a quick-read table of trouble spots and how to bulletproof them before the next cold front arrives.
Every table should be introduced by a sentence, as shown:
Take a look at these high-exposure areas and proven fixes:
| Location | Why at Risk? | Best Prevention |
|---|---|---|
| Loft/attic pipes | No heat, sags in insulation | 19mm+ WRAS lagging, close insulation |
| Garage/utility outbuildings | Ambient below zero | Seal draughts, proper pipe lagging |
| External wall pipework | Cold soak all night | Full coverage lagging, add wall clips |
| Outdoor taps/garden pipes | Weather, standing water | Drain/lag, insulated covers |
| Under units, cabinets | Cold, less air movement | Proper lag + periodic checks |
One missed area is enough for a major incident—so aim for thorough, not just “good enough.” Audit your property and cover the map top to bottom.
What’s Really at Stake—Beyond Inconvenience, What Frozen Pipes Actually Cost
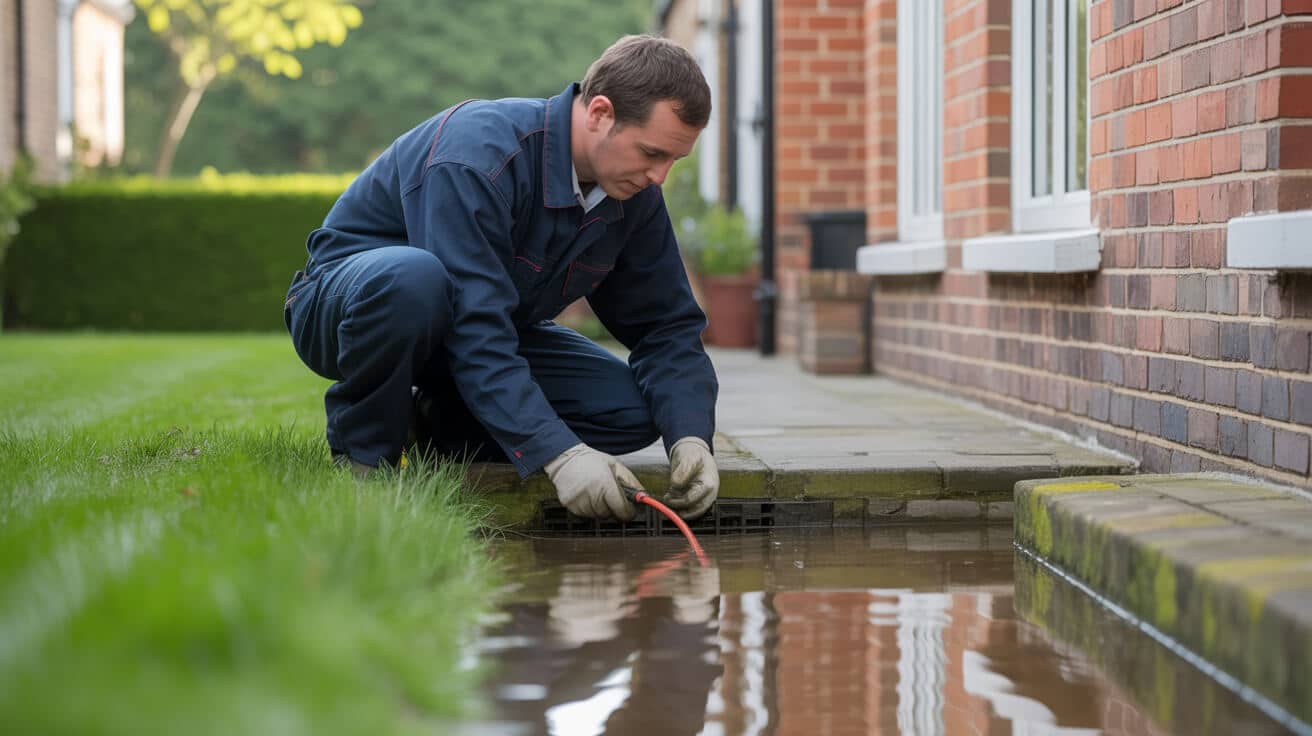
The true bill for a burst isn’t just a day of mopping up: it’s weeks, sometimes months, of disruption—loss of use, damaged tenant trust, drawn-out insurance wrangles, and hidden repair bills you never forecast. Everyone hopes it won’t be them, but insurers report thousands of winter water-escape claims every month. That £10 foam lagging looks very cheap compared to £7,000–£10,000 claim averages for just one winter leak (BBC, 2022).
Saying ‘It’ll be fine’ never saved a property from burst pipes or insurance refusals.
Major Fallout of Frozen Pipe Incidents
- Financial Losses: Claims for water leaks regularly exceed £7,500, especially in flats or homes with multiple floors *(BBC, 2022)*. Miss even one critical check—like skipping insulation or documentation—and you may be left footing the bill as insurers refuse to pay *(MoneyHelper)*.
- Evacuation and Downtime: Floors, sockets, and even walls get saturated—making dwellings, offices, or shops uninhabitable for weeks. For landlords/agents, that’s lost rent and potentially dissatisfied tenants.
- Regulatory Trouble: Failing to demonstrate active prevention (like lagging, temperature logs) can breach a landlord’s duty of care—risking not only civil claims but reputational ruin among tenants and peers.
- Long-Term Building Damage: Beyond the puddles, moisture in structures encourages rot, mildew, and insidious decay—ruining plaster, joists, and finishes often beyond surface repair.
What matters isn’t just that you insulate, but how well you can prove it was done right. Prevention that no-one can prove leaves you back at square one when a claim lands.
Insurance & Documentation—Why Proof is Your Best Asset
The new insurance reality is: no photo, no pay out. Providers want clear evidence—receipts for lagging, labels showing WRAS-approved foam, signed-off temperature logs for void periods, and a date-stamped record for all emergency repairs.
- Keep every labelled receipt, photo, and system diagram attached to your property file.
- For landlords and agents: make it routine to record temperature logs through empty spells (showing ≥12°C in vulnerable zones).
- Record the “who, what, and when” of every insulation job and system upgrade.
It’s not bureaucracy—it’s your shield against financial, legal, and regulatory heat when winter chaos tries to land on your property.
What Methods and Materials Actually Prevent Freezes—Insider Steps from Plumbers
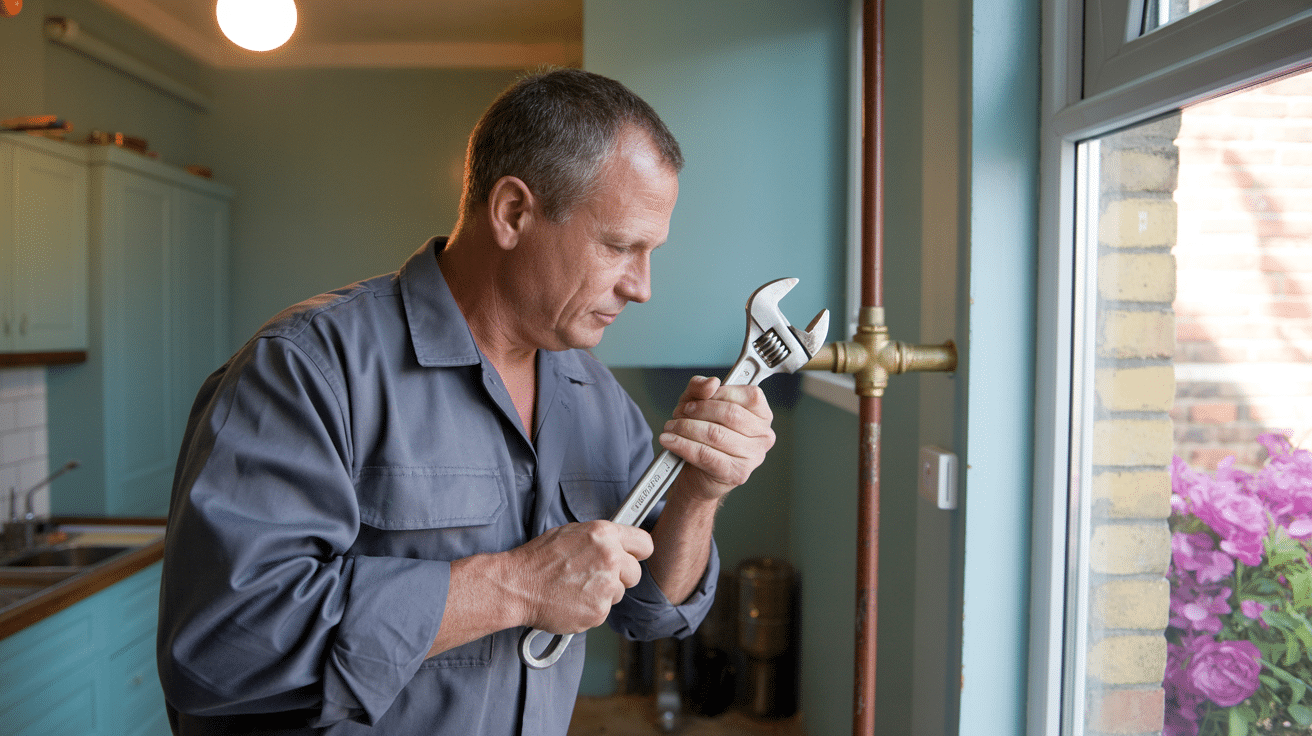
“Just wrap it in anything foam” will not cut it on a claim, and won’t stop the worst cold anyway. Compliant UK lagging means WRAS-approved minimum thickness (usually 19mm or more), seals at every join, and weatherproof spec for any pipework outside. Forget discount alternatives—insurance, compliance, and peace of mind all value the right standard, installed correctly, every time.
Cold only wins where there’s a shortcut or a skipped step hiding behind a box or a boiler.
The Pro’s Playbook: How to Freeze-Proof Every Pipe
- Always choose 19mm+ WRAS approved lagging.: Thin or unbranded foam tears, collapses, and lets frost straight in.
- Insulate every fitting and change of direction: Use elbow and tee covers—ice always tests the weakest point first.
- For external runs: Pick UV-resistant, weatherproof lagging *made* for UK winters. Indoor foam outside is asking for a split within months.
- Firm tape at every seam: Plumbing-grade tape stays put where DIY alternatives peel or crack.
- Take photos as you go, save every invoice, and keep packaging.: Landlords or block managers—attach these to your annual audit.
Snapshot of common errors and what to do instead:
| Mistake | Failure Result | Proper Approach |
|---|---|---|
| Skimpy insulation | Pipe bursts at first frost | Always 19mm+ foam, WRAS-marked |
| Gaps/joints missed | Localised freeze splits | Zero-gap coverage, tee pieces |
| Outdoor tap exposed | Burst, wall soaked | Always fit insulated tap cover |
If in doubt—photo log each step. Insurers and future buyers want proof, not just intent.
Airflow, Draughts, and Why Pipes Can Still Freeze When Lagged
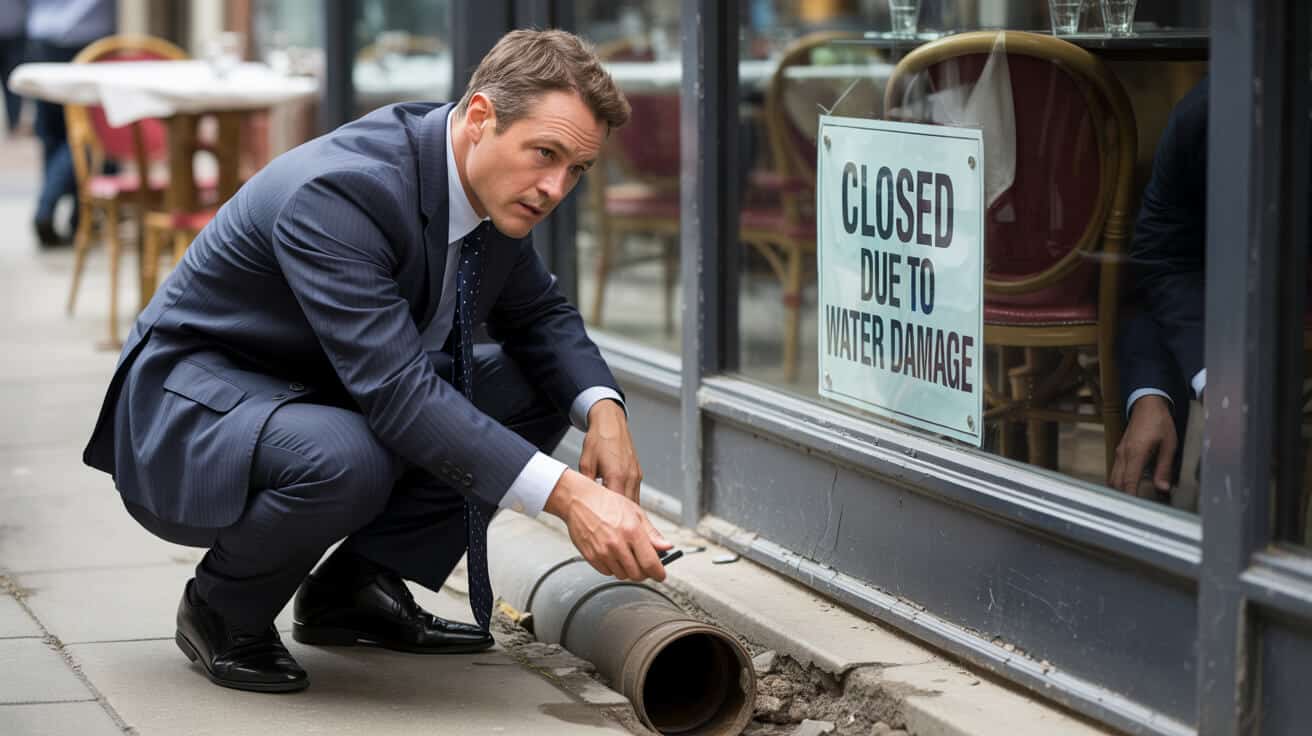
You lagged every pipe but still got a freeze—what gives? The culprit is often airflow: draughts moving supercooled air onto pipework that looked protected. A missed airbrick, a loose board behind a cupboard, a wall vent with pathways to pipework can undo even the best lagging.
It’s always a blast of icy air—not a lack of foam—that catches owners out.
How to Outsmart Your Building’s Hidden Draughts
- Map every transition and cold bridge: Track pipes moving from warm into cold spaces—under units, through wall voids, near airbricks, or under loft insulation.
- Fill gaps with pipe-safe foam (not builder’s foam): Air can tunnel alongside pipes unless holes are sealed tight with the right materials.
- Check boxed-in runs after every plumbing change: Appliances moved, unit swapped, or even storage boxes can open new routes for cold air.
- Confirm with tech—use a thermal camera after finishing to spot cold zones.:
- Maintain a background temperature of at least 12°C in all vulnerable areas when cold snaps are forecast.:
Even perfect insulation or upgraded lagging needs follow-up: annual walkaround, seasonal checks, or a quick scan when appliances are moved.
What Habits, Routines, and Staff Drills Prevent Freeze Damage All Season
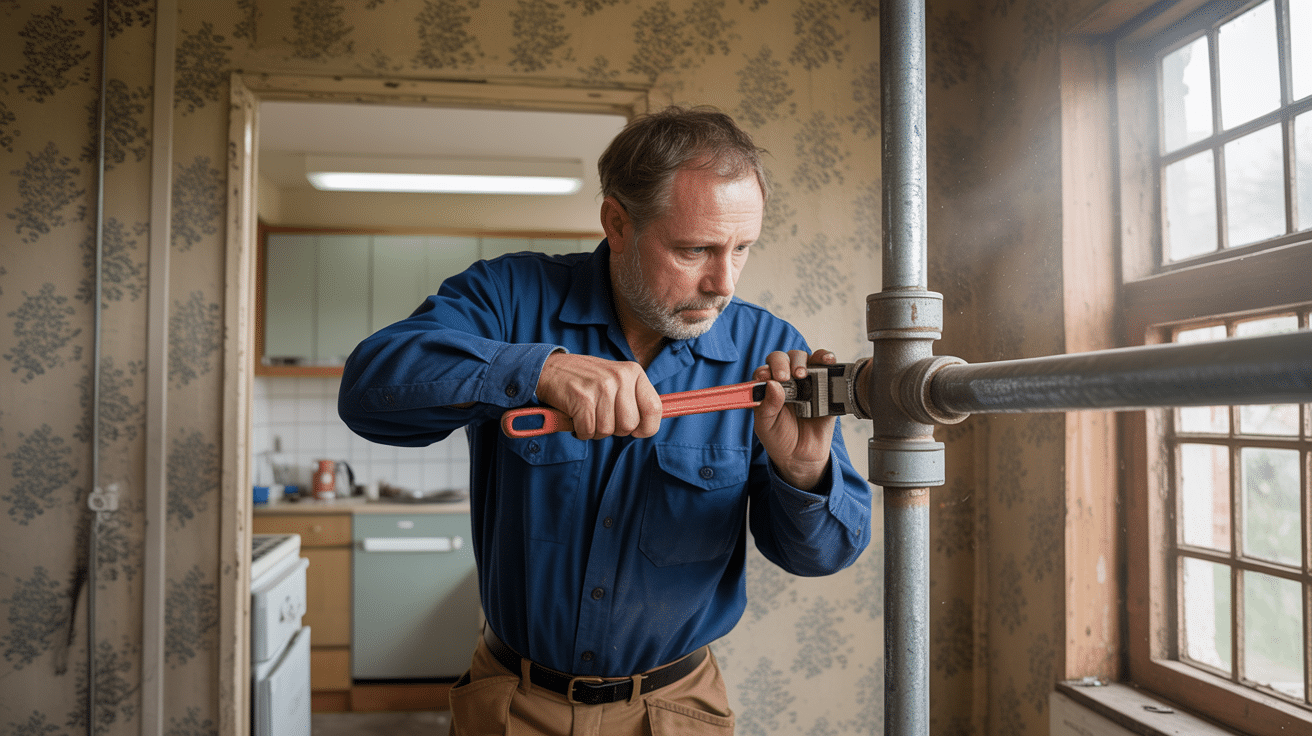
plumbing disasters rarely ambush the observant. Winning buildings and teams develop routines—daily, weekly, or at every handover—that make freeze-ups near impossible. The goal isn’t gadget overload—it’s good site habits, drilled until everyone in the building operates on “find, check, and report.”
Winter trouble stalks those who let routine slip—not the ones building prevention into daily life.
Habits That Prevent Expensive Pipe Failure
- Cabinet door open during cold snaps: Letting even a little room warmth through can keep pipes above zero.
- Everyone knows the stopcock: If leak strikes, anyone present can shut down the supply, minimising damage.
- Nothing irreplaceable under exposed pipes: Shift goods and chemicals safely before the freeze season.
- Outdoor garden taps fully drained and isolated, every autumn: A quick job now eliminates 90% of “winter tap” insurance claims.
- Landlords and managers deploy pre-winter checklists, demo packs, and engineer contacts: Physically show tenants or staff what to watch for and how to act.
Buildings that fare best hold “freeze drills”—translate the plan into action before the big chill. That’s how costly problems are defused, not left to chance.
Emergency Playbook—How to Respond to a Frozen Pipe Before Damage Spreads
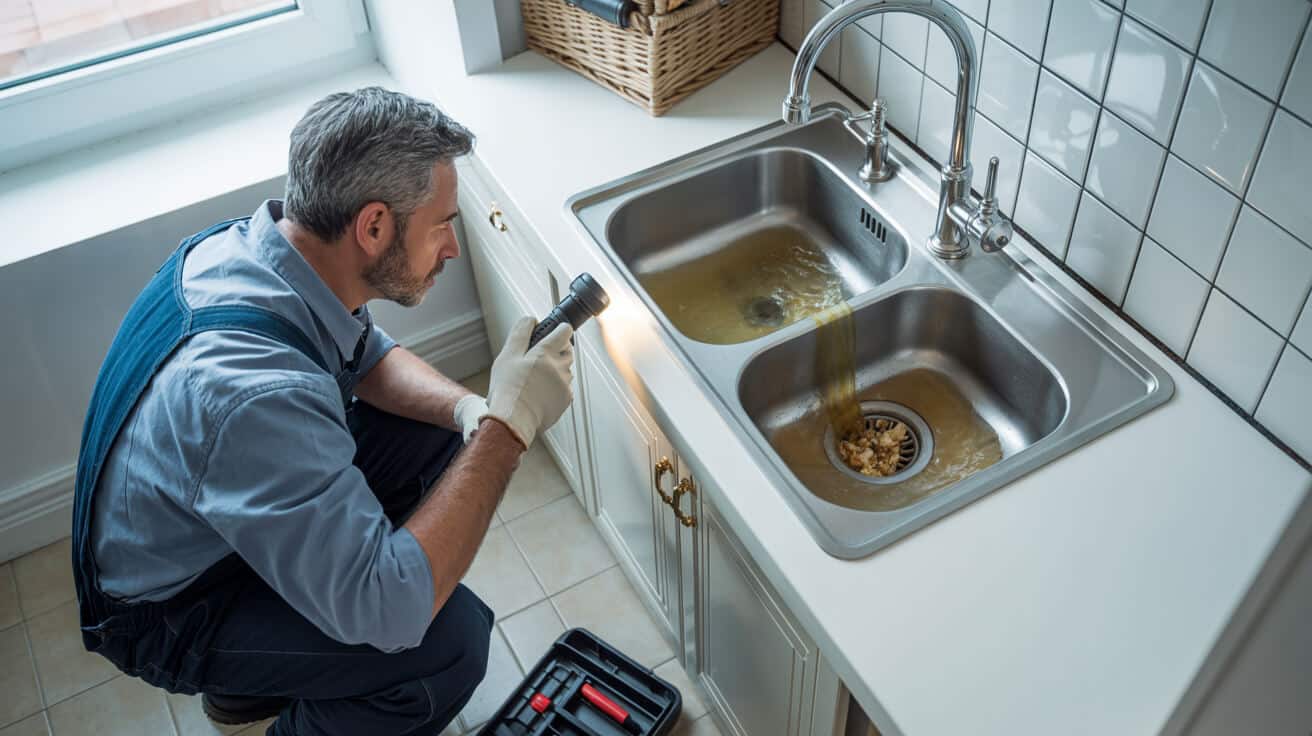
When cold gets ahead of you, response—not panic—saves money and headaches. First five minutes matter most: the right moves can salvage both your claim and your property status, whether you’re the owner or acting for tenants.
Emergency wins come from a calm head and clear steps, not random quick fixes.
Stepwise Approach If You Discover a Frozen Pipe
- Try all taps and connected appliances: Loss of cold supply = likely freeze upstream.
- Immediately shut off the main water supply: stopcock first, always before any thawing attempt.
- Open the affected tap: This relieves pressure and stops splits during thaw.
- Warm pipes gently: Hairdryer on low or a warm towel—skip flames or boiling water.
- Monitor for leaks once thawed: Quick check for splits, bulges, damp; photo evidence for insurer.
- If a leak or burst is found: Leave supply off, keep affected taps open, and reach out for a WaterSafe-approved plumber.
Stay steady, record every step, never force action or ignore warning noises—these are the differences between a quick fix and a multi-room gut-and-repair after an insurance wrangle.
How Documentation and Compliance Make Insurance and Audit Outcomes Predictable
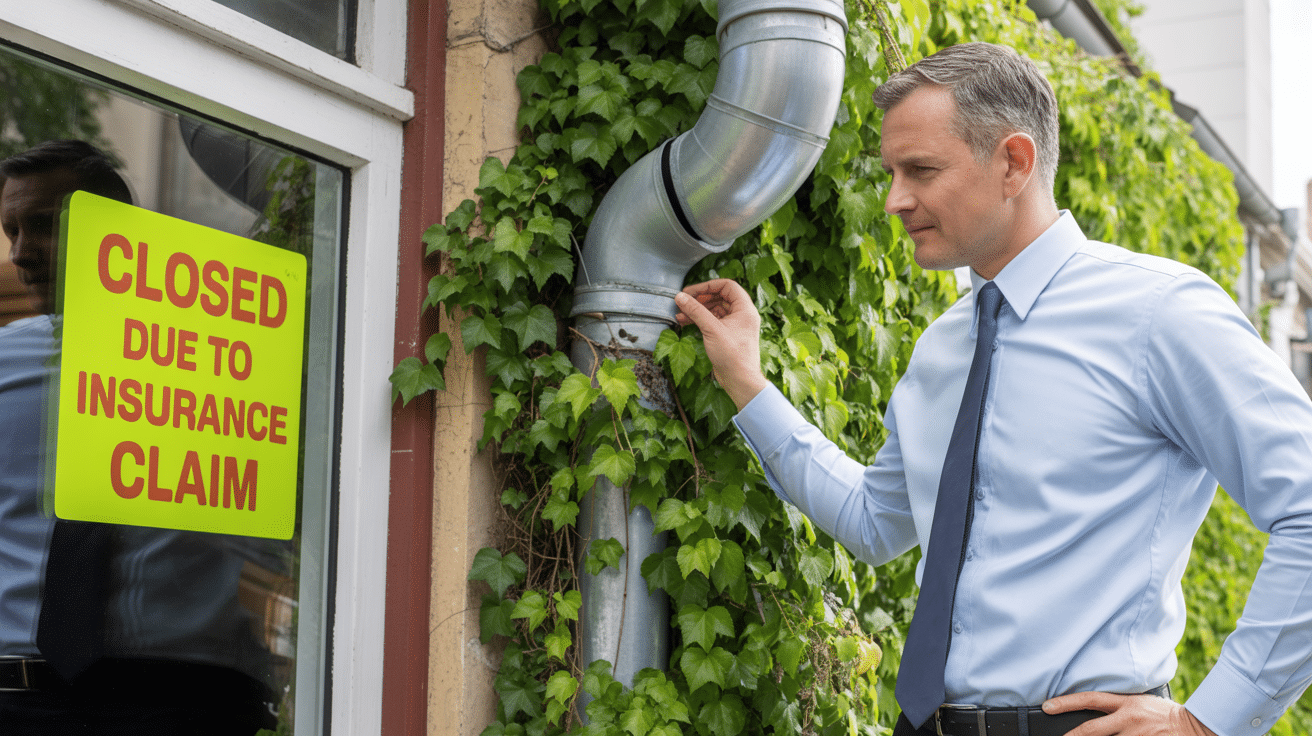
Documentation is your silent asset—what separates a smooth claim from endless wrangling and out-of-pocket loss. Every service, replacement, and seasonal check is worth nothing to auditors and insurers unless it’s visible, labelled, and signed off. The more compliance proof you have, the fewer awkward conversations come claim or audit time.
A G3 certificate or receipt for WRAS insulation is worth more than 1000 words after a leak.
Exactly What to Prove—Based on Your Role
- Homeowners: Take photos of fresh lagging, file receipts and engineer reports, keep records of preventative routines carried out.
- Landlords/Agents: WRAS/CP12 certificates, G3 sign-off for all unvented cylinders, and a year-round log of inspections and freeze prevention routines, attached to each property file.
- Commercial/Block Managers: Full audit logs, annual review sheets, and stepwise “pass/fail” records for freeze resilience on communal and back-of-house runs.
- Letting Agents: Digital handbooks showing diagrams, emergency action contacts, and winter-proofing info for tenants; all logged and date stamped.
Push it further: make audit events into routine, not scramble. That’s how the best landlords and managers keep claims low and hassle minimal.
Plumbers 4U—What Sets Our Winter Inspection and Freeze-Proofing Apart
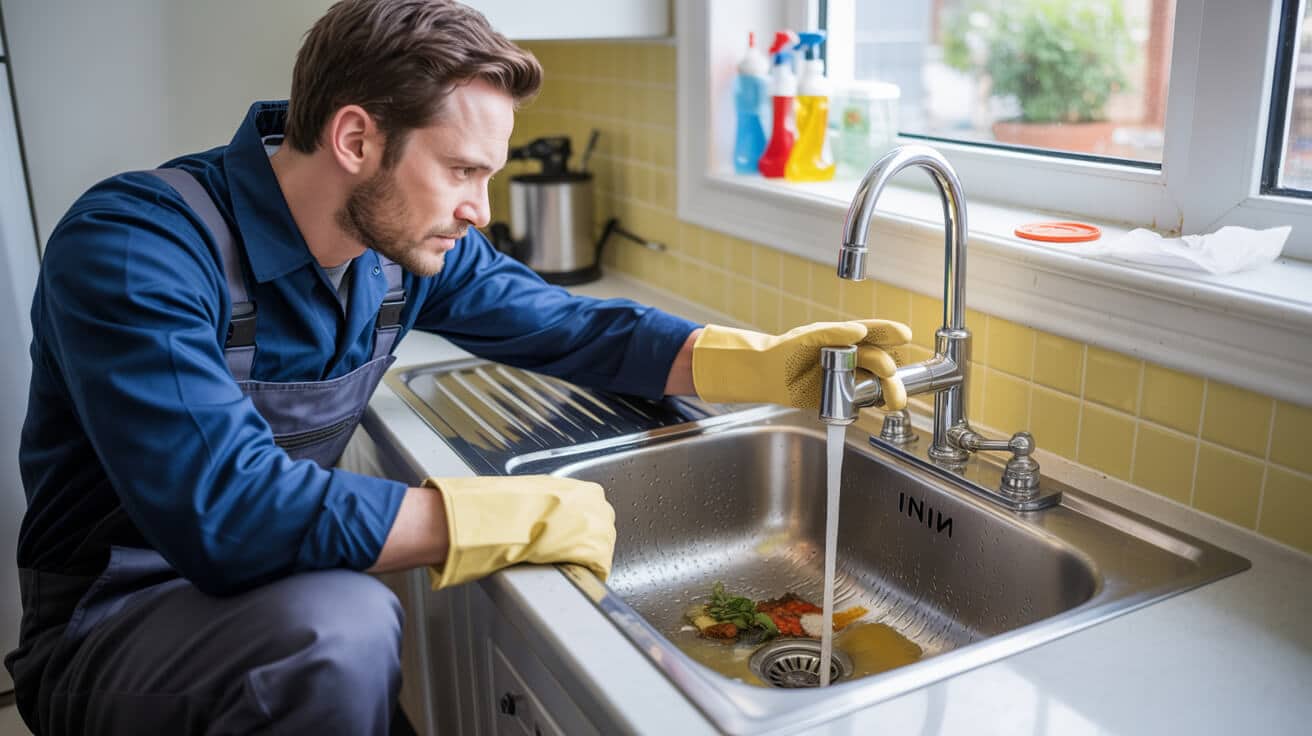
You want a partner who’s as invested as you are in staying ahead of winter’s curveballs—not just a responder with a spanner. Plumbers 4U delivers WRAS, G3, and WaterSafe certified protection, where every job creates proof for your next claim, audit, or property transfer.
Your property’s winter safety isn’t luck—it’s a direct result of documented expert prevention.
What You Get When You Call
- Deep tracing of every vulnerable run: We track exposed, hidden, and inaccessible pipes, inside and out, with diagnostics and testing.
- Thermal imaging: Find cold bridges and weak spots before the thaw can.
- Draught-targeted insulation audit: Eliminate those sneaky gaps and risk zones.
- External tap and pipe check: Make sure every exposed run is drained, lagged, and certified for winter.
- Code and compliance cross-check: We verify WRAS, G3, CP12—no doc, no sign-off.
- Digital records for every job: Close-out photos, itemised logs, and instant access to compliance material for claims or audits.
- Transparent, fair pricing—no pushy up-sell.:
No surprises, no grey areas—just documented excellence that keeps your property off the winter trouble list.
Book Plumbers 4U Today—Make Winter the Season Your Property Stays Safe
Procrastination is always more expensive than prevention. When you’re staring at the first frost forecast, the best move is to get ahead—because no inspector, insurer, or tenant shows mercy for “nearly” protected buildings when pipes go. Plumbers 4U brings that safety net, as tangible documentation, easy-to-follow checklists, and team-level advice trusted across the sector.
- End-to-end mapping and insulation—no blind spots, no “but I thought…”.
- Prevention playbooks for every occupant/staff member.
- Bulletproof documentation packs—photos, receipts, compliance records—all ready for claim, sale, or audit at a moment’s notice.
Winter is unforgiving—but so is our approach to proofing your property.
Book your Plumbers 4U winter inspection today. Make sure the season is remembered for warmth, not for water damage or dispute—proof matters most when it’s too late to improvise.
Frequently Asked Questions
Where do pipes freeze first in UK homes and buildings—and how can you pinpoint top-priority risks for every winter?
Frozen pipes are ruthless: they always strike where you least expect it, and not just in old cottages with draughty lofts. The real danger zones are the overlooked routes—pipes running through unheated roof spaces, clipped along the shadowy side of a kitchen wall, or those feeding outside taps straight through single-brick exteriors. Modern insulation means nothing if “void” pipes slip outside the building’s warm envelope. The enemy isn’t age or postcode: it’s any section left exposed to cold airflow, whether in a tower block riser or above bathroom plasterboard.
If you want to prevent chaos before it starts, plotting your risk takes three simple moves:
- Sketch your property’s plumbing, highlighting any pipework that leaves the main heated space.
- Flag every run in garages, lofts, external walls, riser cupboards, voids behind fitted units, or out to garden taps.
- Use an affordable thermal camera (many smartphones support plug-in models) to sweep cold patches near joints, shut-off valves, or boxed-in corners—bonus points for moisture metres near “mystery” stains.
You’ll be shocked: even properties that passed a recent insulation audit often have vulnerable runs—especially in extensions or service corridors where draughts flow unseen. Commercial buildings and blocks ramp up the risk: boxed risers may feed dozens of flats, yet go uninspected for years.
The weakest spot is often buried in silence—the pipe nobody traced until water found its shortcut out.
Prioritise pipes above insulation layers and behind external-facing units for annual checks. Partnering with Plumbers 4U ensures no risk is guessed at—engineers document every at-risk run, with lagging, photos, and compliance logs baked in.
Table: Common Freeze Points and What to Check
Every property has “blind spots” worth a fresh look each October.
| Pipe Run Type | Risk Reason | Focused Action |
|---|---|---|
| Loft/roof void supply | High airflow, no background heat | 19mm+ lagging, check joins and overlaps |
| Garage/external wall feeds | No heating, often missed in audits | Deep lag, draught-seal, insulate doors |
| Kitchen/utility voids | Boxed-in, little airflow, cold wall | Inspect, photograph, replace old foam |
| Outdoor tap supplies | Open ends, exposed to both sides | Drain, isolate, winter valve, lag deeply |
| Rarely used rooms/ext’ns | Heating often off, pipework hidden | Lag pipes, add frost stat, run water weekly |
What insulation upgrades do more than foam sleeves to keep pipes safe all winter?
Think you’re covered because you’ve wrapped every visible pipe in foam? Not quite. UK insurance claims and audits now demand insulation that goes beyond the basics—both in materials and documentation. British Standard WRAS-approved closed-cell foam (minimum 19mm outside the “warm shell”) is only the starting line. Those quick-fixes with leftover pool noodles or recycled scraps are a shortcut to a failed payout.
Take these steps for robust, claim-eligible insulation:
- Choose UV-stabilised EPDM or nitrile rubber lagging for any pipe facing sunlight or deep cold, such as external, garage, or loft runs.
- Cover every elbow, tee, and valve with purpose-made jackets or tightly sealed foam—most leaks start at badly joined or naked corners.
- Record every improvement: snap photos before and after, keep supplier labels and receipts, and upload it to a cloud asset log (especially for landlords).
Next-level protection for vulnerable or high-value lines:
- Fit heat trace cables—thermostat-controlled, so they only warm up as temperatures drop, cutting energy costs and giving insurance-grade freeze defence.
- Seal wall penetrations, floorboard gaps, and old air bricks around pipework with WRAS-compliant expandable foam or caulk.
- Always shield loft tanks with BS EN 806-2 covers (both jacket and tight-closing lid).
Insulation’s real strength comes from perfection—nobody gets paid out on gaps, shortcuts, or close enough jobs.
Plumbers 4U’s engineers instal, photograph, and log every upgrade—so whether it’s your own home or a managed property, you’ve got a compliance-ready file that keeps costs, chaos, and claims off your plate.
Checklist: Advanced Pipe Insulation Essentials
- Only WRAS-approved foam/rubber for exposed or outdoor runs (19mm or thicker)
- Preformed elbow/valve jackets on every joint and change of direction
- Photographic record and receipts uploaded to asset management or compliance system
- Heat trace cable installed and certified for at-risk zones
- Schedule a professional insulation audit if you manage multiple units or rental properties
How should landlords, property managers, and agents structure winter pipe safety and compliance—so nothing falls through the cracks?
Juggling dozens—or hundreds—of properties? “Hope for the best” doesn’t cut it. The most effective winter defence is a property-wide, repeatable system for mapping, tracking, and logging every vulnerable pipe. Here’s how the top operators do it:
- Each autumn, update a digital map that details every supply and waste run, noting asset number, location, insulation date, and risk status.
- Build a visual record—photos and thermal scans tagged to each section and date. Modern asset management apps make this simple even for big portfolios.
- Email a custom “Freeze Action” guide to tenants and on-site staff: what to watch for (slow water, bulging pipe, frost near valves), who to call, and what to document if things go wrong.
- Label stopcock and isolation valves—physically and on the map—so “I don’t know where to shut it off” never delays a response.
- Run a formal annual review. Keep audit logs, installer signoffs, and asset photos zipped and ready to submit to insurers or compliance officers.
- Keep all evidence in one digital “vault”—nothing delays a claim like hunting for paperwork after disaster strikes.
Owners who treat winter like a maintenance event, not a gamble, end up with fewer dramas and easier insurance wins.
Plumbers 4U offers block contract insulation and full compliance audits, engineered for incident-proof asset handover—even in the chilliest January.
Winter Protection Protocol for Managed Properties
- Asset map for all main and communal pipe runs
- Annual photo record and insulation update
- Email checklists to tenants/staff by November
- Central stopcock and riser valves labelled, tested, and documented
- All freeze-compliance documents attached by property and zone
- Action plan for leaks or slow flow distributed in advance
What’s the safest, most insurer-friendly method to thaw a frozen pipe—without voiding your claim or causing more damage?
When a pipe freezes, panic ruins both the plumbing and your insurance options. The right move is stepwise, safe, and fully documented. Here’s the modern, claim-ready process:
- Close the main water stopcock—no exceptions.
- Open the affected tap fully to relieve pressure.
- Gently warm the frozen segment, starting from the tap end. Hairdryer on lowest setting, warm towel, or hot bottle only—never open flame, heat gun, or boiling kettle, or you risk a catastrophic split.
- Watch for leaks as the thaw progresses, especially at elbows and old joints.
- Photograph the pipe before and as you work, timestamping each stage (even your phone will do).
- If water appears (other than from the open tap), stop, shut the supply tight, and call a qualified plumber (with WRAS or WaterSafe credentials).
Every insurer now values documented prevention and response as much as repairs. Tenants and building staff need emergency guides sent out well in advance—consider including simple diagrams showing tap and stopcock locations.
Every minute counts with a frozen pipe, but what you document matters as much as what you fix.
Plumbers 4U offers rapid, compliant callouts with digital logs and aftercare for damage control and claims—so you end up dry, covered, and stress-free.
Thawing a Frozen Pipe: Professional Do’s and Don’ts
| Action | Safe Approach | Costly Mistake |
|---|---|---|
| Water supply | Shut stopcock before thawing | Attempt to thaw with water on |
| Tap opening | Open all affected for relief | Leave tap closed (pressure builds) |
| Heating method | Hairdryer, bottle, warm towel | Flame, heat gun, kettle, radiator |
| Documentation | Photos, timestamped notes | No records, skips documentation |
| Repair escalation | Call WaterSafe/WRAS engineer | DIY tape, glue, or guesswork |
How do costs spiral after a burst—and what evidence do insurers now expect to release payments?
burst pipes aren’t just a plumbing drama—they’re a logistical mess and a paperwork headache. One section of pipe that goes after a UK freeze can rack up:
- £250–£600 for emergency plumbing within hours
- £600–£1,500 for professional water extraction and industrial drying hire
- Upwards of £5,000 for repairing floors, ceilings, and redecorating large spaces or communal zones
- Thousands lost to re-housing tenants, blocked businesses, or landlords missing critical compliance deadlines
- Hidden penalty: missed deadlines, incomplete insulation records, or skipped documented upgrades can trigger regulatory fines or partial payouts under building and rental codes
Here’s the threat nobody tells you—insurers now treat missed paperwork, vague insulation proof, or skipped installer bills as grounds to slash or even reject claims outright. Any asset left undocumented is a target.
To guard your pocket:
- Track every receipt, part number, insulation upgrade, and engineer visit—ideally with digital photos (geo-tagged and time-stamped).
- Back up compliance checks, lagging dates, and signed handovers—Plumbers 4U generates a full digital file per job, ready before you ever need it.
- For managed or rental assets, update files every October: no retro-filing after disaster.
The hidden cost of winter is uncovered only when you try to claim without proof.
Choose prevention over regret: sort your evidence file before cold weather lands, not after the pipes have thawed.
What are the new insurance and regulatory rules shaping pipe-freeze claims, and how can you secure a smooth payout?
Surviving British winter is only half the challenge—the real test comes when you file a claim. Modern UK insurance and regulation have raised the bar. Expect to need not just repair receipts, but evidence you complied with every preventive requirement.
Insurers now want:
- Original packaging, receipts, and photos for WRAS-approved lagging and fittings
- Room-by-room logs showing temperatures above 12°C during cold snaps (simple plug-in or smart thermostats now record this)
- Written proof that every outside tap was drained and isolated—checkable by inspector or assessor
- Digital and physical signoff for all upgrades: cylinders, major pipe reroutes, or additions of external zones
- Annual service or compliance logs, preferably in asset management software, for every at-risk let, block, or holiday property
DIY jobs or undocumented “make-do” repairs are instant red-flags and may now result in sharply reduced—sometimes zero—payouts. Landlords, block managers, and commercial property owners are especially targeted, with regulatory schemes tying EPC ratings and repair documentation into insurance criteria.
If you want to claim without a battle, prep your paperwork as tightly as your pipework.
Plumbers 4U keeps clients ahead of these demands by providing digital compliance archives ready for inspectors and claims adjusters, not just a stack of “job done” stickers. With every frozen-pipe risk mapped and every fix logged, payouts stay on track—and reputations remain intact.
Policy-Proof Documentation Essentials
- WRAS/WaterSafe insulation evidence (labels, photos, receipts)
- Automated or manual temperature logs for susceptible areas
- Signed engineer certificates (G3, CP12, system upgrades)
- Chronological photo evidence of all work, stored digitally
- A central, retrievable compliance archive for each unit, asset, or tenancy
Book your winter asset check or insulation upgrade with a Plumbers 4U engineer and get a compliance file ready for any scenario—so you’re protected in the harshest chill and, when the paperwork lands, your claim moves as fast as your fix.

